Timer
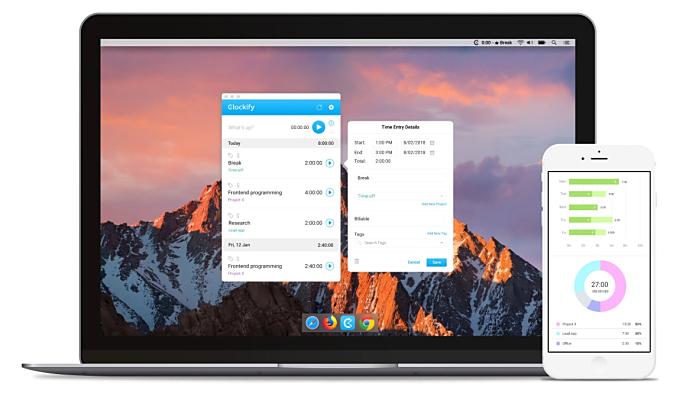
You can track time you spend working on tasks using a timer in one of the Clockify apps:
- Web app at https://clockify.me/tracker
- Browser extension for Chrome / Firefox / Edge
- Desktop app for Mac / Windows / Linux
- Mobile app for Android / iOS
You can track using any app and all data is synced online, so all your tracked data is available from anywhere.
Tracking time from the web browser #
- Enter timer mode by clicking the clock icon in the upper right corner on the Time Tracker page
- Optionally type what you’re working on in the What are you working on? box
- Optionally, mark time as billable, select project/task, and add tags
- Start the timer by clicking the START button
- When you finish working, stop the timer by clicking the STOP button

Note that once you start the timer, it will keep running until you stop it; it will keep running even if you leave the page or close the browser (unless you use the extension and have the option to stop it automatically).
When the timer is running, the favicon in the browser will change from black to blue so you have a visual cue to see if you maybe forgot to start or stop the timer. Also, Clockify will display how long the timer is running in the tab.
Continuing time entries #
When you continue working on something, you can start a timer for that activity in one click.
To continue a time entry, find the time entry you want to continue recording in your timesheet and click the play icon. Clockify will copy all the info (description, project, billability, and tags) and the timer will start ticking.
Shortcuts #
Keyboard shortcuts can be used on the Time Tracker page and will only work when you are not editing any fields (when your cursor is not active).
n = start New timer;
c = Continue latest entry.
s = Stop current timer;
m = switch to Manual mode;
You can also use shortcuts in Mac app and browser extension.
Auto-complete #
You can easily find your old entries’ details with the auto-complete option. Simply start typing and a drop-down will open with up to 8 suggestions, which will be sorted chronologically.
You need to enter at least two characters and they can be related to any of these categories you previously entered: description, project, client, task, or tag.
Otherwise, if you just click on the empty description (What are you working on) field, it will pull your 8 latest time entries.
Autocomplete list takes into consideration last 250 time entries from the last 60 days. If an entry isn’t there, it won’t show up in autocomplete.
Change start time of the running timer #
You can change the start time while the timer is running by clicking on the running time. Then you can manually type in your real start time.
This is useful when you start an activity but you can’t start the timer at that moment (e.g. you’re on a meeting and are away from the computer).

Running multiple timers #
You can have only one running timer on a workspace. But, if you have multiple workspaces, you can have multiple timers running at the same time, one in each workspace.
You can quickly switch between workspaces by clicking on the workspace name in the top bar (next to the notification bell), and choose another workspace. You can also switch workspaces in all the apps.
Keep in mind that all the time you track in one workspace will not be available in the other workspaces. Each workspace is a self-contained account (but you can transfer entries between workspaces).
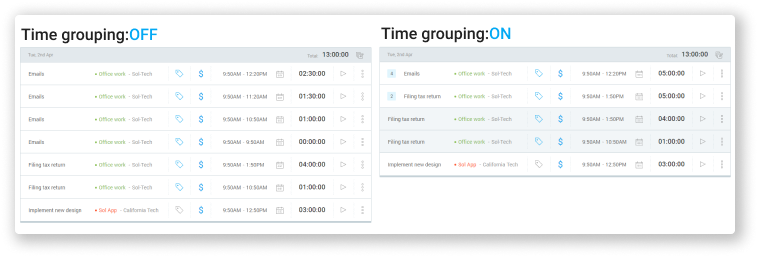
Grouping and ungrouping time entries #
Time entries for the same activity are displayed as a single time entry. Editing the group will edit each individual time entry in the group.
If you wish to see entries in chronological order, you can disable time grouping in your Profile Settings:
- Click on the profile icon in the upper right corner and open Profile Settings
- Check/uncheck the Group similar time entries option
Time tracking apps #
In addition to tracking time in your browser tab, you can also track time from a mobile app (Android/iOS), desktop app (Mac, Windows, Linux), and browser extension (Chrome/Firefox).
By using a dedicated time tracking app, you don’t have to keep Clockify open in a tab all the time. Instead, you can track time from wherever it’s most convenient for you.
In addition to the regular time tracking features, apps also come with extra functionality that’s missing in the web version, like reminders, idle detection, automatic start/stop timer, and more.
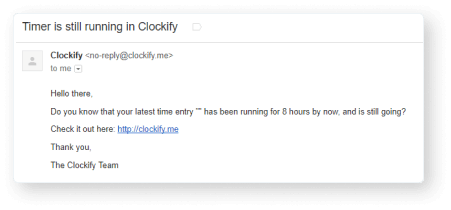
Email about a long-running timer #
If you forgot to stop the timer, Clockify can send you an email about a long-running timer (over 8 hours). You can turn on/off that option in your Profile settings.
Note: Time entries display the timestamp containing the time zone you currently set. If, when you stop the timer, the time automatically changes to a different time, check your time zone settings in Profile Settings.
Stopping timer for another user #
Admins can stop another person’s timer by either:
- Logging into their account and stopping the timer
- Selecting them on the Calendar page and clicking stop on the block for which the timer is running
- Selecting their profile on a kiosk where they’re assigned and start/stop the timer (you can use Universal PIN to clock in/out for others)
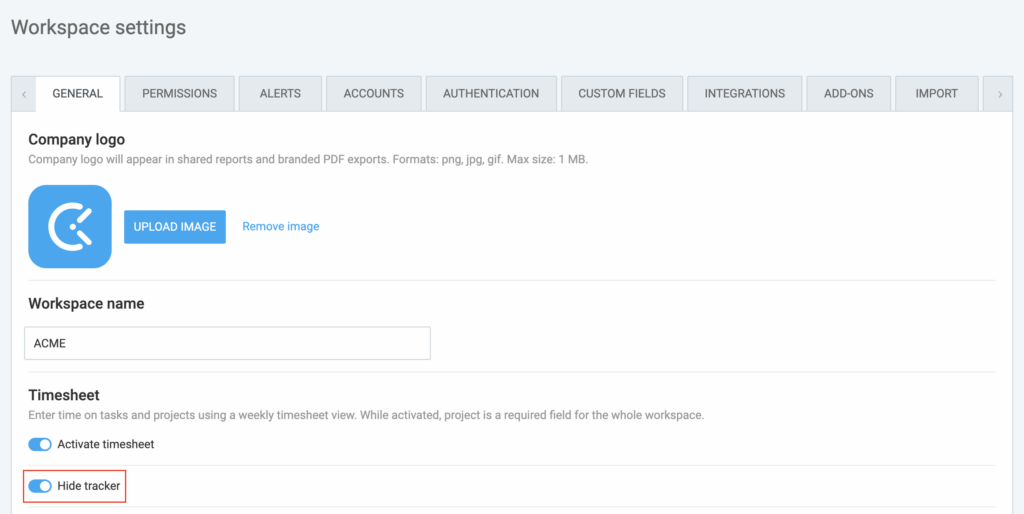
Hiding time tracker #
If you prefer to use the Timesheets mode and don’t need the Time tracker page, you can now hide it in the Workspace settings of your account.