Categorizar o tempo usando campos e etiquetas obrigatórios
Campos obrigatórios #
Use Campos obrigatórios e Etiquetas para garantir que todos os campos de dados obrigatórios sejam preenchidos e adicionar categorização flexível às suas entradas de tempo.
Campos obrigatórios são uma funcionalidade paga e estão disponíveis em qualquer plano pago.
O que são campos obrigatórios? #
Campos obrigatórios são uma configuração que exige que determinados dados (como Projeto, Tarefa, Etiqueta ou Descrição) sejam preenchidos antes que um registro de tempo possa ser salvo ou encerrado.
Com campos obrigatórios:
- Todas as entradas no espaço de trabalho seguem o mesmo formato.
- As pessoas não podem enviar acidentalmente registros que estejam incompletas.
- Todos os relatórios gerados terão os campos obrigatórios preenchidos, permitindo a inclusão de informações completas.
Como funcionam os campos obrigatórios #
Depois que um administrador ativa este recurso, o Clockify impede ativamente o salvamento ou rastreamento de registros de tempo incompletos.
- O usuário não pode salvar um registro de tempo manual até que todos os campos obrigatórios sejam preenchidos.
- O cronômetro não pode ser interrompido até que o usuário selecione o Projeto, a Etiqueta ou outro campo ausente obrigatório.
- As regras de campos obrigatórios se aplicam a todas as plataformas Clockify, incluindo o aplicativo móvel e as extensões de navegador.
Habilitar campos obrigatórios #
Somente os proprietários e administradores do espaço de trabalho podem ativar esse recurso.
- Clique no ícone de três pontos ao lado do nome do seu espaço de trabalho
- Selecione Configurações do espaço de trabalho
- Deslize para baixo até encontrar a seção Não permita economizar tempo sem
- Habilite a caixa de seleção que você deseja que os usuários preencham. Projeto está habilitado por padrão. Os campos opcionais incluem:
- Tarefa
- Etiqueta
- Descrição
Importantes a lembrar sobre os campos obrigatórios #
Aqui estão as principais regras que regem o funcionamento do recurso Campos obrigatórios:
| Categoria | Regra |
| Escopo | Os campos obrigatórios se aplicam a todo o espaço de trabalho. Você não pode definir campos obrigatórios diferentes para projetos ou tarefas individuais. |
| Campo de tarefa | Se a Tarefa estiver marcada como obrigatória, os usuários só poderão selecionar projetos que já tenham tarefas atribuídas a eles. |
| Entradas existentes | A regra não se aplica retroativamente a entradas de tempo antigas. Ela afeta apenas novas entradas e quaisquer entradas existentes que forem atualizadas após a ativação do recurso. |
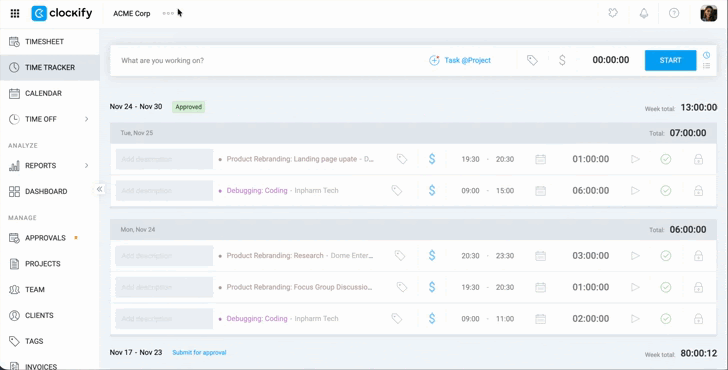
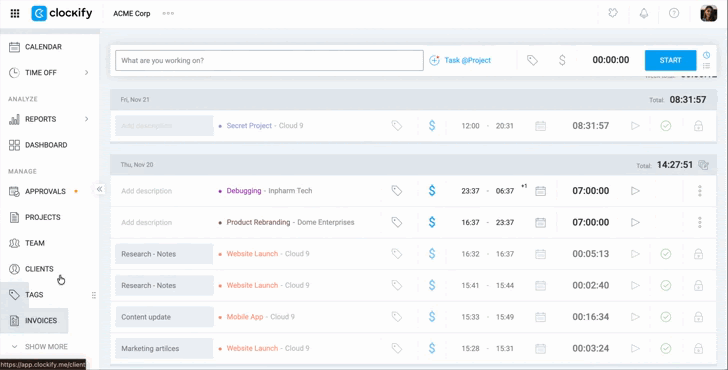
O que são etiquetas? #
Etiquetas são rótulos personalizados que permitem agrupar e categorizar suas entradas de tempo além dos campos padrão de Projeto e Tarefa.
As etiquetas são usadas para filtrar e analisar o uso do tempo com base em diferentes critérios, tais como:
- Agrupamento de clientes – Use etiquetas para identificar o cliente e a organização (por exemplo, #ClienteA ou #Interno)
- Tipo de trabalho – Defina um tipo de tarefa (por exemplo, #Faturável e #NãoFaturável)
- Fases do projeto – Acompanhe o tempo gasto em cada fase de um projeto (por exemplo, #planejamento, #desenvolvimento, #testes)
Criar etiquetas a partir da página Etiquetas #
- Acesse a página etiqueta
- Digite o nome da etiqueta desejada e clique em ADICIONAR
Criar etiquetas com registros de tempo #
- Vá até a página Rastreador
- Insira uma tarefa/projeto
- Clique no ícone de etiqueta
- Comece a digitar o nome da etiqueta
- Clique em Criar etiqueta ou pressione Ctrl/Cmd + Enter
Dicas para criar etiquetas eficazes #
Para facilitar a geração de relatórios e manter a consistência da equipe, siga estas dicas:
- Estabeleça uma convenção clara para sua equipe (por exemplo, sempre use um prefixo de hashtag).
- Certifique-se de que todos os membros da equipe usem exatamente os mesmos nomes de etiqueta para os mesmos critérios. Evite variações como #Suporte e #Atendimento-ao-Cliente.
- Crie o hábito de verificar seus relatórios para garantir que as tags estejam sendo usadas corretamente e ajuste as configurações de Campos Obrigatórios conforme as necessidades da sua equipe mudem.
Perguntas frequentes #
Posso definir campos obrigatórios para projetos ou tarefas individuais?
Não, os campos obrigatórios são definidos no nível do espaço de trabalho e se aplicam a todas as entradas de tempo nesse espaço. Você não poderá definir campos obrigatórios diferentes para projetos ou tarefas individuais.
Por exemplo, se você marcar os campos Projeto e Etiqueta como obrigatórios, todos os usuários de todos os projetos no espaço de trabalho precisarão fornecer um projeto e uma etiqueta ao registrar o tempo. Você pode personalizar os campos obrigatórios para todo o seu espaço de trabalho, escolhendo quais campos (por exemplo, Projeto, Tarefa, Etiqueta ou Descrição) são obrigatórios para o registro de tempo.
Posso desabilitar campos obrigatórios depois de habilitá-los?
Somente administradores têm permissão para modificar as configurações de campos obrigatórios. As alterações nos campos obrigatórios nas configurações do Espaço de Trabalho afetam apenas as novas entradas de tempo. Se você tornar um campo obrigatório opcional, ele não será obrigatório para entradas futuras.
Os registros de tempo enviados, mesmo que não incluam as informações agora opcionais, não serão atualizados.
Posso usar etiqueta para relatórios mais detalhados?
Com certeza! As etiquetas são úteis para organizar e encontrar seus registros de tempo.
Você pode filtrar facilmente para ver o tempo gasto em diferentes etapas do projeto (como Planejamento, Desenvolvimento ou Teste), para quais clientes você trabalhou ou o tipo de trabalho que realizou (por exemplo, trabalho faturável versus trabalho interno).
Campos obrigatórios podem ser aplicados a entradas de tempo registradas por meio do aplicativo móvel ou da extensão do navegador?
Sim, as configurações de campos obrigatórios se aplicam a registros de tempo feitos em todas as plataformas, incluindo o aplicativo móvel e a extensão do navegador. Se você registrar tempo em qualquer dispositivo e os campos obrigatórios (como Projeto ou Etiqueta) não estiverem preenchidos, você será solicitado a preencher as informações faltantes antes de poder salvar o registro.
Como os campos obrigatórios afetam as entradas de tempo existentes?
Os campos obrigatórios só afetam registros de tempo novos ou atualizados após serem ativados. Se os campos obrigatórios forem configurados no meio de um projeto, os registros de tempo já existentes não passarão a exigir esses campos retroativamente.
Assim que os campos obrigatórios forem ativados, quaisquer novas entradas de tempo ou atualizações em entradas existentes precisarão atender aos novos requisitos para garantir que as entradas de tempo estejam completas e organizadas.
Posso personalizar quais usuários são afetados pelos campos obrigatórios?
Não, os campos obrigatórios aplicam-se a todos os utilizadores no espaço de trabalho assim que forem ativados, independentemente da sua função (por exemplo, Administrador, Gestor de Projeto, Membro da Equipa).
Para obter assistência adicional ou configurar campos e etiquetas obrigatórios de acordo com as necessidades específicas do seu espaço de trabalho, você sempre pode entrar em contato com o administrador do seu espaço de trabalho ou consultar nosso artigo Campos obrigatórios na Central de Ajuda para obter instruções detalhadas e práticas recomendadas.