Facturar el tiempo registrado
Si estás cobrando a tus clientes por hora, necesitas mantener un registro de todo el tiempo que pasas trabajando para garantizar una facturación precisa. Esto incluye las tareas no facturables, como correos electrónicos o preparación de facturas. Conocer el tiempo total necesario para todo es importante para obtener una vista clara de cómo está tu empresa a nivel financiero.
Clockify te puede ayudar a organizar y ver el trabajo facturable y el no facturable estableciendo diferentes tarifas en la Configuración del espacio de trabajo.
La tarifa facturable es una función de pago disponible en cualquier plan de pago.
Establecer tus tarifas en la Configuración del espacio de trabajo #
- Haz clic en el ícono de tres puntos al lado del nombre de tu espacio de trabajo
- Selecciona Configuración del espacio de trabajo
- Haz clic en Cambiar bajo la Tarifa facturable del espacio de trabajo
- Introduce el importe que quieras
- Selecciona cuándo se aplica la tarifa facturable:
- A partir de hoy o a partir de una fecha específica
- Para todas las entradas pasadas y futuras
6. Haz clic en Guardar
Añadir proyectos a un cliente #
Para crear un proyecto específico y vincularlo a un cliente:
- Ve a Proyectos
- Haz clic en Crear nuevo proyecto en la esquina superior derecha
- Introduce el nombre del proyecto
- Selecciona un cliente del menú desplegable
- Establece como Público o Privado
- Haz clic en Guardar

Los proyectos públicos son visibles para todos en el espacio de trabajo, mientras que los privados son visibles solo para los miembros de proyectos, los administradores del espacio de trabajo y los gerentes de proyectos.
Establecer tarifas de proyectos #
Para establecer tarifas únicas para proyectos específicos que se diferencian de tu tarifa por hora normal:
- Ve a Proyectos
- Haz clic en el proyecto para el que quieres establecer la tarifa diferente
- Haz clic en la pestaña Configuración
- Establece el importe bajo la Tarifa facturable de proyecto haciendo clic en Cambiar
- Introduce la tarifa/importe facturable
- Haz clic en Guardar
Seguir el tiempo facturable vs. no facturable #
Para obtener una vista real de la rentabilidad del proyecto, deberías registrar todo el trabajo, incluso el trabajo para que no cobras.
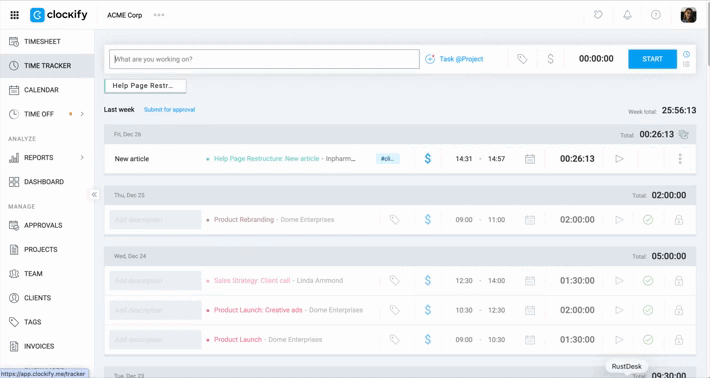
Seguir el tiempo facturable #
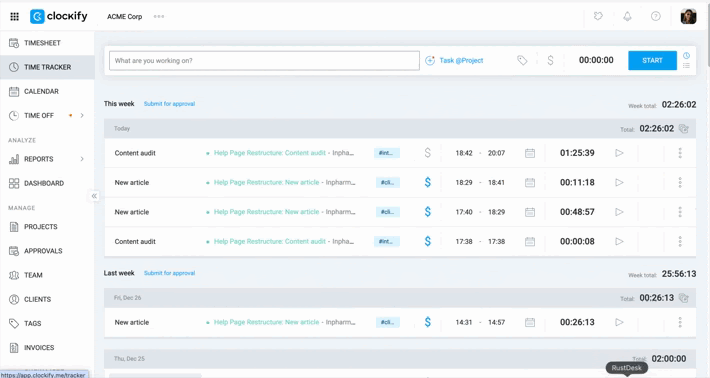
1. Inicia el temporizador: Introduce la descripción de tu actividad y selecciona el proyecto en que estás trabajando.
2. Las entradas de tiempo están marcadas como Facturables por defecto, pero comprueba que el signo $ sea azul para indicar que la tarea es facturable.

3. Resumir trabajo: Usa el ícono de reproducción en las entradas existentes para reiniciar el temporizador para tareas recurrentes a lo largo del día.

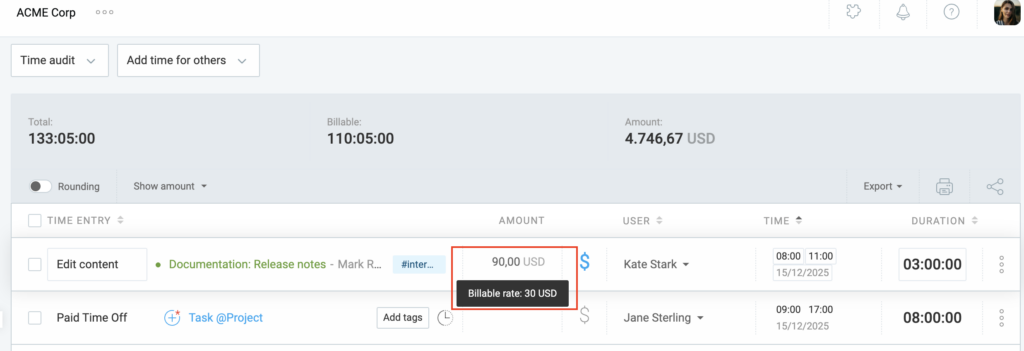
En el informe detallado, puedes comprobar el importe total cobrado para una entrada de tiempo en la columna Importe. Haciendo clic en el signo $ a su lado cambiará la facturabilidad a Facturable o No facturable.
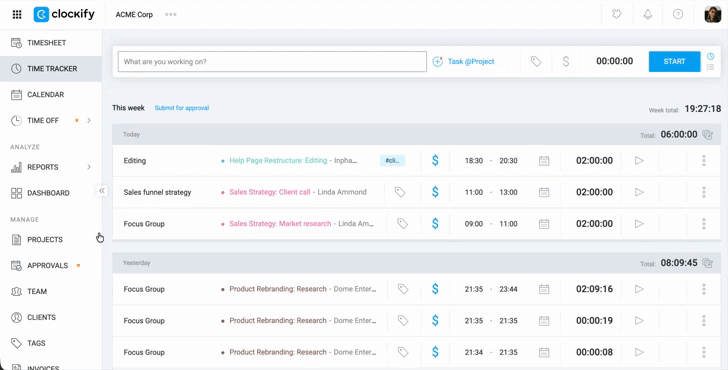
Seguir el tiempo no facturable #
Las reuniones, las tareas administrativas o la preparación de facturas deben ser registradas.
- Desactiva el “$”: Asegúrate de que el ícono de facturabilidad sea gris.
- Usa las etiquetas: Añade una etiqueta de “Reunión” o “Administración” para filtrar fácilmente estas entradas en tus informes.
Generar un informe de cliente #
- Ve a Informes > Resumido
- Selecciona el período de tiempo para que cobras
- Haz clic en el filtro Cliente y selecciona el cliente al que estás cobrando
- Haz clic en el filtro Estado y selecciona Facturable
- Desplázate hasta la tabla y agrupa por Proyecto > Tarea para un desglose granular de las entradas de tiempo
Si pasas demasiado tiempo en una tarea facturable y quieres reducir el tiempo, ve al Informe detallado, busca esas entradas y conviértelas en no facturables.
Compartir informe #
Para compartir un enlace a un informe:
1. Ve a Informes
2. Aplica los filtros para generar el informe
3. Haz clic en el botón Compartir en la esquina superior derecha de la tabla
4. Introduce un nombre para tu informe
5. Establece el informe como público o privado
6. Activa las siguientes funciones:
- Siempre abrir como “Este mes”: Garantiza que el enlace sea dinámico; cada vez que se abre, se actualiza automáticamente para mostrar los datos del mes actual.
- Bloquear fechas: Hace que el enlace sea estático; restringe a los lectores a un intervalo determinado de fechas que seleccionaste y les impide cambiarlo.
- Programar envío de correo electrónico: Automatiza la entrega; envía los informes como PDF, Excel o CSV a tu bandeja de entrada (o de otros) a nivel diario, semanal o mensual.
7. Haz clic en Crear enlace
8. Haz clic en Copiar para copiar el enlace
9. Haz clic en Cerrar
Compartir un informe en Clockify te permite otorgar a otros acceso a los datos en tiempo real sin que tengan que navegar por todo el panel.
Informes compartidos públicos vs. privados #
La configuración de la visibilidad determina quién puede abrir el enlace generado:
- Público: Cualquiera que tenga el enlace puede ver el informe. No necesitan una cuenta Clockify para ver los datos. Esto es ideal para compartir actualizaciones de progreso con clientes externos.
- Privado: Solo las personas con una cuenta Clockify, los miembros de tu espacio de trabajo y los miembros de un grupo específico de usuarios que seleccionas pueden abrir el enlace.
Si pierdes el enlace o necesitas gestionarlo más tarde, no necesitas recrear el informe:
- Ve a Informes
- Haz clic en la pestaña Compartido (en la parte superior de la página)

Aquí verás una lista de todos los informes que has creado o que se han compartido contigo. Puedes copiar el enlace a tu portapapeles, hacer clic en el nombre para abrirlo, o hacer clic en los tres puntos para editar la configuración de compartición (como cambiar el nombre o la visibilidad) o eliminar el enlace por completo.
Cosas para recordar sobre informes compartidos:
- Los informes compartidos están activos. Cuando alguien abre el enlace, muestra los datos más recientes según los filtros que estableciste, en lugar de una captura de pantalla estática.
- Un informe compartido siempre refleja los permisos del creador. Si la persona que creó el enlace pierde el acceso a ciertos datos (como las tarifas facturables), esos datos también desaparecerán del informe compartido.
Crear factura #
Una vez verificadas tus horas, genera una factura profesional.
- Crea una nueva factura y usa la función Importar para incorporar todas las horas facturables no facturadas para ese cliente.
- Elimina manualmente cualquier entrada que quieras excluir o ajusta el rango de fechas para que coincida con tu ciclo de facturación.
- Marca las facturas como Enviadas o Pagadas dentro de Clockify para mantener tus cuentas organizadas.
Echa un vistazo a Crear y gestionar facturas para obtener más información sobre el uso de esta funcionalidad.
Importante tener en cuenta: #
- Evita escribir la misma descripción dos veces. Usa el ícono de reproducción en tu Panel para resumir instantáneamente tus tareas anteriores.
- Si compraste materiales o pagaste por un software para un proyecto, registra esto en la pestaña Gastos para que se puedan añadir a la factura final junto con tu tiempo.