Calendrier
Le Calendrier vous permet de visualiser et de gérer vos saisies de temps pour votre journée de travail. Il est conçu pour vous aider à identifier les écarts dans votre planning et à confronter les activités planifiées avec le temps effectivement enregistré.
Voir le temps #
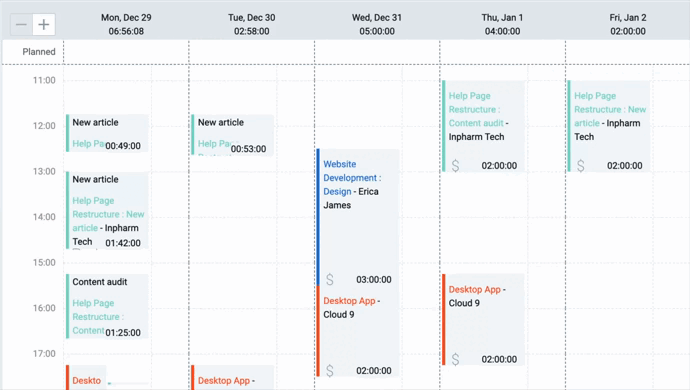
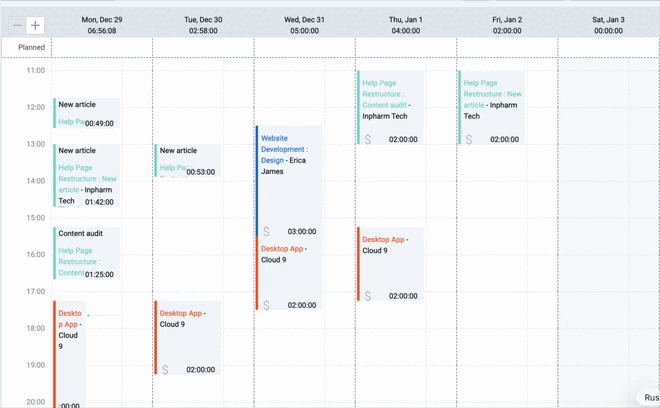
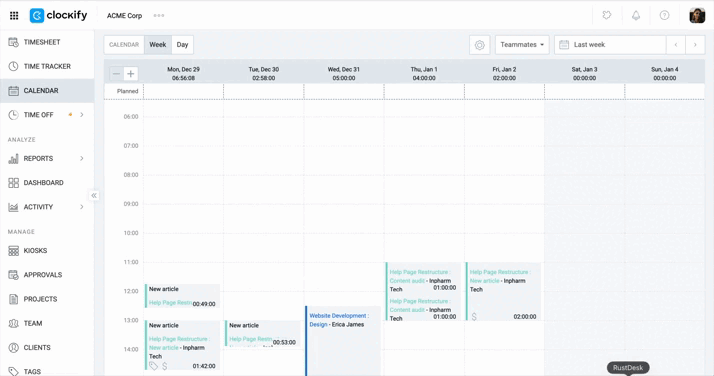
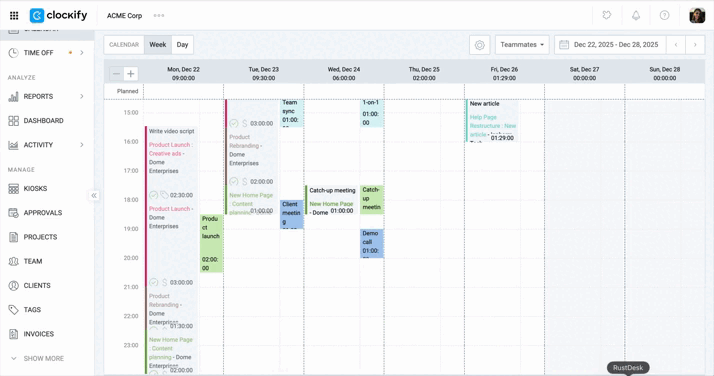
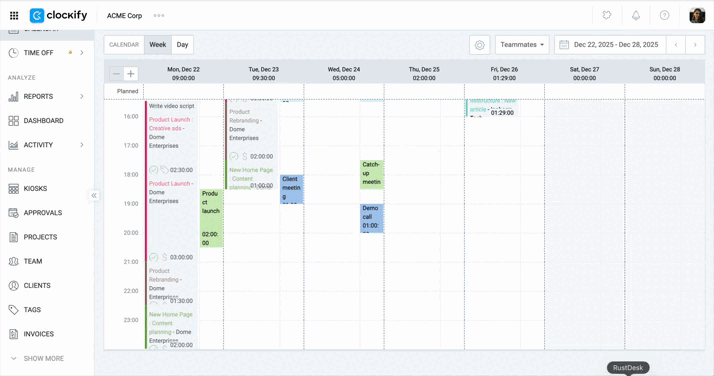
Chaque saisie de temps apparaîtra comme un bloc de temps dans les tranches de temps du calendrier. Le jour actuel est marqué en bleu dans l’en-tête du tableau, et l’heure actuelle est indiquée par la ligne horizontale bleue.
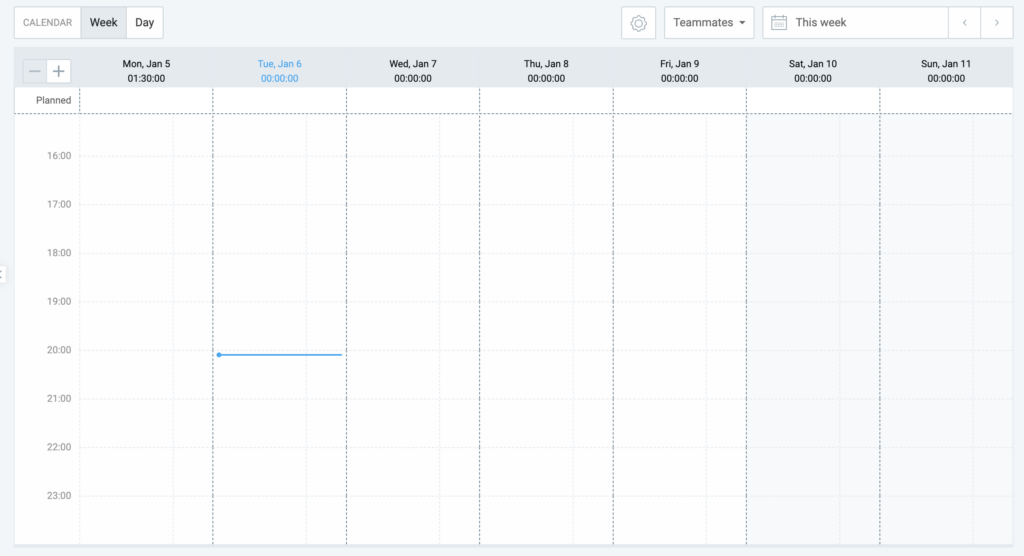
Chaque tranche horaire représente 1h, mais vous pouvez zoomer en utilisant le signe plus dans le coin supérieur gauche jusqu’à des blocs de 30/15/5 minutes.
Vous pouvez survoler un bloc de temps pour voir les détails complets de la saisie, ou cliquer sur le bloc pour ouvrir l’affichage complet de la saisie de temps
Vous pouvez modifier le premier jour de la semaine dans vos paramètres de profil.
Voir le calendrier des membres de l'équipe #
La consultation du calendrier d’un membre de l’équipe fait partie de la fonctionnalité Ajouter du temps pour les autres, qui est une fonctionnalité payante disponible dans toutes les formules payantes.
Tout le monde ne peut pas consulter le calendrier d’un collègue.
- Les administrateurs peuvent consulter, ajouter et modifier les saisies de calendrier de tous les membres de l’espace de travail.
- Les chefs d’équipe peuvent consulter et modifier les calendriers uniquement des utilisateurs ou des groupes qu’ils gèrent (à condition que l’option permettant aux chefs d’équipe de modifier les paramètres de temps ait été activée par un administrateur).
- Les utilisateurs standards ne peuvent généralement pas consulter les calendriers des autres, sauf si un administrateur a activé cette option dans les paramètres de l’espace de travail.
Pour afficher le calendrier d'un utilisateur :
- Allez à la page Calendrier
- Cliquez sur le sélecteur Collègues en haut de la page Calendrier
- Sélectionnez un utilisateur dans la liste

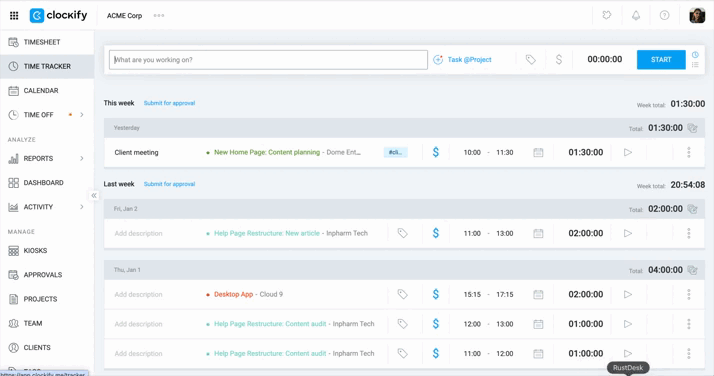
Ajouter une saisie de temps #
Pour ajouter une saisie de temps dans le calendrier :
1. Cliquez sur le bloc de temps pour enregistrer une saisie de temps
2. Ajoutez ou modifiez les informations suivantes selon vos besoins dans la fenêtre Ajouter une saisie de temps :
- Durée : Le temps total consacré à une activité
- Heure de début/fin : L’heure à laquelle une tâche a commencé et s’est terminée
- Date : La date à laquelle la tâche a été achevée
- Description : Une brève description de la tâche
- Projet : Le projet auquel la saisie est affectée
- Balise : Un mot-clé ou une catégorie couramment utilisé(e) à des fins de reporting ou de facturation
- Facturable (Oui/Non) : Un bouton permettant d’indiquer si le temps passé doit être facturé à un client
3. Cliquez sur Ajouter
Veillez à arrêter un minuteur en cours avant de créer une saisie dans le calendrier afin d’éviter tout chevauchement susceptible de provoquer un conflit.
Modifier la saisie de temps #
Vous pouvez modifier les saisies de temps directement dans le calendrier :
- Redimensionner : Faites glisser les bords du bloc de temps correspondant aux heures de début et de fin pour raccourcir ou allonger la saisie.
- Déplacer : Faites glisser et déposez le bloc de temps entier pour le déplacer vers un autre créneau horaire ou une autre date.
- Diviser : Cliquez sur une saisie de temps pour diviser une saisie en cours ou déjà créée.
Afficher les jours ouvrables uniquement #
Pour masquer les week-ends ou les jours fériés :
- Cliquez sur l’icône en forme d’engrenage sur la page de votre calendrier
- Cochez l’option Afficher uniquement les jours ouvrables
- Cliquez sur Fermer pour quitter
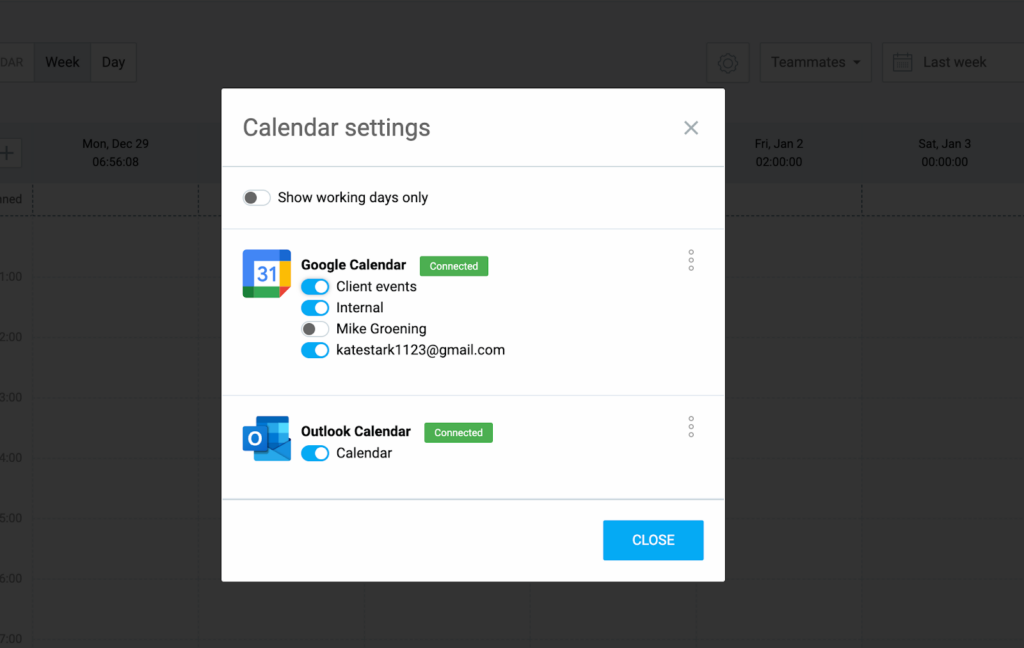
Connecter Google Agenda ou Outlook #
Clockify offre la possibilité de synchroniser vos événements avec sa page Calendrier en connectant vos calendriers Google ou Outlook.
Pour connecter Google Agenda ou Outlook :
- Allez à la page Calendrier
- Cliquez sur l’icône en forme de roue dentée
- Cliquez sur Connecter pour Google Agenda ou Outlook
- Autorisez Clockify à accéder aux événements de votre calendrier
Quelques informations importantes concernant cette intégration :
- Seule la version cloud d’Outlook est prise en charge pour le moment.
- Clockify dispose d’un accès en lecture seule à vos calendriers externes.
- Les modifications effectuées dans Google ou Outlook seront répercutées dans Clockify.
- Le déplacement ou la modification d’un bloc « copié » dans Clockify ne modifiera pas l’événement d’origine dans votre calendrier Google ou Outlook.
- Seuls les événements avec une heure de début et de fin apparaissent dans la vue Calendrier. Si votre calendrier externe contient des événements sur toute la journée, ceux-ci ne seront pas visibles dans le calendrier Clockify.
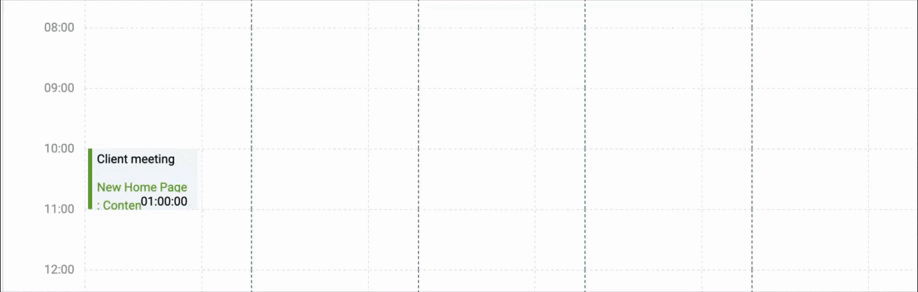
Lancer le minuteur pour un événement #
Pour lancer un minuteur pour un événement Google/Outlook :
- Accédez à Calendrier
- Passez la souris sur l'événement et cliquez sur l’icône de lecture
Créer une saisie de temps à partir d’un événement #
Pour créer une saisie de temps Clockify à partir d’un événement externe :
- Accédez au calendrier
- Passez la souris sur l’événement et cliquez sur Copier en tant que saisie de temps
- Modifiez les détails de l’événement dans la fenêtre contextuelle
- Description
- Projet
- Tags
- Facturable/non facturable
- Cliquez sur Ajouter
Ouvrir l’événement dans Google Agenda/Outlook #
Vous pouvez ouvrir des événements externes directement depuis le calendrier Clockify.
Pour ouvrir un événement externe :
- Accédez au calendrier
- Cliquez sur le nom de l'événement
- Cliquez sur l’icône de lancement pour ouvrir l’événement dans Google/Outlook
Remarques importantes concernant les calendriers externes :
- Les événements des calendriers externes sont privés. Même si vous faites partie d’une équipe, votre manager ou l’administrateur de l’espace de travail ne peut pas voir vos événements Google/Outlook.
- La conversion d’un événement externe en saisie de temps Clockify en fait une saisie standard visible par les administrateurs et incluse dans les rapports de l’espace de travail.
Travailler avec plusieurs calendriers #
Vous pouvez ajouter des calendriers provenant de plusieurs comptes en répétant la procédure de connexion pour chaque compte.
Si vos événements proviennent de plusieurs comptes (p. ex. personnel et professionnel), partagez d’abord les calendriers secondaires avec votre compte principal. Ces sous-calendriers apparaîtront ensuite dans les paramètres de calendrier et pourront être activés ou désactivés individuellement.
Déconnecter Google Agenda ou Outlook #
Pour déconnecter un calendrier :
- Accédez aux paramètres du calendrier
- Cliquez sur l’icône de trois points à côté du calendrier que vous souhaitez déconnecter
- Sélectionnez Déconnecter
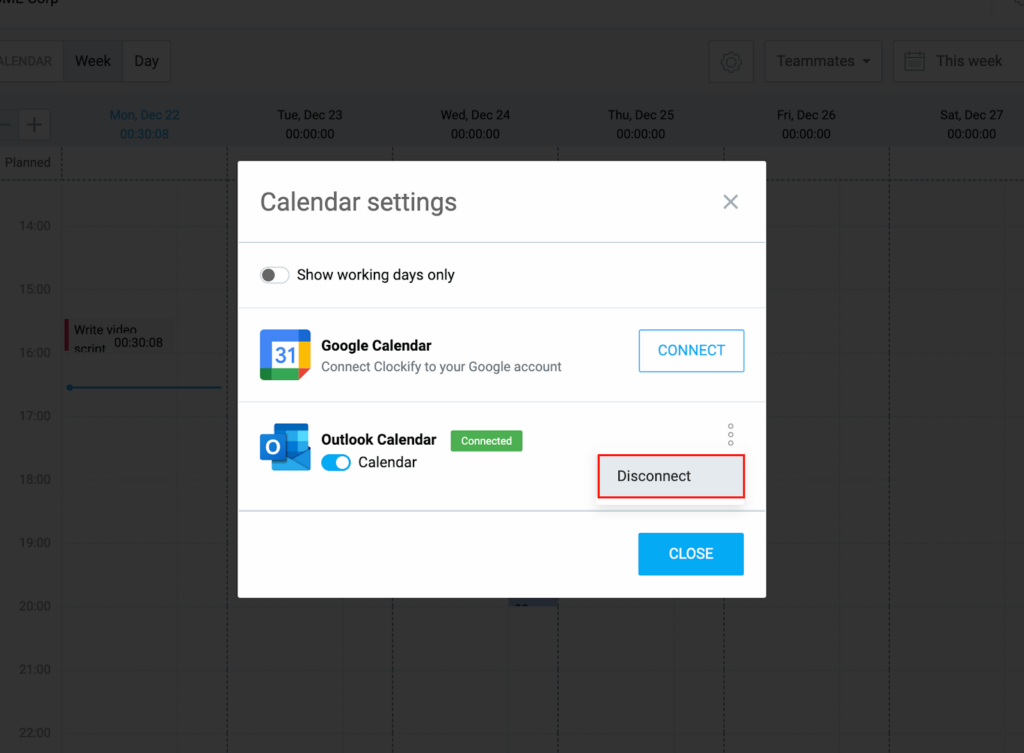
Une fois déconnecté, Clockify perd son accès en lecture seule à votre calendrier externe. Si vous souhaitez vous reconnecter ultérieurement, vous devrez réautoriser la connexion via les autorisations de votre compte Google ou Outlook.