Projekte und Kunden auf Arbeitsbereichsebene erstellen und verwalten
Du kannst Projekte und Kunden in Clockify ganz einfach einrichten und verwalten, um die Zeit deines Teams zu organisieren, den Projektfortschritt zu verfolgen und präzise Berichte zu erstellen.
Projekte vs. Kunden #
Bevor du mit dem Erstellen beginnst, wirf einen Blick auf die folgende Tabelle, um die Beziehung zwischen Projekten und Kunden zu verstehen:
| Elementtyp | Beschreibung | Hierarchie |
| Projekte | Unverzichtbar für die Kategorisierung und Gruppierung von Zeiteinträgen. Sie helfen dir, den Zeitaufwand für verschiedene Aufgaben zu analysieren und Schätzungen festzulegen. | Ein Projekt kann nur einem Kunden zugeordnet werden. |
| Kunden | Die Einheiten, Personen oder internen Abteilungen, für die du arbeitest. | Ein Kunde kann mehrere verknüpfte Projekte haben. |
Projekt-Sichtbarkeit
- Öffentlich: Sichtbar für jeden in deinem Arbeitsbereich
- Privat: Nur sichtbar für ausgewählte Nutzer, die explizit dem Projekt zugewiesen wurden
Im Free-Plan kann die Projektsichtbarkeit nur auf Öffentlich eingestellt werden. Führe ein Upgrade auf einen kostenpflichtigen Tarif, um Projekte auf Privat zu setzen.
Neues Projekt erstellen #
Standardmäßig können nur Admins Projekte erstellen. Du kannst diese Einstellung jedoch in den Arbeitsbereichseinstellungen ändern, um es auch Projektleitern oder jedem in deinem Arbeitsbereich zu ermöglichen.
Die Einstellung, wer Kunden/Projekte/Aufgaben/Tags erstellen darf, ist standardmäßig auf Alle gesetzt und kann im Free-Plan nicht geändert werden.
So erstellst du ein neues Projekt:
- Gehe zur Seite Projekte
- Klicke auf die Schaltfläche Neues Projekt erstellen
- Gib den Projektnamen ein
- Wähle einen Kunden aus. Falls der Kunde noch nicht existiert, tippe einfach den Namen ein und klicke im Auswahlmenü auf Kunde erstellen
- Wähle eine Projektfarbe zur visuellen Unterscheidung aus
- Lege die Sichtbarkeit fest (Öffentlich oder Privat)
- Klicke auf Erstellen
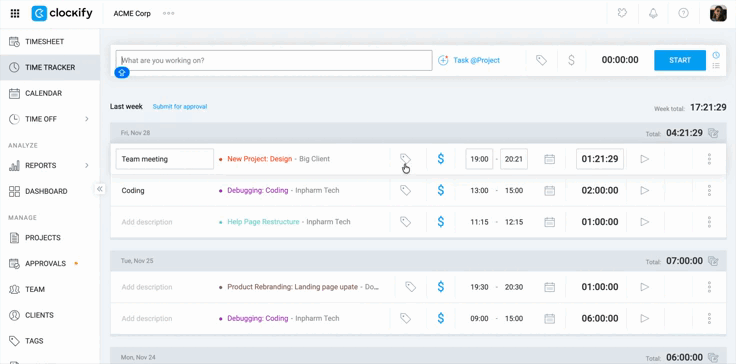
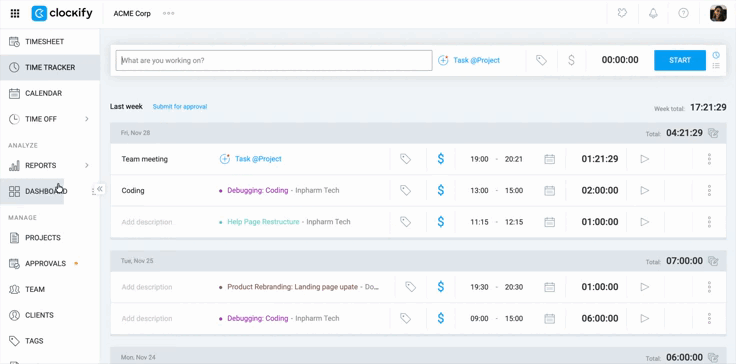
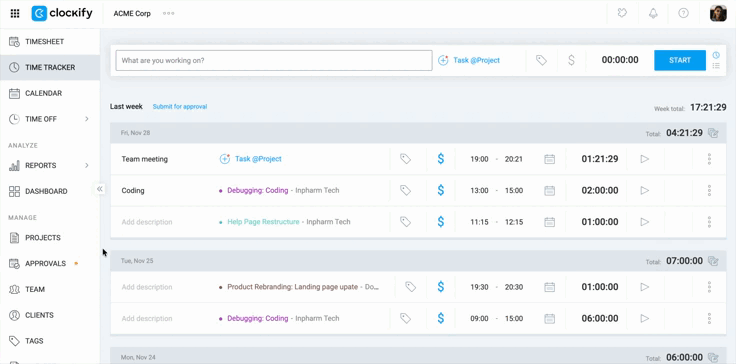
Du kannst ein neues Projekt auch ganz schnell direkt von der Seite Timer aus erstellen:
1. Klicke auf das Feld +Projekt, während du einen Zeiteintrag hinzufügst
2. Beginne damit, den Projektnamen einzutippen
3. Klappe das Menü aus und klicke auf Neues Projekt erstellen, falls es noch nicht existiert
4. Fülle die erforderlichen Details aus (Kunde, Sichtbarkeit, Farbe)
5. Klicke auf Erstellen
Tastenkürzel: Verwende das Tastenkürzel Strg/^ + Enter, um das neue Projekt zu speichern.
Projektdetails bearbeiten #
Du kannst die Grundeinstellungen eines Projekts jederzeit anpassen:
- Gehe zur Seite Projekte
- Klicke auf das Projekt, das du bearbeiten möchtest
- Wechsle zum Tab Einstellungen
- Ändere den Namen, den Kunden oder die Projektfarbe
- Aktualisiere den Projektstatus (z. B. „In Bearbeitung“, „Abgeschlossen“)
- Füge Projektnotizen hinzu, um deinem Team zusätzlichen Kontext zu geben (optional)
Projektabrechnungssätze festlegen #
- Gehe zur Seite Projekte und klicke auf das Projekt, das du aktualisieren möchtest
- Wechsle zum Tab Einstellungen
- Lege den standardmäßigen Stundensatz (abrechenbar) für das Projekt fest
Falls verschiedene Teammitglieder für dasselbe Projekt unterschiedliche Sätze benötigen, navigiere zum Bereich Zugriff des Projekts, um spezifische Sätze pro Nutzer zu definieren.
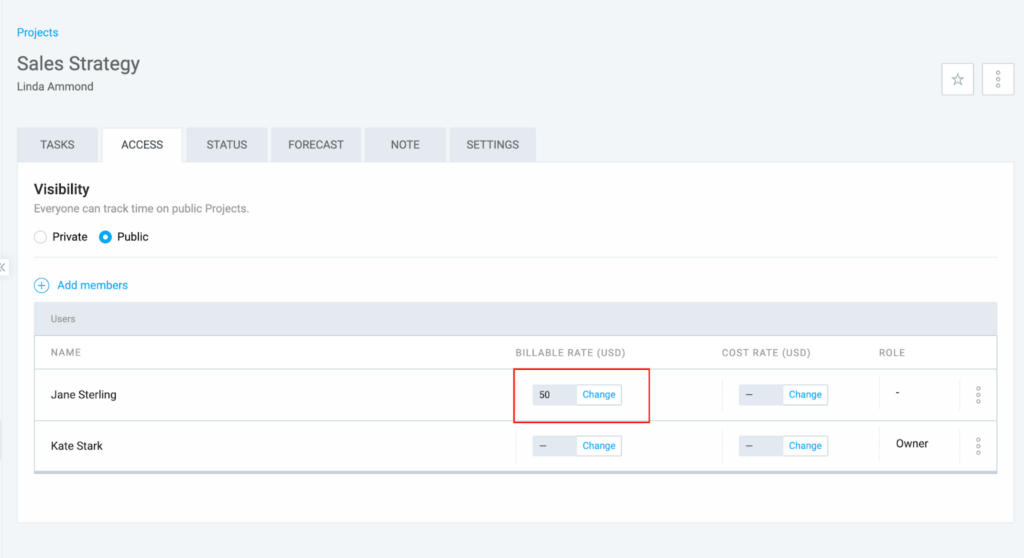
Projektzugriff und Berechtigungen verwalten #
Du entscheidest, welche Nutzer auf ein privates Projekt zugreifen, Aufgaben ändern und Zeit dafür erfassen dürfen. Außerdem kannst du Nutzer als Projektmanager zuweisen.
Weitere Informationen zur Verwaltung von Nutzern in einem Projekt findest du im Hilfeartikel Personen in Projekten verwalten.
Projekte archivieren und wiederherstellen #
Um deinen Arbeitsbereich übersichtlich zu halten, kannst du abgeschlossene Projekte archivieren.
So archivierst du ein Projekt:
- Gehe zur Seite Projekte
- Klicke auf
 three dots next to the project name
 - Wähle Archivieren aus
- Aktiviere oder deaktiviere die Option Alle Aufgaben als erledigt markieren
- Klicke auf Archivieren
So wiederherstellt du ein archiviertes Projekt:
- Ändere oben auf der Seite Projekte den Filter von Aktiv auf Archiviert
- Klicke auf Filter anwenden
- Click the three dot icon next to the archived project name
- Wähle Wiederherstellen aus
- Klicke im Bestätigungsfenster erneut auf Wiederherstellen
Projekte löschen #
Ein Projekt muss zuerst archiviert werden, bevor es gelöscht werden kann.
So löschst du ein Projekt:
- Gehe zur Seite Projekte
- Setze den Filter auf Archiviert
- Klicke auf Filter anwenden
- Click the three dots icon next to the archived project name
- Wähle Löschen
- Tippe DELETE ein und klicke auf Löschen, um die Aktion zu bestätigen
Das Löschen eines Projekts entfernt dieses aus den Zeiteinträgen, aber die historischen Zeitdaten (die Summe der Stunden) bleiben in deinen Berichten erhalten.
Projekte zusammenführen #
Da es keine direkte Funktion gibt, um zwei Projekte mit einem Klick zu verschmelzen, kannst du Zeiteinträge einfach neu zuweisen. So gehst du vor:
- Navigiere zur Seite Berichte
- Wähle die Ansicht Detaillierter Bericht
- Filtere nach dem ursprünglichen Projekt und klicke auf Filter anwenden
- Setze ganz oben ein Häkchen in das Kontrollkästchen, um alle angezeigten Zeiteinträge auszuwählen
- Klicke auf Massenbearbeitung
- Wähle das neue Projekt aus, in das die Einträge verschoben werden sollen
- Klicke auf Speichern
- Archiviere und lösche das alte Projekt
Erweitertes Projektmanagement #
Hier sind einige fortgeschrittene Funktionen für die Verwaltung von Projekten in deinem Arbeitsbereich. Beachte, dass einige davon nur in kostenpflichtigen Abonnements oder für bestimmte Nutzerrollen verfügbar sind.
| Funktion | Beschreibung |
| Aufgaben massenhaft hinzufügen und bearbeiten | Admins und Besitzer können Aufgaben über mehrere Projekte hinweg gleichzeitig bearbeiten oder hinzufügen. Dies ist besonders hilfreich, um große Mengen an Aufgaben effizient zu organisieren. |
| Projekte aus Vorlagen erstellen | Verfügbar in kostenpflichtigen Plänen.Vorlagen ermöglichen es dir, neue Projekte mit vordefinierten Einstellungen (Stundensätze, Aufgaben, Schätzungen) zu erstellen, um Zeit zu sparen. |
| Projekte filtern und sortieren | Nutze die Filter oben auf der Projektseite, um schnell zu finden, was du suchst. Filtern nach: • Aktivitätsstatus • Kunde • Projektbenutzer • Abrechenbarkeit • Name Sortieren nach: • Name • Kunde • Status |
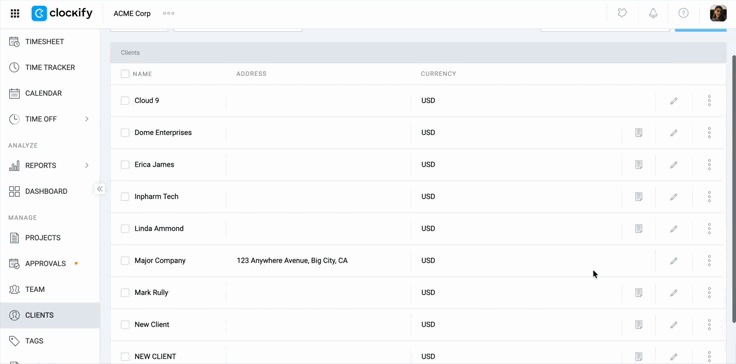
Neuen Kunden erstellen #
Standardmäßig können nur Admins und Besitzer Kunden anlegen.
Wenn die Einstellung Wer Projekte und Kunden erstellen kann auf Jeder gesetzt ist, können auch reguläre Benutzer Kunden erstellen. Allerdings haben sie dann keinen Zugriff auf die Seite Kunden.
So erstellst du einen neuen Kunden:
- Gehe zur Seite Kunden
- Gib den Namen des Kunden in das Feld Neuen Kunden hinzufügen ein
- Klicke auf Hinzufügen
Kundeninformationen bearbeiten #
- Gehe zur Seite Kunden
- Klicke auf das Stift-Symbol neben dem Kunden, den du bearbeiten möchtest
- Bearbeite die Details nach Bedarf:
- Kundenname
- E-Mail-Adresse des Kunden
- CC-Empfänger
- Anschrift
- Kundennotizen
- Währung
Kunden archivieren #
- Gehe zur Seite Kunden
- Click the three dot icon next to the client’s name
- Wähle Archivieren aus und bestätige die Aktion
- Setze ein Häkchen bei Zusätzlich alle diesem Kunden zugewiesenen Projekte archivieren (optional)
- Klicke auf Archivieren
Kunden löschen #
Ein Kunde muss zuerst archiviert werden, bevor er endgültig gelöscht werden kann.
- Gehe zur Seite Kunden
- Wähle im Filter-Menü die Option Archivierte anzeigen
- Click the three-dot icon next to the archived client
- Wähle Löschen aus
- Tippe DELETE ein und klicke auf Löschen, um die Aktion zu bestätigen
Häufig gestellte Fragen #
Wie kann ich Zeit für ein neues Projekt erfassen?
Sobald das Projekt erstellt wurde, kannst du es auf den Seiten Timer, Arbeitszeittabelle und Kalender auswählen. Ist das Projekt als privat eingestellt, können nur die Nutzer es auswählen, die diesem Projekt explizit zugewiesen wurden.
Wie erfasse ich Zeit für einen Kunden?
Um Zeit für einen Kunden zu erfassen, musst du diesen zuerst auf der Seite Kunden erstellen. Weise den Kunden einem Projekt zu. Achte darauf, bei der Zeiterfassung immer das entsprechende Projekt auszuwählen. Nur so werden die Zeiteinträge in den Berichten und Rechnungen korrekt dem jeweiligen Kunden zugeordnet.
Kann ich einen Stundensatz für Kunden festlegen?
Es ist nicht möglich, einen Stundensatz direkt im Kundenprofil zu hinterlegen. Du kannst jedoch kundenspezifische Preise festlegen, indem du den abrechenbaren Satz auf Projektebene definierst. Vorgehensweise: Weise das Projekt dem Kunden zu und lege dann in den Projekteinstellungen den gewünschten Satz fest.
Kann ich die Kundenzuordnung eines Projekts nachträglich ändern?
Ja, du kannst ein Projekt neu zuweisen, indem du auf die Seite Projekte gehst, auf das jeweilige Projekt klickst und zum Reiter Einstellungen navigierst. Von dort aus kannst du einen anderen Kunden aus dem Dropdown-Menü auswählen oder einen neuen erstellen; die Änderung wird sofort für den gesamten Arbeitsbereich übernommen.