Create & manage projects & clients on workspace level
You can easily set up and manage projects and clients in Clockify to organize your team’s time, track project progress, and generate accurate reports.
Projects vs clients #
Let’s take a look at the table below to understand the relationship between projects and clients before you start creating them.
| Item type | Description | Hierarchy |
| Projects | Essential for categorizing and grouping time entries. They help you analyze time spent on different tasks and set estimates. | A project can only belong to one client. |
| Clients | The entities, individuals, or internal departments for whom you are doing work. | A client can have multiple projects linked to them. |
Project visibility:
- Public: Visible to everyone in the workspace
- Private: Visible only to selected users who are assigned to the project
You can only set project visibility to Public on a Free plan. Upgrade to any paid plan to set projects to Private.
Create a new project #
By default, only Admins can create projects. You can change this setting in Workspace settings to allow Project Managers or Anyone in the workspace to create projects.
Who can create clients/projects/tasks/tags is set to Everyone by default and can’t be changed on the Free plan.
To create a new project:
- Go to the Projects page
- Click the Create new project button
- Enter the Project name
- Select a client. If the client doesn’t exist, simply type the name and click Create client from the selection menu
- Choose a Project color for visual distinction
- Set Visibility (Public or Private)
- Click Create
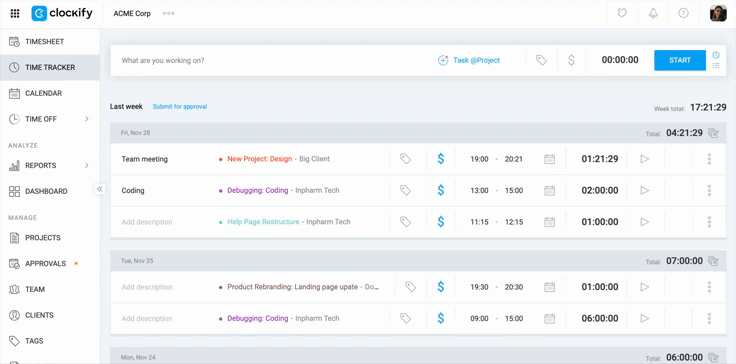
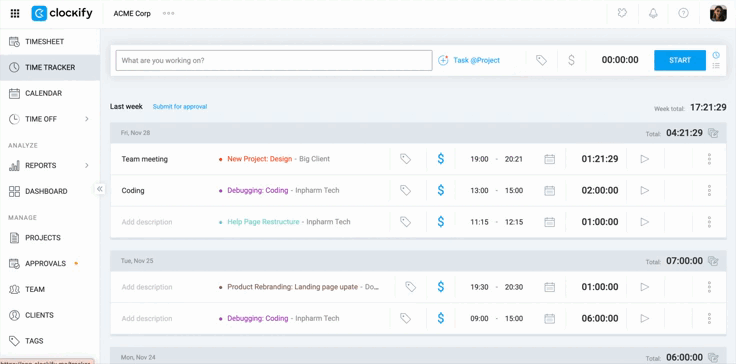
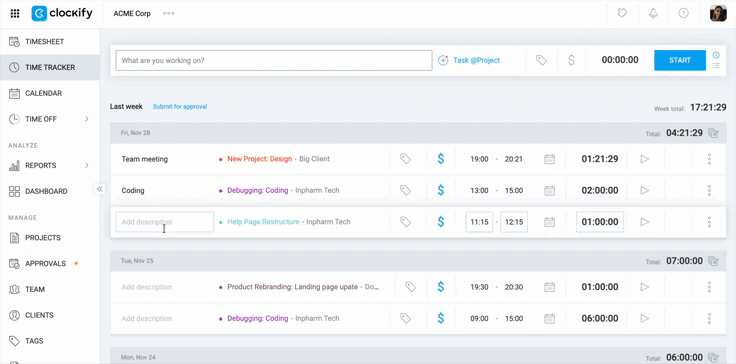
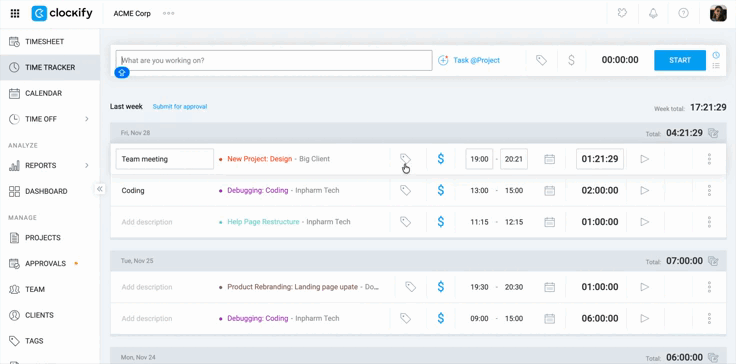
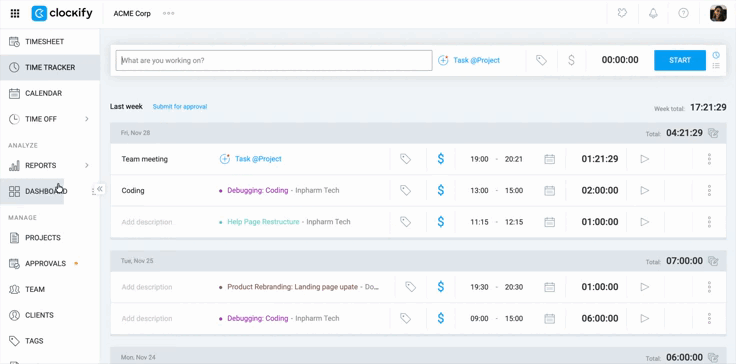
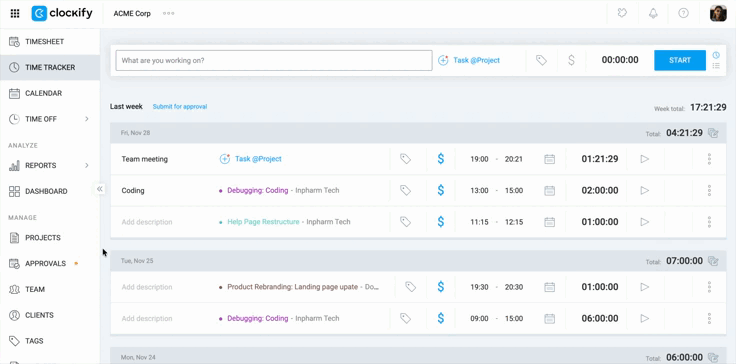
You can also quickly create a new project directly from the Time Tracker page.
1. Click the +Project field while adding a time entry.
2. Start typing the project name
3. Expand the menu and click Create new project if it doesn’t exist
4. Fill in the required details (client, visibility, color)
5. Click Create
Shortcut: Use the keyboard shortcut Ctrl/^ + Enter to save the new project.
Edit project details #
You can edit a project’s core settings at any time:
- Go to the Projects page
- Click on the project you want to edit
- Switch to the Settings tab
- Modify the Name, Client, and Project Color
- Update Project Status (e.g., In Progress, Completed)
- Add Project Notes to provide context for your team (optional)
Set project billable rates #
- Go to the Projects page and click the project you want to update
- Switch to the Settings tab
- Set the default Billable rate for the project
If different team members need different rates on the same project, navigate to the Access section of the project to define specific rates per user.
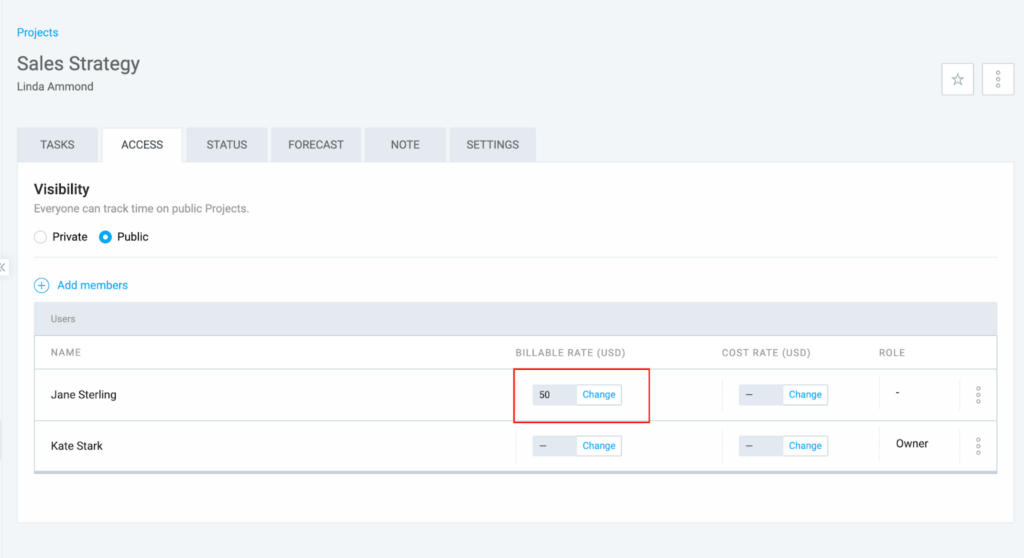
Manage project access & permissions #
You control which users can access a private project, modify tasks, and track time under it. You can also assign users as Project Managers.
To learn more about how to manage users on a project, refer to the Manage people on projects help article.
Archive and restore projects #
To keep your workspace clean, you can archive completed projects.
To archive a project:
- Go to the Projects page
- Click the
 three dots next to the project name
 - Select Archive
- Select or deselect Mark all tasks as done
- Click Archive
To restore an archived project:
- Change the Active filter to Archived at the top of the Projects page
- Click Apply filter
- Click the three dot icon next to the archived project name
- Select Restore
- Click Restore in the confirmation window
Delete projects #
Projects must be Archived before they can be deleted.
To delete a project:
- Go to the Projects page
- Set the filter to Archived
- Click Apply filter
- Click the three dots icon next to the archived project name
- Select Delete
- Type DELETE and click Delete to confirm the action
Deleting a project removes it from time entries, but the historical time data remains intact.
Merge projects #
While you cannot directly merge two projects, you can reassign time entries:
- Navigate to the Reports page
- Select the Detailed report view
- Filter by the target Project and click Apply Filter
- Check the top-most box to select all displayed time entries
- Click Bulk Edit
- Select the new project for the merge
- Click Save
- Archive and Delete the old project
Advanced project management #
Here are some advanced features for managing projects within the workspace, some of which are available with paid plans or specific user roles.
| Feature | Description |
| Bulk add and edit tasks | Admins and owners can add or edit tasks across multiple projects at once using the bulk edit screen. This is useful for organizing large numbers of tasks. |
| Create projects from templates | Available with paid plans, templates allow you to create new projects with pre-set settings (billable rates, tasks, estimates) to save time. |
| Filter and sort projects | Use the filters at the top of the Projects page to easily find what you need. Filter by: • Active status • Client • Project users • Billability • Name Sort by: • Name • Client • Status |
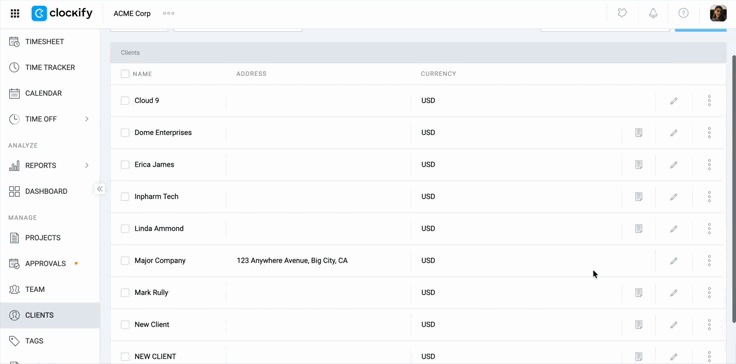
Create a new client #
By default, Admins and Owners can create clients.
If the setting Who can create projects and clients is set to Anyone in your Workspace settings, regular users can also create clients, but they will not have access to the Clients page.
To create a new client:
- Go to the Clients page
- Enter the client’s name in the Add new client field
- Click Add
Edit client information #
- Go to the Clients page
- Click the pen icon next to the client you want to edit
- Modify details such as:
- Client’s name
- Client’s email address
- Cc recipients
- Physical address
- Client notes
- Currency
Archive a client #
- Go to the Clients page
- Click the three dot icon next to the client’s name
- Choose Archive and confirm the action
- Check the box for Also archive all Projects assigned to this Client (optional)
- Click Archive
Delete a client #
Clients must be Archived before they can be deleted.
- Go to the Clients page
- Select Show Archived from the filter menu
- Click the three-dot icon next to the archived client
- Choose Delete
- Type DELETE and click Delete to confirm the action
FAQ #
How can I track time for a new project?
Once the project is created, you can choose it when tracking time on Time tracker, Timesheet, and Calendar pages. If the project is set to private, only users assigned to it can select it.
How can I track time for a client?
To track time for a client, first create the client in the Clients page. Assign the client to a project. Make sure to select the project when tracking time to correctly attribute time entries to the client for reporting and invoicing.
Can I set up a client rate?
While you cannot set a rate directly on a client profile, you can establish client-specific pricing by setting a billable rate at the project level. You do this by assigning a project to a client and defining the desired rate within that project’s settings.
Can I change which client a project is assigned to after it’s been created?
Yes, you can reassign a project by going to the Projects page, clicking on the specific project, and navigating to the Settings tab. From there, you can select a different client from the dropdown menu or create a new one, and the change will update across the workspace immediately.