Jira: Clockify 2 way integration
Our free Jira app enables you to track time on issues directly from Atlassian Jira with just one click.
Clockify plugin for Jira is available in the Jira web app, Jira mobile app for Android and iOS, as well as Jira macOS desktop app.
Install the Clockify Jira app #
Jira admin needs to install the Clockify app from the official Atlassian Marketplace.
To install Jira from the Atlassian Marketplace:
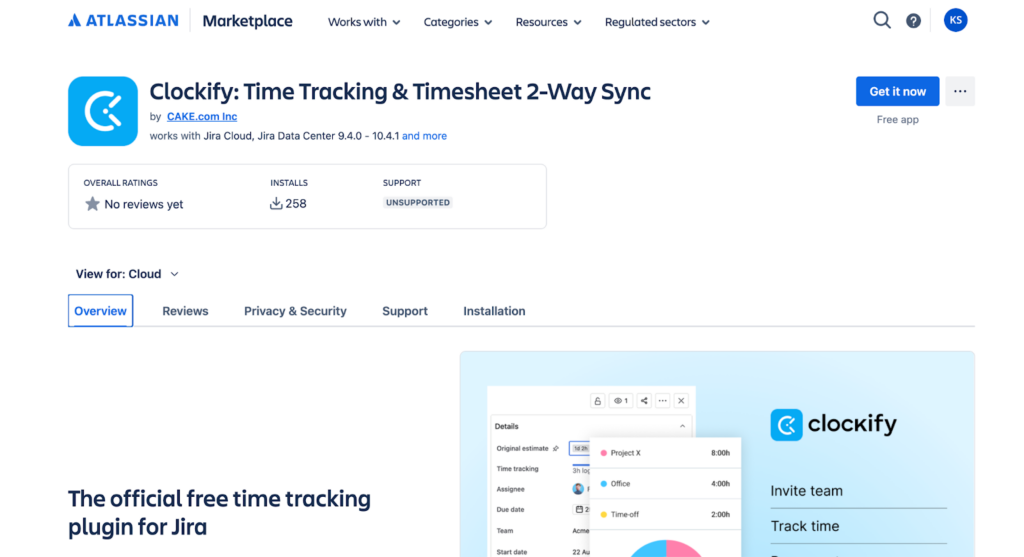
- Go to the Clockify: Time Tracking & Timesheet 2-Way Sync listing on the Atlassian Marketplace
- Click the blue Get it now button in the top right corner
- Log in to your Atlassian account (if you haven’t done so yet) and ensure you have site administrator permissions for your Jira instance
- Choose the specific Jira Cloud URL (e.g., yourcompany.atlassian.net) where you want the app installed
- Click Review
- Review the app permissions and terms
- Click Get it now
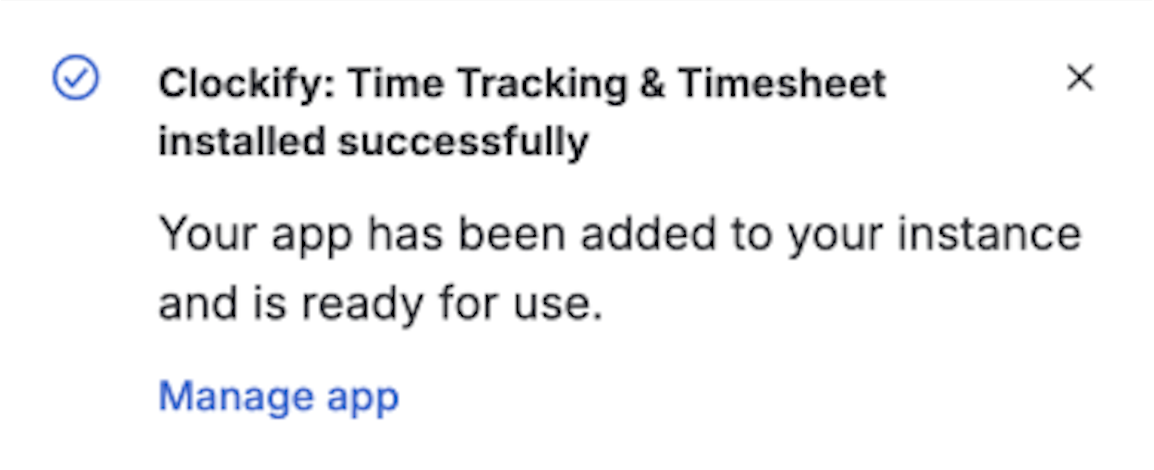
After installation, you’re taken to the app page where a confirmation message appears that the app was installed successfully.
Connect Your Clockify Account #
Now that the app is in your Jira instance, you must link it to your actual Clockify data by following these steps:
- Log in to Jira Data Center
- Go to My Profile page
- Select Personal Access Tokens on the left sidebar
- Click Create Token
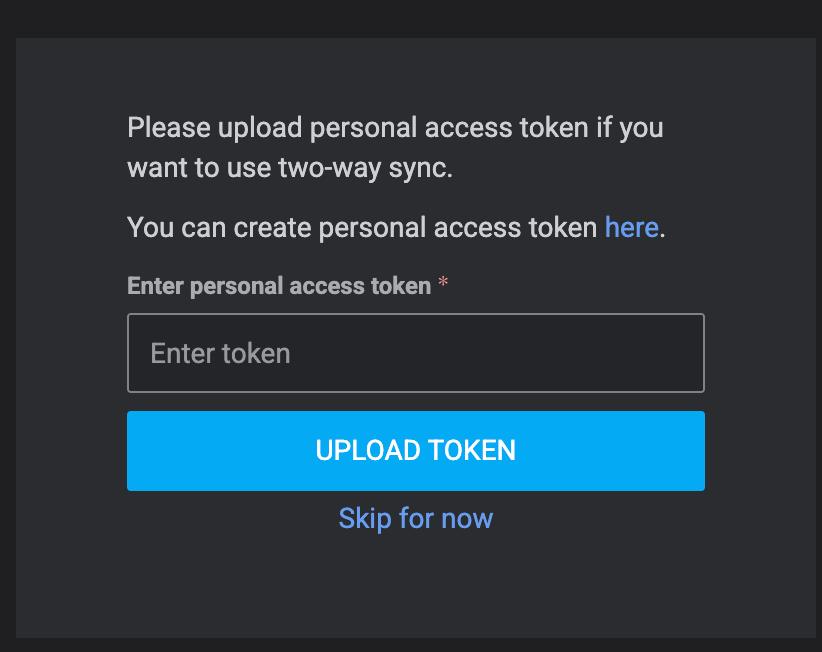
- Paste the token into the Clockify app settings
- Click Upload token
Install Jira from Clockify #
You can also install Jira from Clockify.
- Go to Workspace settings
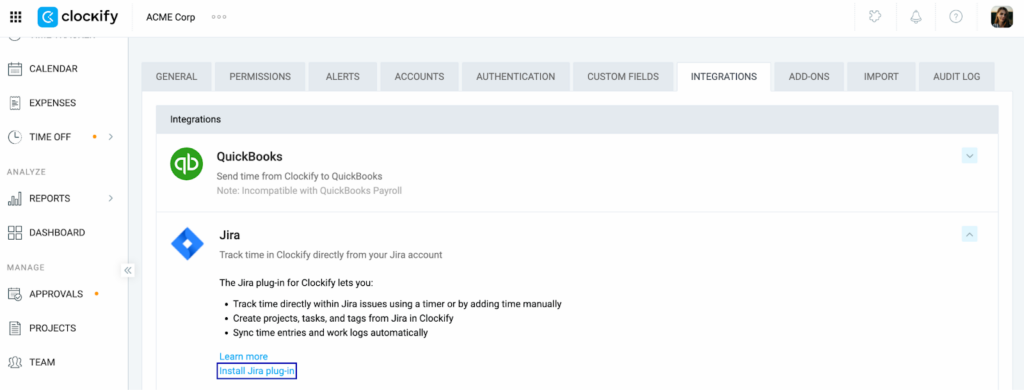
- Click Integrations
- Click the dropdown for the Jira add-on
- Click Install Jira plug-in
Jira Cloud + Clockify Cloud
- Go to the Atlassian Marketplace and find Clockify (make sure you installed the app developed by CAKE.com)
- Click Get it now
- Choose a site where you want to install the app from the dropdown list
- Follow the prompts to review permissions and complete the installation
Jira Data Center (Jira Server) + Clockify Cloud
Time tracking for Jira Data Center via Clockify will be available soon.
Jira Cloud + Clockify
In your Jira Cloud instance:
- Go to Manage apps > Settings
- Choose Enable development mode and click Apply
- Go to Manage apps >Install private app
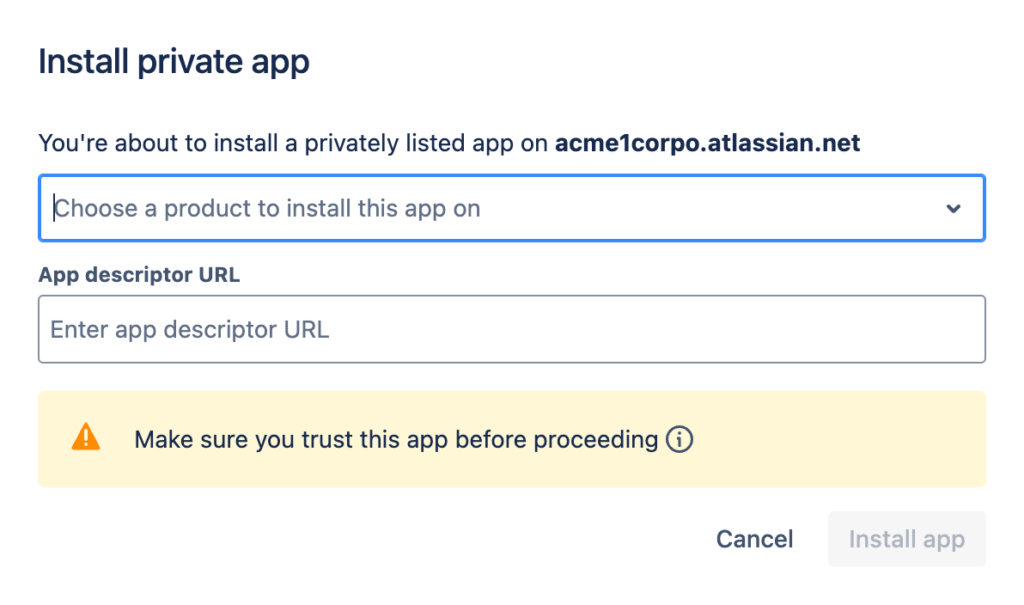
- Choose Jira from the dropdown
- In App descriptor URL enter the URL for your Clockify plugin and click Install app
Getting started #
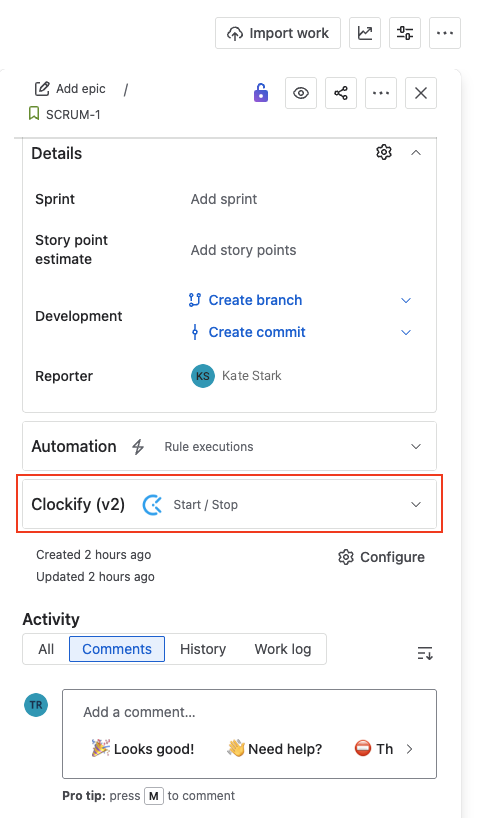
After the app is installed, the Clockify timer button will appear on all Jira issues.
Connect your accounts #
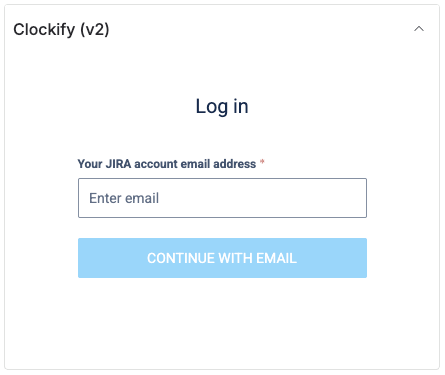
The first time you click on the Clockify timer button, you will be asked to log in.
Manage your app #
You will receive a notification after installation.
Go to the Manage app in the notification and then Take me there to go to the Administration page where you can manage app details and settings.


Only Jira admins can manage apps in Jira and install the Clockify app.
Regional server hosting #
In addition to global hosting, you can choose to host your data in other specific regions.
Jira Cloud + Clockify on regional data center
If your Clockify data is hosted on one of the regional centers, follow these steps to integrate Clockify with Jira:
- First, you need to complete the installation process (link to Jira Cloud + Clockify Cloud)
- Then when logging in, from the dropdown, choose the specific region where your Clockify data is hosted:

- After you log in, you’ll see a list of all the workspaces hosted in that region
- Now, choose the Clockify workspace you wish to integrate
Track time #
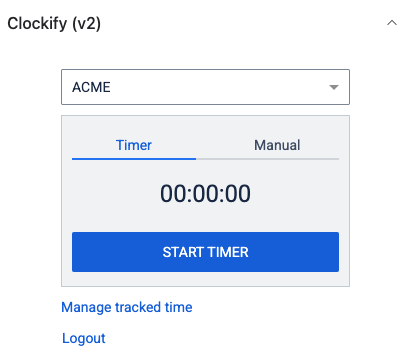
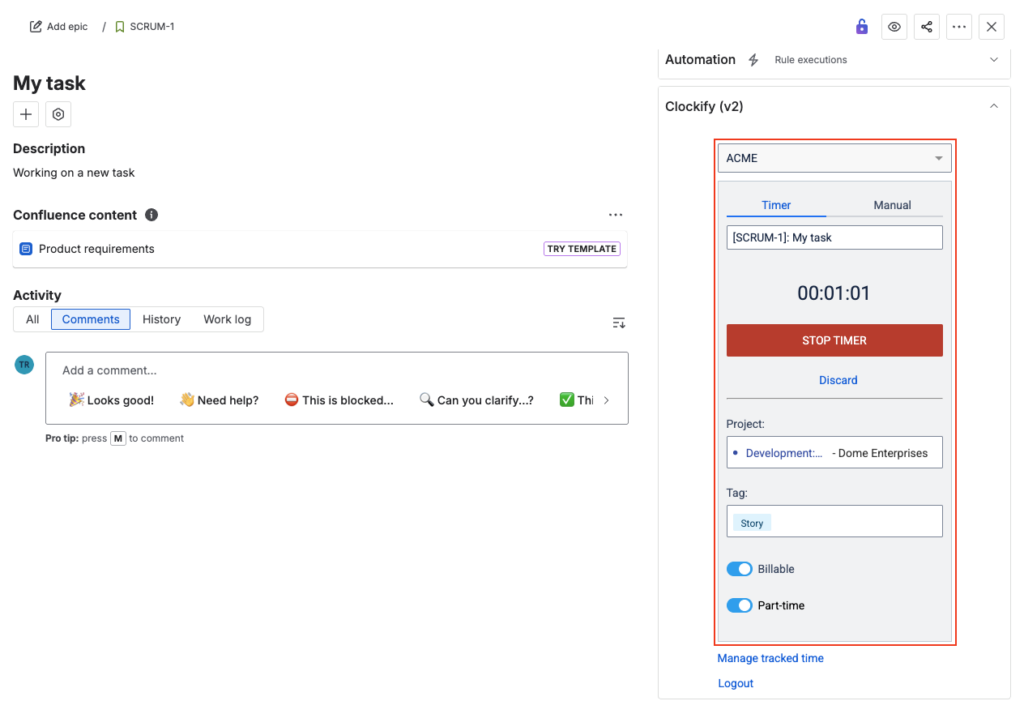
When you click on the Clockify timer button, on an issue, you can choose between the Timer and Manual mode.
Timer mode #
Timer helps you track time you spend working on tasks by measuring specific time intervals.
To start the timer:
- Choose task
- Click to expand Clockify tracker in the task description
- Make sure you’re in the Timer tab and start the timer
- Click the Stop button when you’re done
The timer is synced to your Clockify account, across all devices and can be stopped in Jira or from any of the Clockify apps (browser, mobile, or desktop).

If you start a new timer on a different Jira issue, the previous timer will automatically stop and a new one will start.
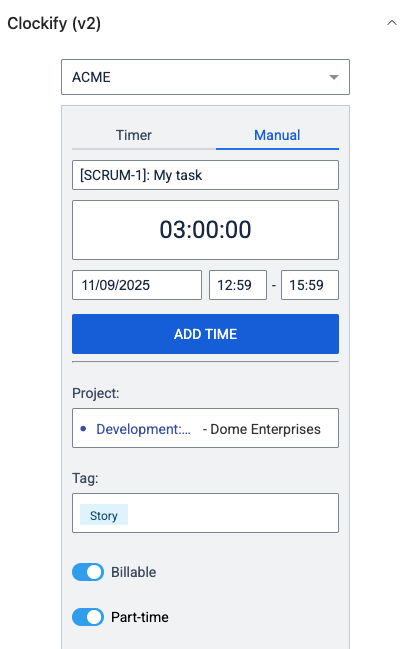
Manual mode #
If you forgot to start the timer, or you prefer to fill in all your work hours in one go, you can use manual mode.
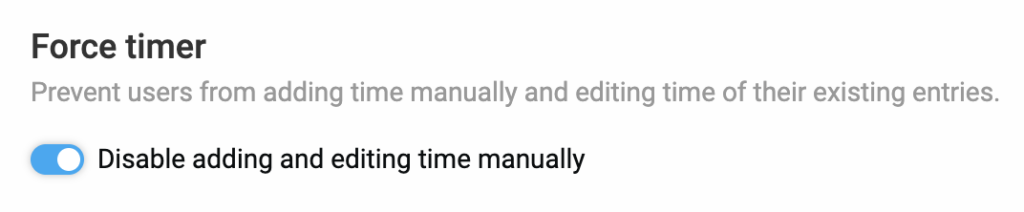
Owners/admins can disable manual mode and enable the Force timer in the Clockify Workspace settings.
To add time manually:
- Choose task
- Click to expand Clockify tracker in the task description
- Make sure you’re in the Manual tab
- Enter time range and click Add time
If you have multiple workspaces in Clockify, you can select the desired workspace before adding the time entry.
What gets recorded in Clockify #
When you start the timer, Clockify automatically picks up the following information from Jira and syncs it to your time entry:
- Description: The Jira issue key number and issue title are used as a time entry description
- Project: Your project in Jira is mapped to a Project in Clockify
- Task: The Jira issue key is used as a task in Clockify
- Tags: Issue types (bug/task/story) and labels in Jira are converted into tags in Clockify
You can manually change the task you are working on directly from Jira by clicking on the task name and selecting the one you want from the dropdown. Tracking time on a Child issue in Jira will be picked up as a task in Clockify with a tag Subtask.
For the integration to work correctly, a corresponding project or task needs to already exist in Clockify, is accessible to the user and not private, or the user has permission to create new projects and tasks in Clockify Workspace settings.
Important to note #
- Time entries stopped in Jira will be added to the Jira work log. Also, changes you make in Jira work log will be synced to Clockify and vice versa
- Information about an Epic or Sprint will not be recorded. However, tracking time directly on an Epic will create a time entry with tag Epic
When Force timer is enabled, duration changes to time entries will not be applied in the Work log. If entries are locked, non-admin users cannot make changes to any details.
FAQs #
Are custom fields in Jira synced to Clockify? #
No, the integration does not currently map Jira custom fields to Clockify. The automatic sync is limited to standard data points: the issue key, title, project, task, and default tags/labels. If you use custom fields in Clockify, you will need to update those manually within the Clockify interface.
What happens to my tracked time if I uninstall the Jira integration? #
Your existing data is safe. Disconnecting or uninstalling the Clockify app from Jira will not delete any of your previously recorded time entries in Clockify or the Jira work log. However, you will no longer be able to track time directly from Jira issues, and the two-way sync for any future edits will be disabled.
Why is Jira not picking up projects automatically? #
There are a few reasons this might happen. Check the following:
- Ensure the user has access to the project in both platforms and that it isn’t set to private.
- Verify the user has permission to create new projects and tasks in the Clockify Workspace settings.
- Refresh your connection by checking for an expired Personal Access Token (Jira Data Center) or by reconnecting your Clockify account (Jira Cloud).
- Refresh your browser or clear your cache to resolve any temporary sync delays.