Set up multiple currencies
As an admin, you can define multiple currencies on your workspace and assign to a client the currency they are using. This way, client’s rates and amounts are displayed in their preferred currency.
Defining multiple currencies is available for admins on all subscription plans. Assigning a specific currency to a client is only possible with a PRO or higher subscription plan, including trial subscriptions.
Follow the instructions below to add new currency, change the default currency and effectively manage client-specific currencies.
Add currency #
To add new currency:
- Click on the three dots icon next to your workspace name
- Select Workspace settings
- Click Finances from the sidebar
- Click Manage currencies next to the Currencies drop down menu
- Change your existing currency or add a new currency on the pop-up window
- Click Save
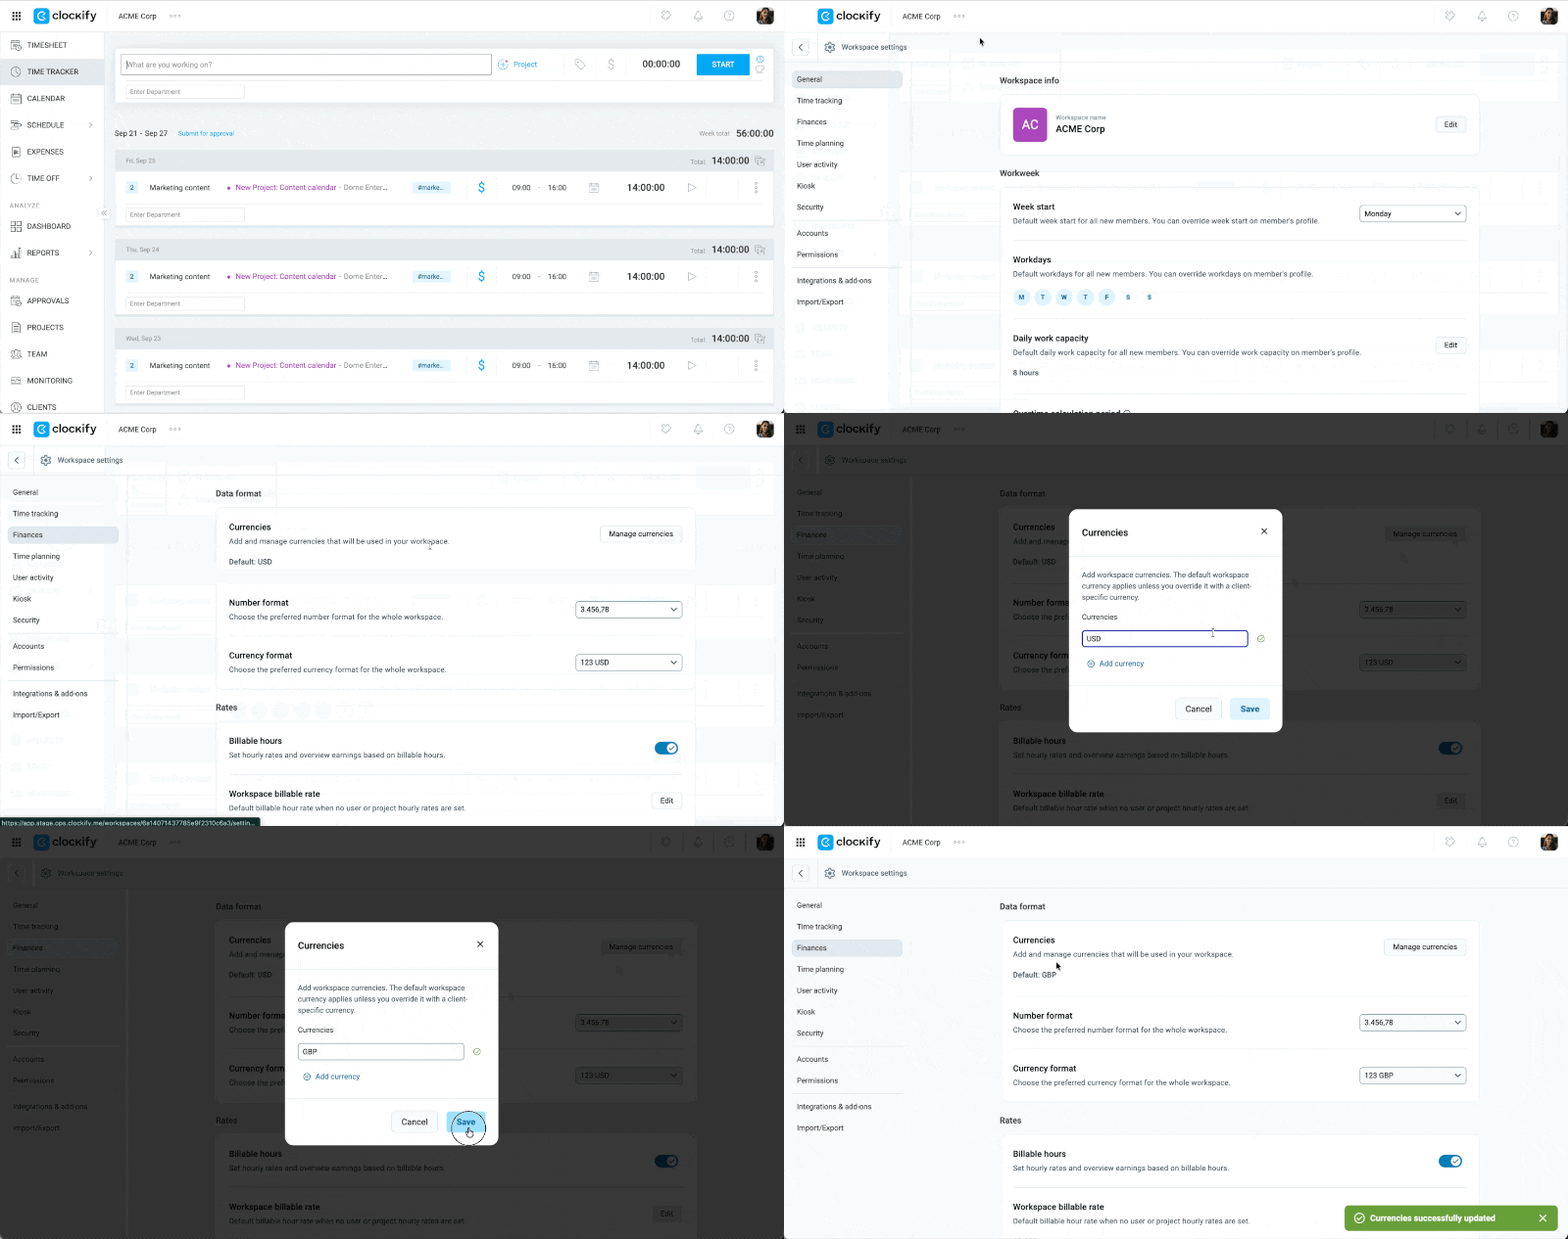
In the Edit currencies screen that appears, edit the existing currency or click on +Add currency if you’d like to create a new one.
Change default currency #
To change the default currency:
- Go to the Workspace settings > Finances
- Navigate to the Currencies section
- Click Manage currencies
- Click on the three dot icon next to the currency that you want to set as a default
- Select Set as default
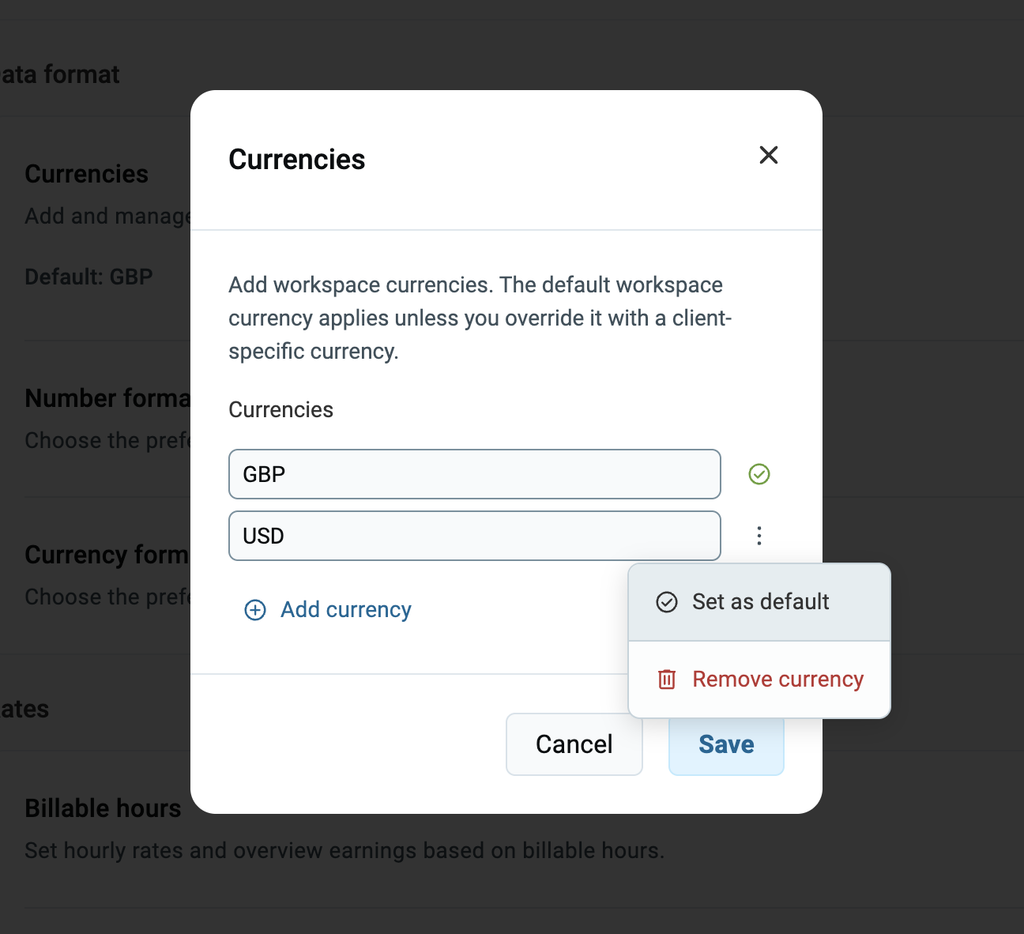
The default currency acts as a fallback option when the specific currency is missing or unavailable. Default currency cannot be deleted.
Delete currency #
To delete a currency that is not the current default:
- Go to Workspace settings > Finances
- Click Manage currencies
- Click the three dot icon next to the currency you want to delete
- Click Remove currency
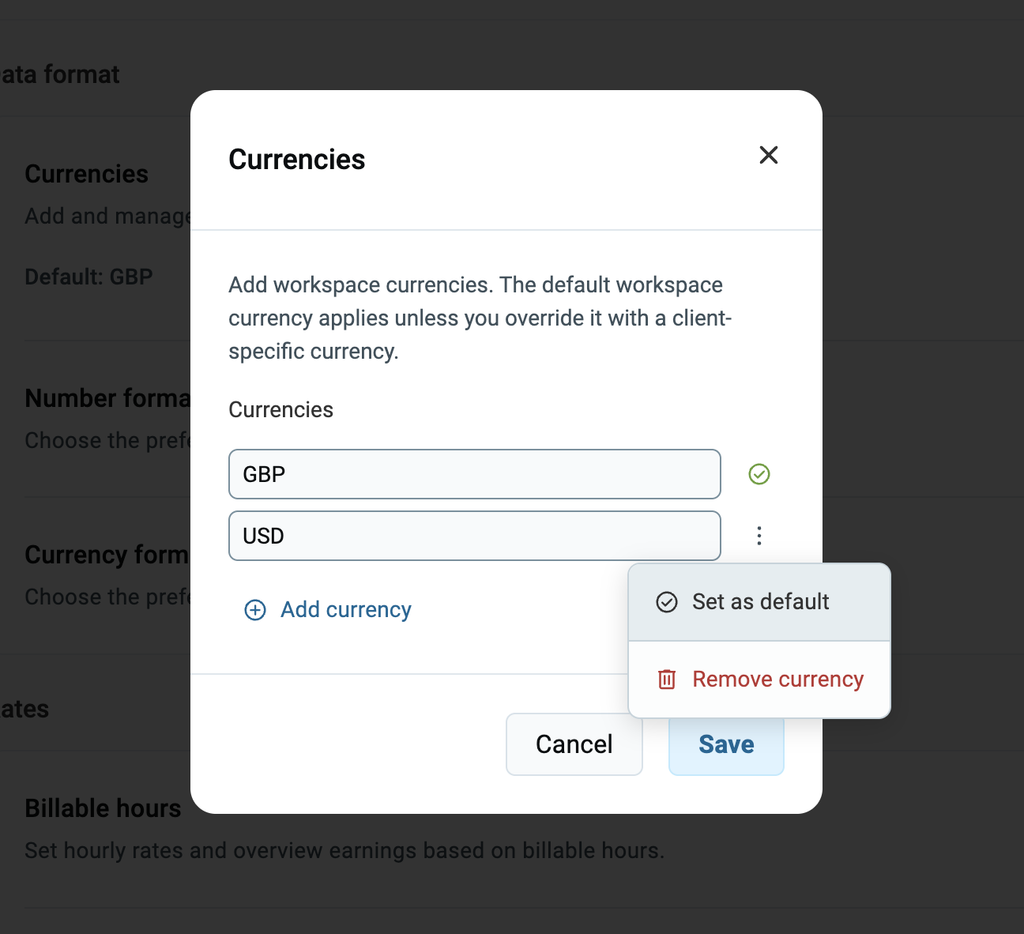
If you’d like to assign different currencies to different clients, check out the Help Center instructions.