Groups
Groups make managing people on projects easier. Instead of adding people to project one by one, you can create a group and assign it to a project in one click.
You can create, edit, and delete groups in the Groups tab of a Team page.

Create group #
To create new group:
- Go to the Team page
- Open the Groups tab
- Enter the group’s name in the Add new group field
- Click Add, or press Enter to create new group
Assign user to group #
To assign people to a group:
- Go to the Team page
- Open the Groups tab
- Click + Access under Access column next to the group’s name
- Add people to the selected group
or
- Go to the Team page
- Open the Members tab
- Choose member
- Click + Group
- Enter group name
- Add member to existing group, or create new one
- Choose group from the list, or press Ctrl+Enter to create new group
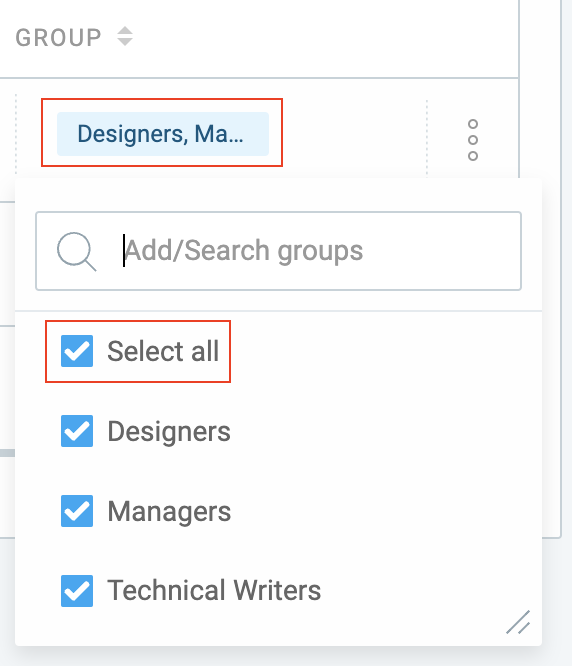
If you’d like to manage all user groups at once, click on the group you’d like to modify and check the Select all option.

Enter user group name in the provided field, and you’ll automatically create new user group. Member will be automatically added to a newly created group.
You can search for the workspace members in the search field by their group and name.
Remove user from group #
Remove a user from a group the same way as you added them.
To remove user from a group:
- Go to the Team page
- Open the Groups tab
- Select the group you’d like to remove the user from
- Click on the dropdown in the Access section
- Uncheck the user to remove them
Assign groups to projects #
Groups make managing people on projects easy. When people change teams or leave the company often, you don’t have to go through each project and remove them – all you have to do is remove them from the group.
You can add users to groups on the Team page, and then allocate the group to a project.
To assign a group to a project:
- Go to a project
- Click Access tab
- Click + Add members
- Select the group
Once you assign a group, everyone that belongs to that group will immediately have access to the project.
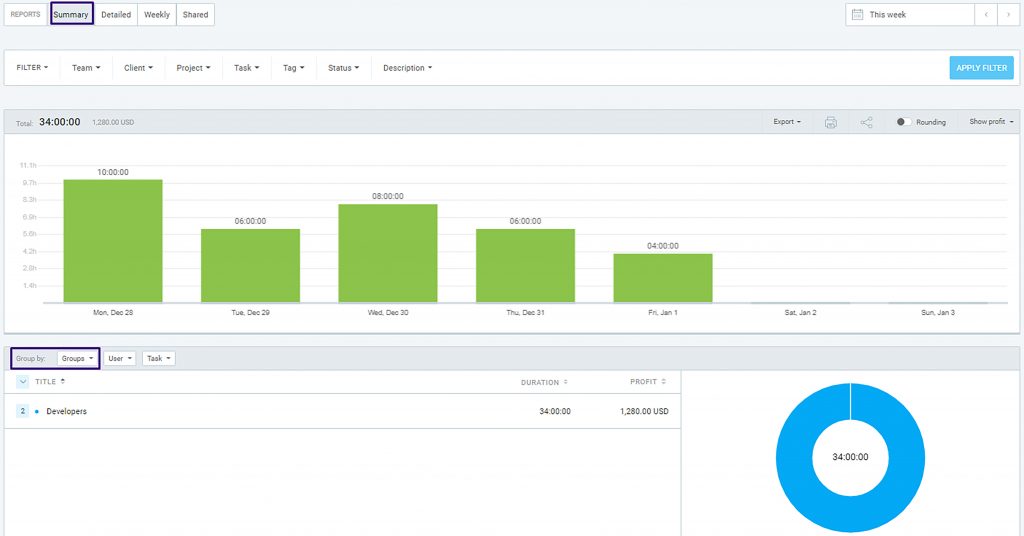
You can filter reports by a group. For example, you can make a Developers group, and use the group as a filter to see only what your developers work on (and later, group the report by User to see the time breakdown for each developer). You can also simply group the Summary report by Group and see a breakdown for each group.
