Take screenshots with desktop app
Generate screenshots from your desktop app, while the timer is running.
Windows and Mac desktop apps have integrated screenshots.
Screenshots is a paid feature, which you can enable by upgrading your workspace to Pro or Enterprise plan.
Data gathering and privacy #
Screenshots can’t be recorded without user’s knowledge.
In order to record screenshots:
- Admin has to enable “Activate screenshot capturing” in workspace settings
- All workspace members will receive a notification when screenshot capturing is enabled via both the web and the desktop app
- Screenshots are taken only while the timer is running (regardless of where you started the timer) AND if you have the screenshot recording app installed
- Screenshots are low-resolution and blurred for privacy and security reasons, by default. However, admins and owners can set a higher resolution on a workspace level.
- Each regular user can see all their screenshots. Admin sees all screenshots in the workspace
- Each screenshot is tied to a time entry. If the time entry is deleted, its screenshots are also deleted.
- If a user deletes a screenshot, the time between the previous and current screenshot will be subtracted from the total time
- You can go back and see the screenshots up to a year from the moment they were created. All screenshots older than one year are automatically deleted forever.
Clockify can also:
- Record which apps you use and websites you visit using auto tracker, but that data is completely private (data is not available to workspace admins).
- Detect when you’re inactive using idle detection (no mouse movement or keystrokes), but that data is shown only once when you become active again, so you can decide if you wish to keep, or exclude idle time (information is not available to workspace admins).

Record screenshots #
To capture screenshots, you need to install the desktop app for Mac or Windows.
Once installed, you’ll need to log in and start the timer.
Screenshots are captured randomly in 5-minute intervals while the timer is running and the desktop app is active.
For instance, if we take a look at 20 minutes of tracked time, within those 20 minutes, there are four 5-minute intervals.
Let’s say that the timer is started at 12:15. The first five-minute interval is 12:15-12:20. The first screenshot, is taken after five minutes, at the end of this first interval, at 12:20.
All other screenshots are taken 3-8 minutes after the interval started.
Screenshots won’t be taken if the duration of a time entry is less than 5 minutes, or if the timer is running on the web or mobile, but not on the desktop app (or you’re not logged in).
When Mac prompts you, you have to allow Clockify to take screenshots. If you click Deny, you’ll have to go to System Preferences > Security & Privacy > Screen Recording and check Clockify app.
View screenshots #
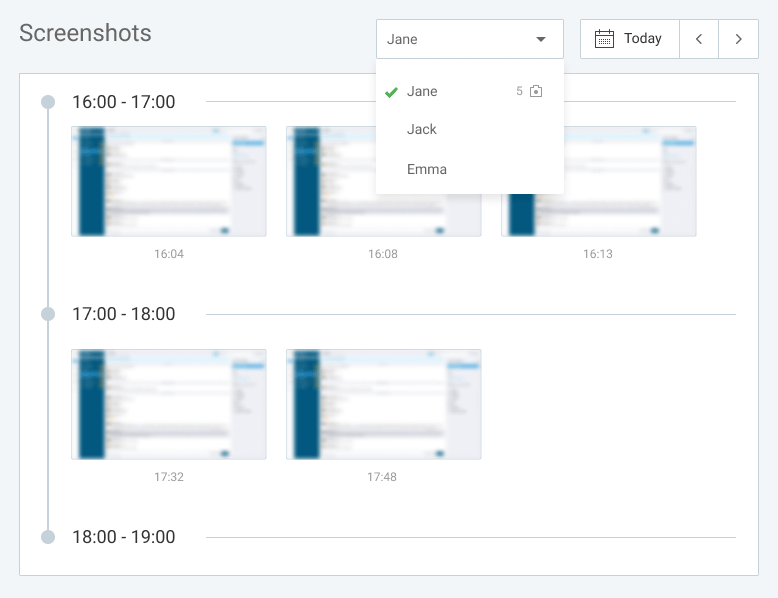
When screenshots are enabled, all users in the workspace will see the Activity > Screenshots page in the sidebar.
Regular users can see all their personal screenshots, and admins can see everyone’s.
All active users in the workspace are listed, and next to each person you can see a total number of recorded screenshots in that day.
If a person has screenshots, you can click on their name, or the expand icon in the right corner to see the screenshots, time when each was recorded, as well as the name of a project, task and client, if available.
You can click on a screenshot to open a gallery view, and then go back and forth between the screenshots.
To see screenshots for other days, click on < or > in the upper right corner next to the date (you can go back up to one year from the time when the screenshot was taken).
Delete screenshots #
Admins can delete anyone’s screenshots.
Regular users can delete only their own screenshots, unless the time entry is locked or approved. Only Admin can delete locked or approved time entries.
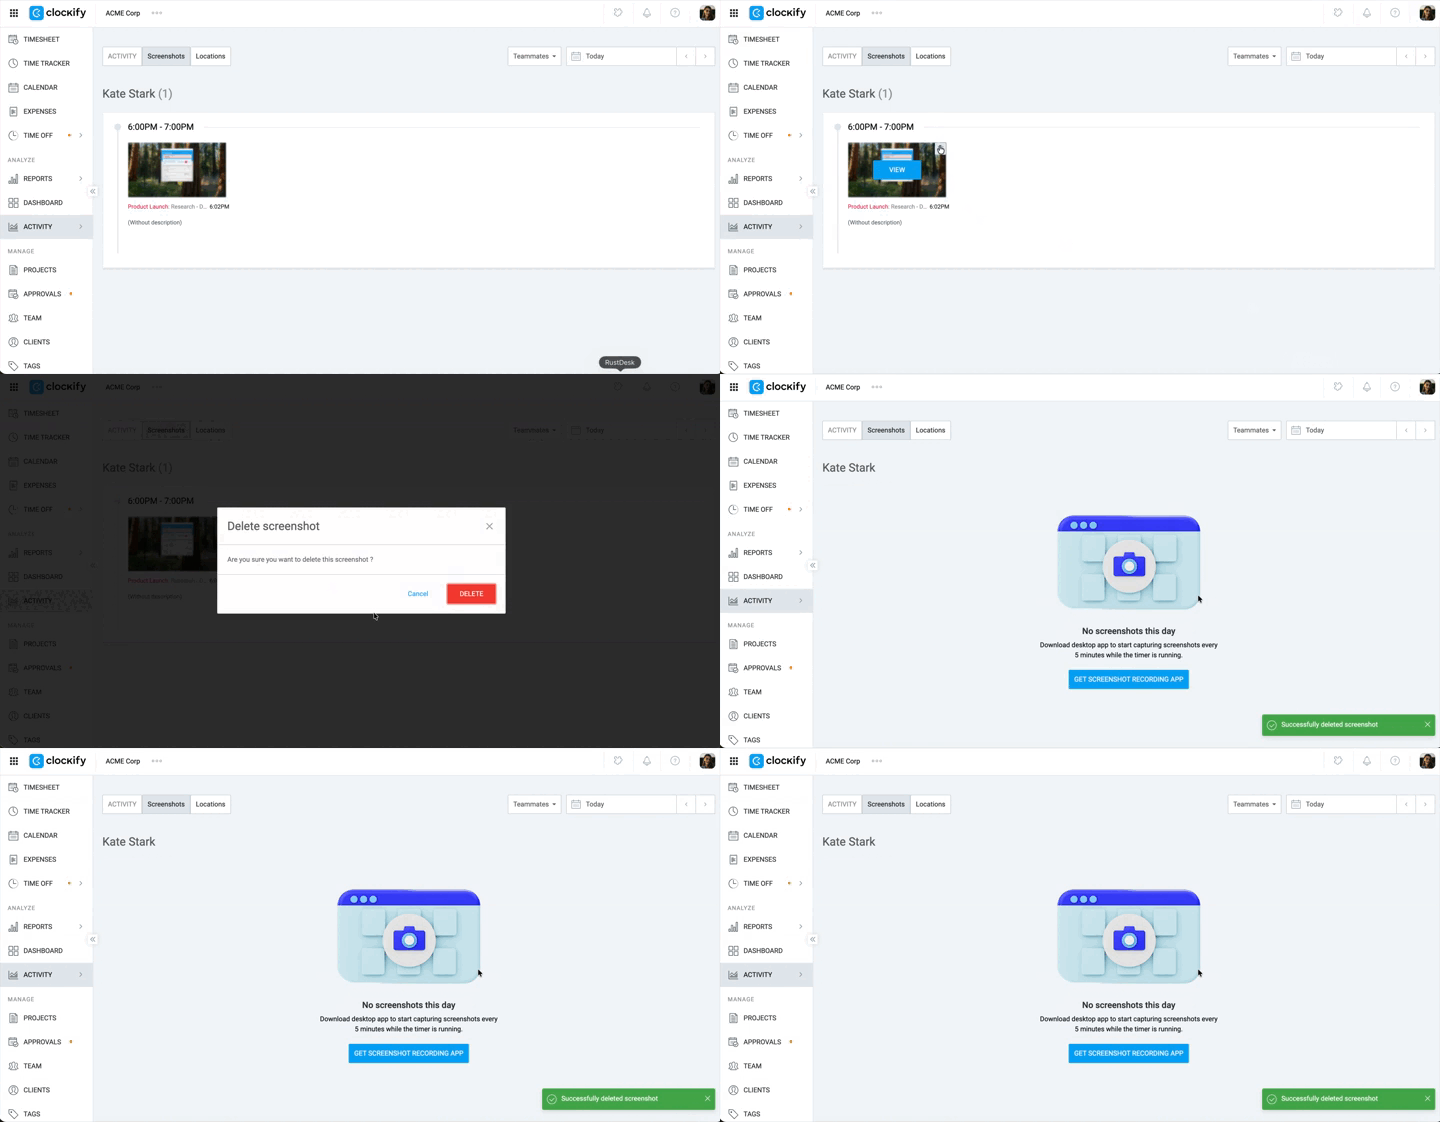
To delete a screenshot:
- Hover over a screenshot you want to delete
- Click on a trash icon
- Click Delete on the confirmation window to complete the action

Important considerations #
After you delete a screenshot of:
- Time entry that’s approved, time entry remains
- Time entry that’s not approved, time entry is deleted
Also note that:
- Admins can delete screenshots for everyone without the subtraction of the time entry’s total time.
- After a regular user deletes a screenshot, the time between that and the screenshot before it will be subtracted from the time entry’s total time. If an entry has only one screenshot, a whole time entry will be deleted.
- If a time entry with a screenshot is deleted by users or admin, all the screenshots related to that entry are automatically deleted.
- If user deletes their account, all their screenshots are also deleted.
- Screenshots older than a year are automatically deleted forever.
To delete a screenshot that was captured from a currently running timer, you first need to stop the timer, and then you can delete a desired screenshot.
There is no undo action when a screenshot is deleted. Each deletion is permanent and non-retrievable.
Offline mode #
In the offline mode, screenshots are collected by the app and stored locally. Once the app goes back online, the screenshots are sent to the server and stored there.