Windows app
Clockify desktop app for Windows is a native Windows 10 application that enables you to track time right from your desktop, without opening Clockify in browser.
Download Clockify for Windows →
For step-by-step guidance on using Clockify in your Windows operating system, watch the video and follow the instructions below.
Log in #
To use Clockify desktop app for Windows, you first need to log in to your account.
Open the app and click the Log in button.
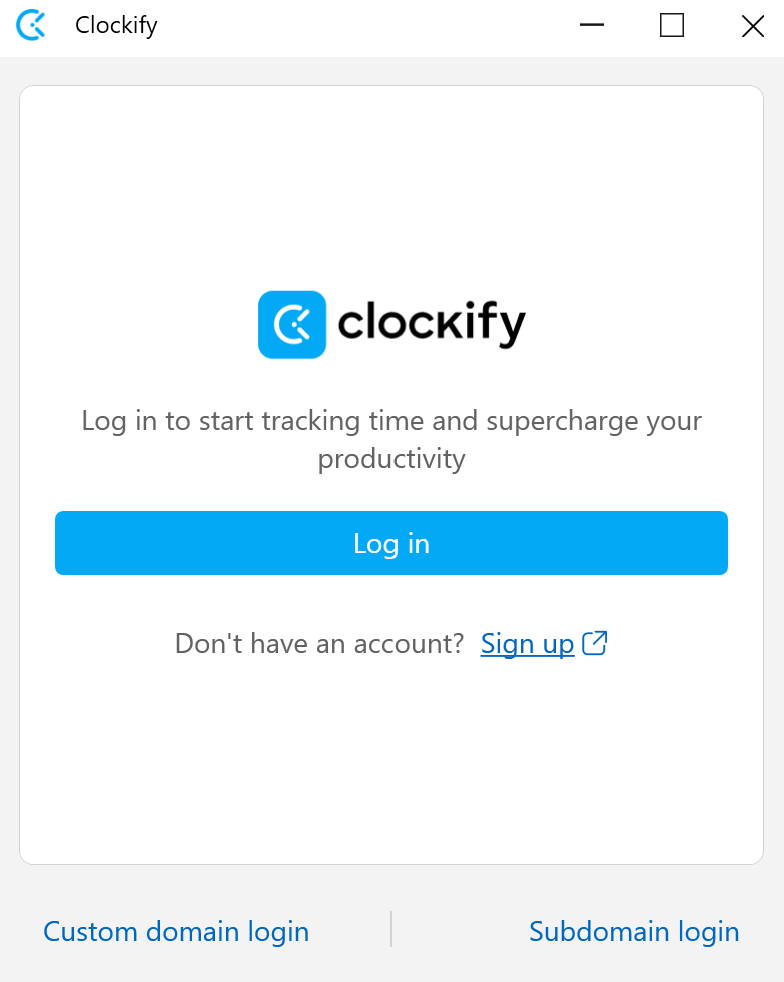
You’ll be redirected to the Clockify web app. Once you log in to the web app, you’ll automatically log in to the Windows app, as well.
Log in in one of the following ways:
- Continue with Email
- Continue with Google
Continue with Email #
- Enter email used to create your Clockify account
- Click Continue with Email or choose Gmail you used to create Clockify account
- You’ll receive a verification email
- Verify your email by entering verification code, or by clicking the verification link
Once you have an account, type your email and verification code to log in.
If you have an account with an unverified email address, you’ll be informed that you need to verify it in 30 days. If you don’t do it, you won’t be able to use the app.
Sign up #
If you don’t have a Clockify account yet, you can create one after you download and open the app.
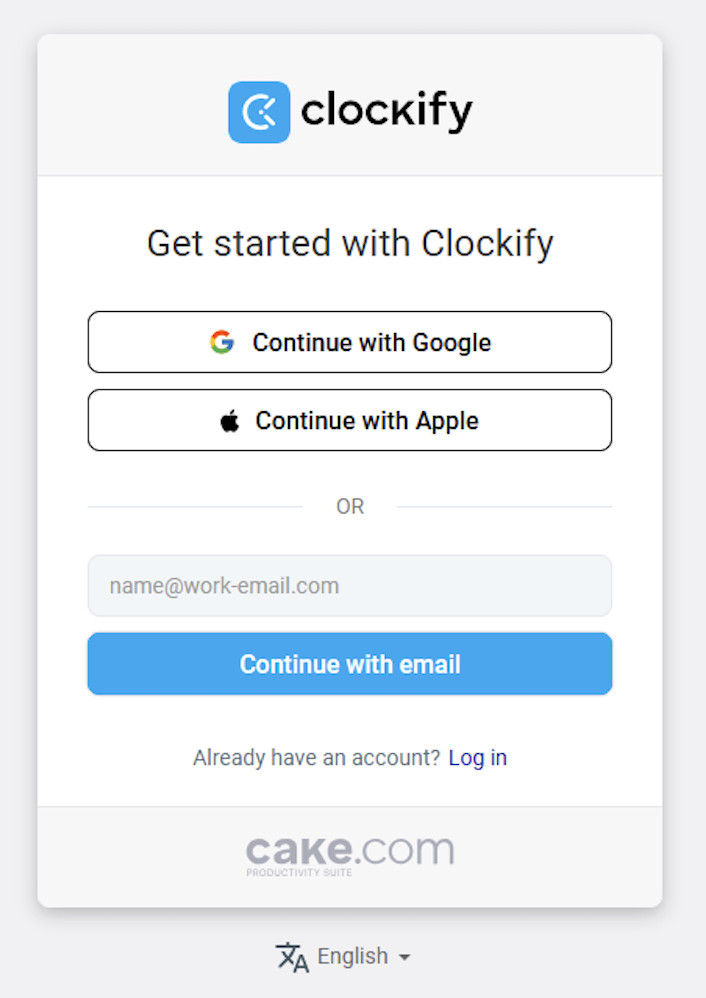
You’ll be redirected to the Clockify web app. Once you sign in, you’ll automatically be able to use the Windows app, as well.
Custom domain and subdomain login #
Find the Custom domain log in or Subdomain log in link at the bottom of the login screen and log in to the Windows app via custom domain or subdomain.
If you’re logging in with a subdomain, enter subdomain name in the field (e.g. https://acme.clockify.me).
Click Submit and log in with your email or SSO.
If you’re logging in with a custom domain (Enterprise), choose your custom address.
Track time #
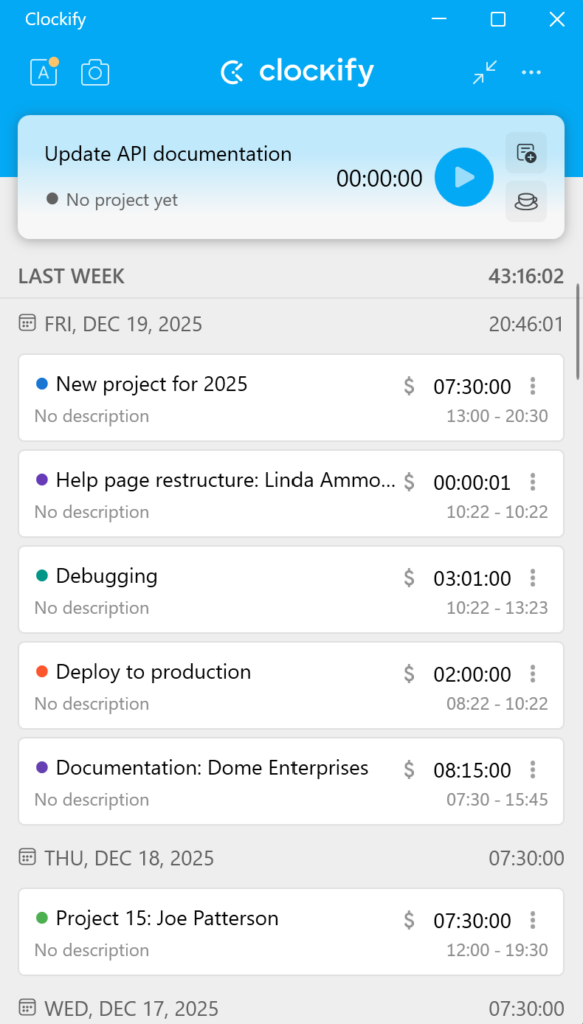
You can keep track of your time in Clockify Windows app in two ways:
- Use timer – Simply write what you’re working on and start the timer with one click
- Add time manually – Enter how much you’ve worked (e.g. 1.5 for 1h30min) and click Add

Track breaks #
Apart from tracking working time, Clockify also allows you to track the breaks you take when working on a project.
All users can track breaks, regardless of their users role, if they are on the BASIC or higher subscription plans.
Breaks are tracked with a break timer which can be used if the break mode is enabled in the Workspace settings in the web app.
To track breaks:
- Go to Time tracker
- Choose Break mode from the settings at the top right corner
- Click break icon to start tracking breaks

All break entries are marked with a Break label.
Break entries can be modified and edited in the same way as regular entries.
If:
- Break mode is turned off or workspace is downgraded, all previously created break entries remain in the Time tracker
- Break mode + Pomodoro timer are turned on, Pomodoro break is started
Breaks can be started in offline mode.
Track holidays and time off #
Apart from tracking time, expenses and breaks, you can also track time off and holiday entries of your workspace members. Once created, time off and holiday entries are distinctly displayed on the tracking pages in the app.
Time off and holiday entries can be created by Owners and Admins on the web app.
For more information on how to create time off and holiday entries, check out Track holidays & time off.
Add time manually #
To add time, first change time tracking mode by clicking on the menu icon in the upper right corner and choosing Manual. Then, you can enter the duration, and click Add.

Duration format is set in the Workspace settings.
Continue timer #
You can quickly continue a timer from a previous time entry:
- Find time entry for which you want to continue tracking time
- Click on the three dots menu and choose Continue

- A new timer will pick up that time entry’s details (description, project, tag, billability) and start ticking
You can also hover over a time entry and click the play button that appears.

Edit time details #
You can edit any time entry simply by clicking on them and changing any of the following components:
- Add project and task
- Add tags
- Change description
- Change start/end time and duration
- Mark as billable
To delete a time entry, click on a time entry to bring out its details, and click Delete.
Restore deleted/discarded entries #
Clockify lets you restore any entries you’ve accidentally deleted or discarded.
This feature is available to all users, regardless of their role or subscription plan.
If you accidentally delete an entry:
- Immediately after deleting, a quick message with Undo button will appear at the bottom of your screen
- Click Undo
- Deleted entry will be restored on all relevant pages
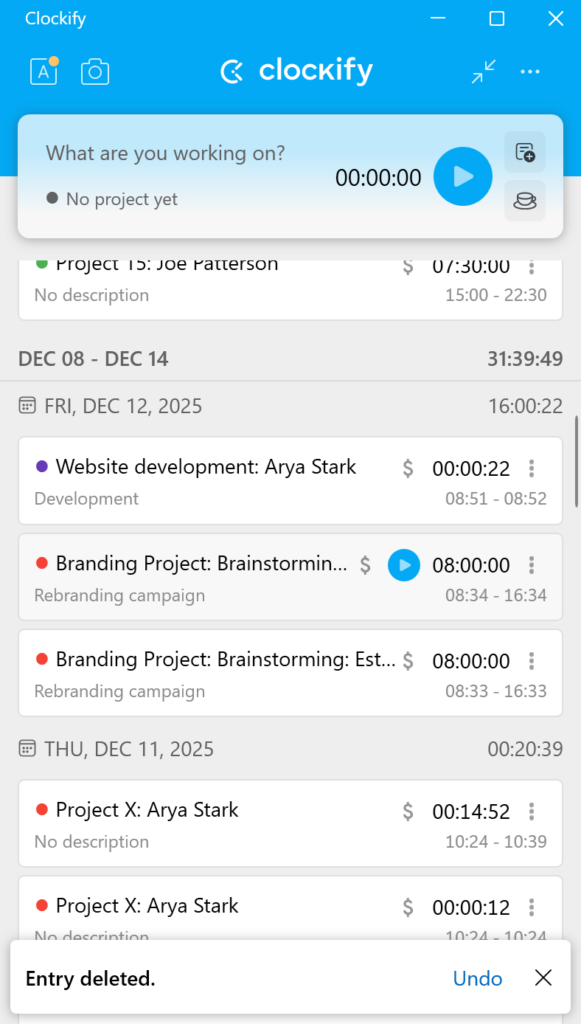
Restore a discarded running entry in the same way.
The Undo option is only visible for 5 seconds after you delete or discard an entry. Once you successfully undo an action, you’ll see an Entry restored message confirming it.
Create a project, task or tag #
To create a project or tag:
- Click to edit a time entry
- Click on + sign next to project/task/tag picker
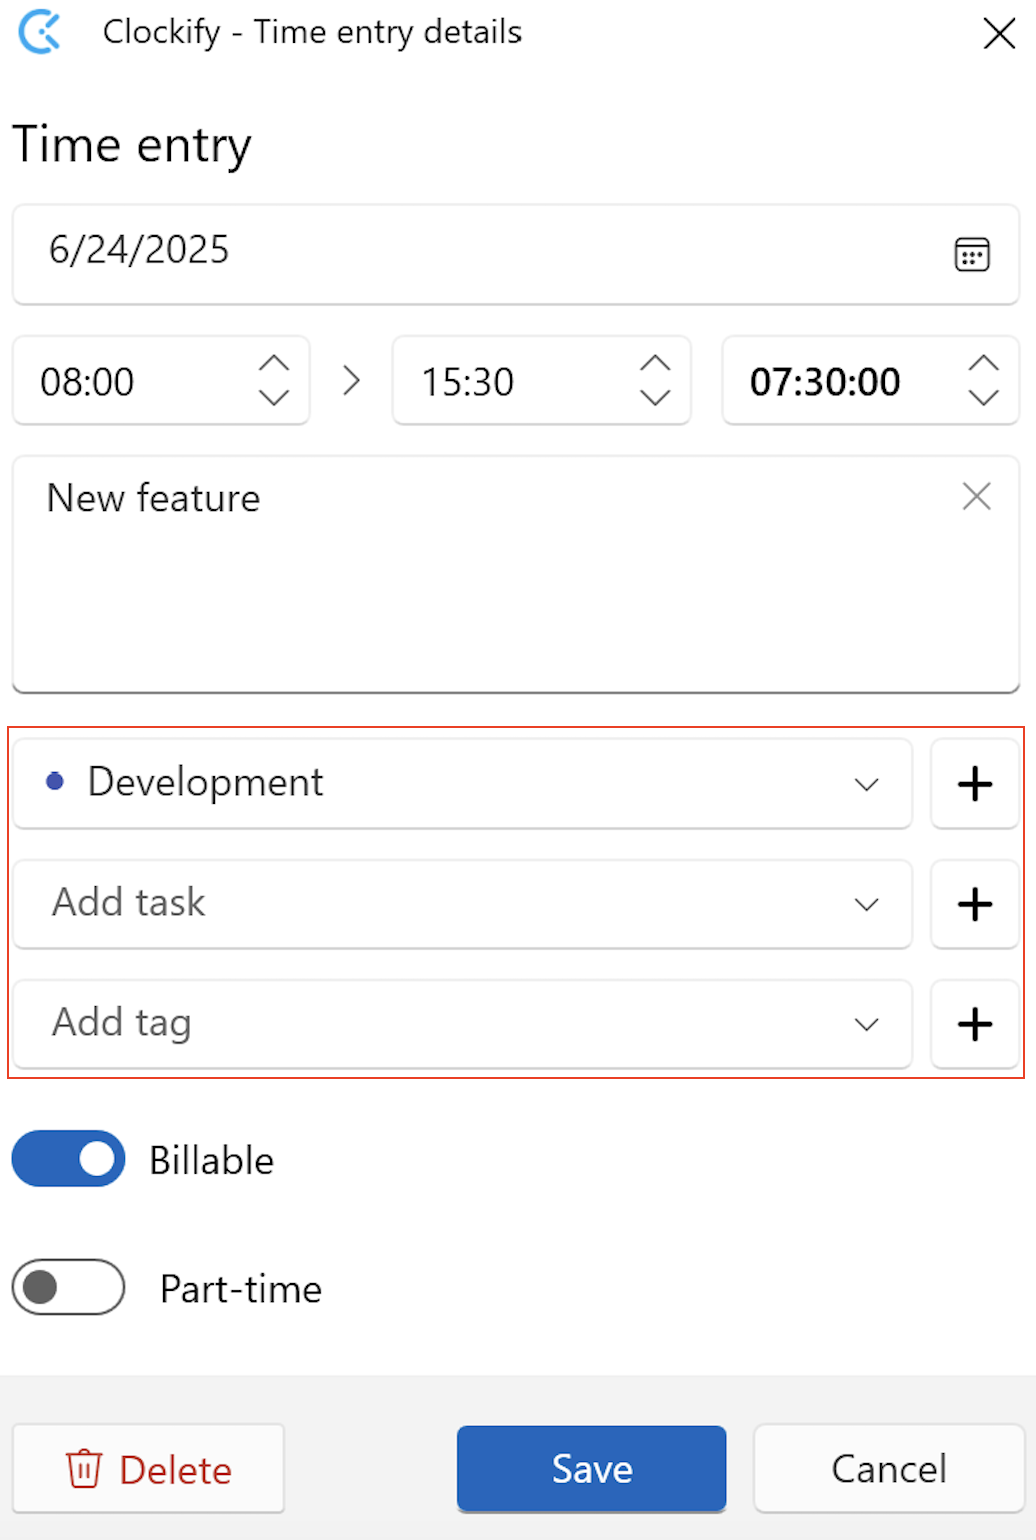
- Enter name
- Click Create
Client can only be created when creating a new project.
You can also edit project name, client, tag or color. Changes you made will be immediately visible.
Regular (non-admin) users aren’t able to create clients, projects, and tags if they are not granted these permissions. To give them such permissions, log in via Web browser and enable this in the Workspace Settings – Permissions.
Default project #
If you work on the same project every day, set a default project. Then, all you have to do is type what you’re working on and start the timer, and the project will be selected automatically.
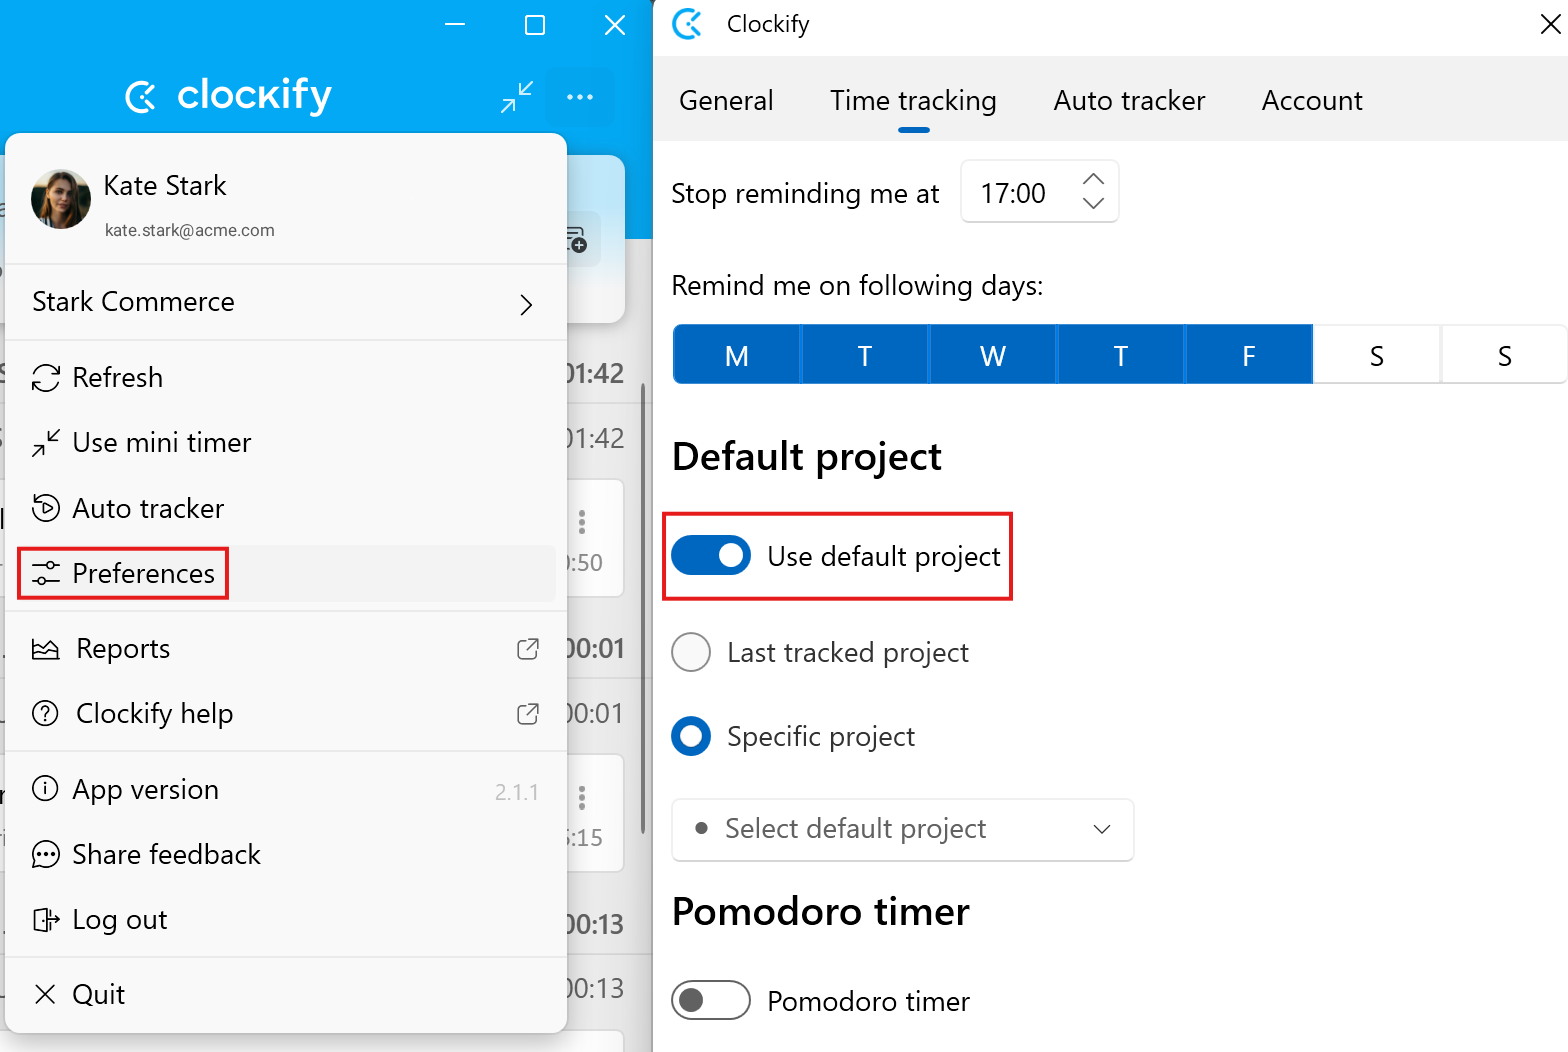
You can select:
- Specific project, which will always be used when you start a timer for an entry without a project (until you change the default project)
- Last tracked project, and the timer will pick up the most recently used available project from your list of time entries
You can enable the default project in the app’s Settings.
Preferences #
Preferences allow you to customize and configure the app to your needs.
Here you can customize your app’s behavior and appearance:
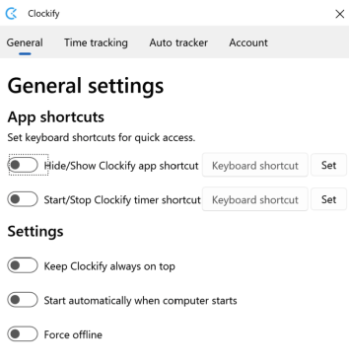
- Keyboard shortcuts: Set custom shortcuts for quick access to app functions
- Keep Clockify always on top: Keep Clockify visible over other applications
- Start automatically when computer starts: Begin tracking time as soon as your computer boots up
- Force offline: Use the app without an internet connection
- Updates: View your current Clockify version
- Theme: Switch between light and dark themes
- Language: Choose your preferred app language
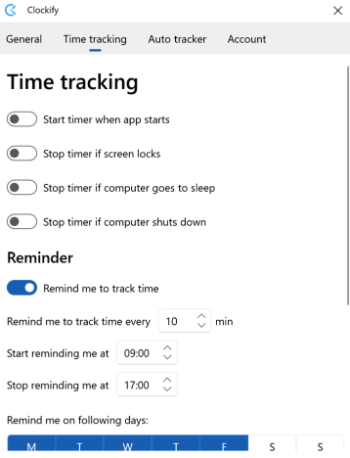
Control how your time is tracked:
- Start timer when app starts: Automatically begin tracking when you open the app
- Stop timer if screen locks: Pause tracking when your screen locks
- Stop timer if computer goes to sleep: Pause tracking when your computer enters sleep mode
- Stop timer if computer shuts down: Pause tracking when your computer shuts down
Reminder #
Set up reminders to prompt you if you forget to start tracking time.
Pomodoro timer #
Use the Pomodoro timer to set notifications for breaks, helping you manage your work intervals effectively.
Idle time #
The Idle time feature monitors your activity. If you’re inactive for a set period and the timer stops, you’ll receive a notification about the idle duration.
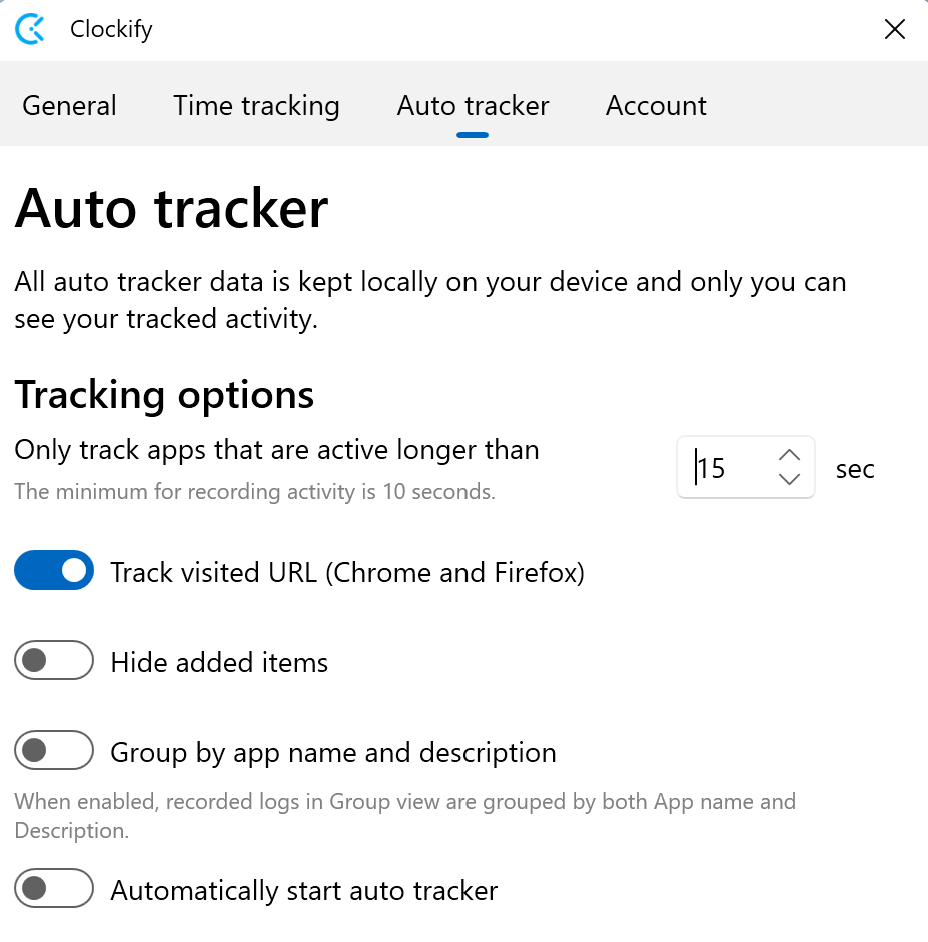
The Auto tracker gives you a detailed overview of your digital activity:
- See a list of programs, URLs, or documents you’ve used
- See activity start and end times, total duration, and percentage of idle time
Customization:
- Hide specific items from your Auto tracker list
- Automatically start the Auto tracker with Clockify
- Set the Auto tracker to log activity only during specific hours
- Group recorded activity by app name and description
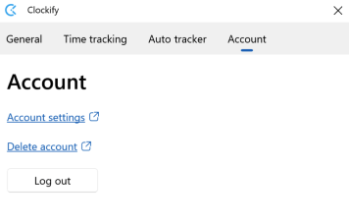
The Account tab allows you to manage your Clockify account:
- Configure additional Account settings in the Clockify web app
- Delete your account via your CAKE.com Account management web page
Auto tracker #
In Auto tracker provides you with a list of detected programs, descriptions of visited websites or open documents, activity start and end times, total duration, and percentage of idle time. Track your time across programs to generate timesheets based on your activity.
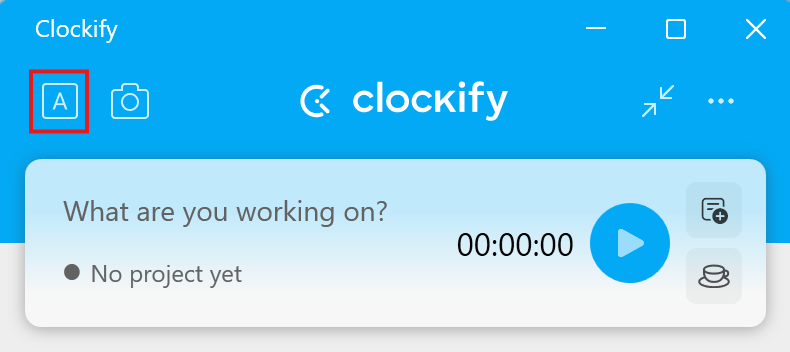
To start recording activities automatically, click on the A icon and then click Start Recording.
Auto tracker will track websites and programs that you view for more than 15 seconds (apps you use less than that won’t show up). You can override this in Auto tracker’s settings.
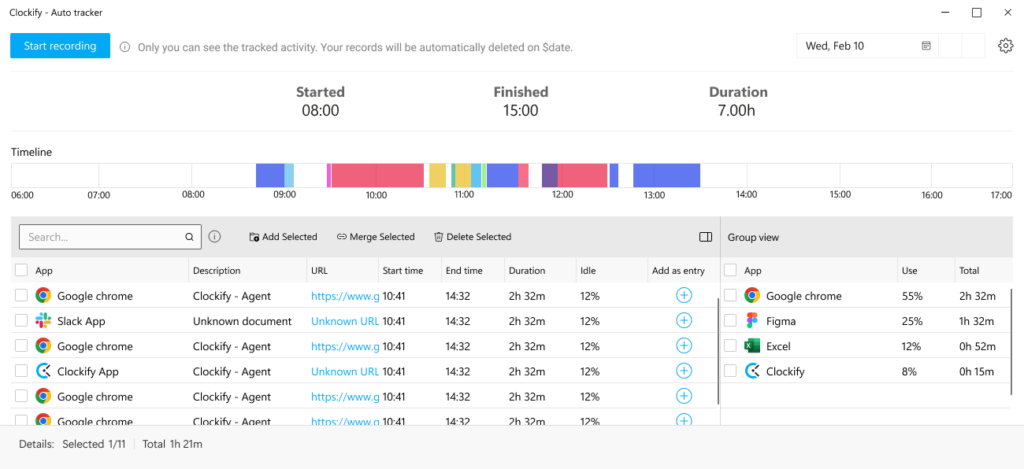
In Auto tracker:
- All recorded data is stored locally on your computer (nothing is sent online)
- Only you can view the recorded activities
- You can view past data up to one week
- Data older than 45 days is automatically deleted forever (exact date displayed at the top of the page)
- URL of visited websites (you can disable this in settings)
- Idle column show percentage of time you’ve been active vs inactive (no mouse or keyboard movement)
Add recorded activities to Clockify #
To add items from auto tracker to your Clockify account as time entries:
- Click on the + sign, under the Add as entry column
- Add more details (e.g. assign it to a project or change description)
- Click Save to create an entry in Clockify
App usage is automatically organized next to the auto-tracked entry table, with summarized time spent on each app. Select and edit multiple entries at once by checking the box at the header of the table, or by doing the right-click and selecting one of the following actions:
- Add Selected – each item is added as a separate time entry in Clockify (you can add project/task/tag, but each entry retains its original description)
- Merge Selected – all selected items are added as one time entry in Clockify (each description is added, start time is taken from the earliest record, and all durations are summarized and used to calculate end time)
- Delete Selected – items are forever cleared from the activity table

Before creating a merged time entry, you can adjust its start time, end time, and duration. The duration reflects the total time of the merged auto-tracked entries, while the start time corresponds to the start of the first auto-tracked entry.
To narrow down your options, filter auto-tracked entries by entering the app name, description, or URL. The table will show the relevant results, enabling you to select and merge them into a single time entry.
You can also sort activities by the Idle column, either in ascending or descending order, to easily identify those with the most or least idle time.
If you don’t need to see already added activities in the table, you can disable it in Auto tracker’s settings.
Reminders #
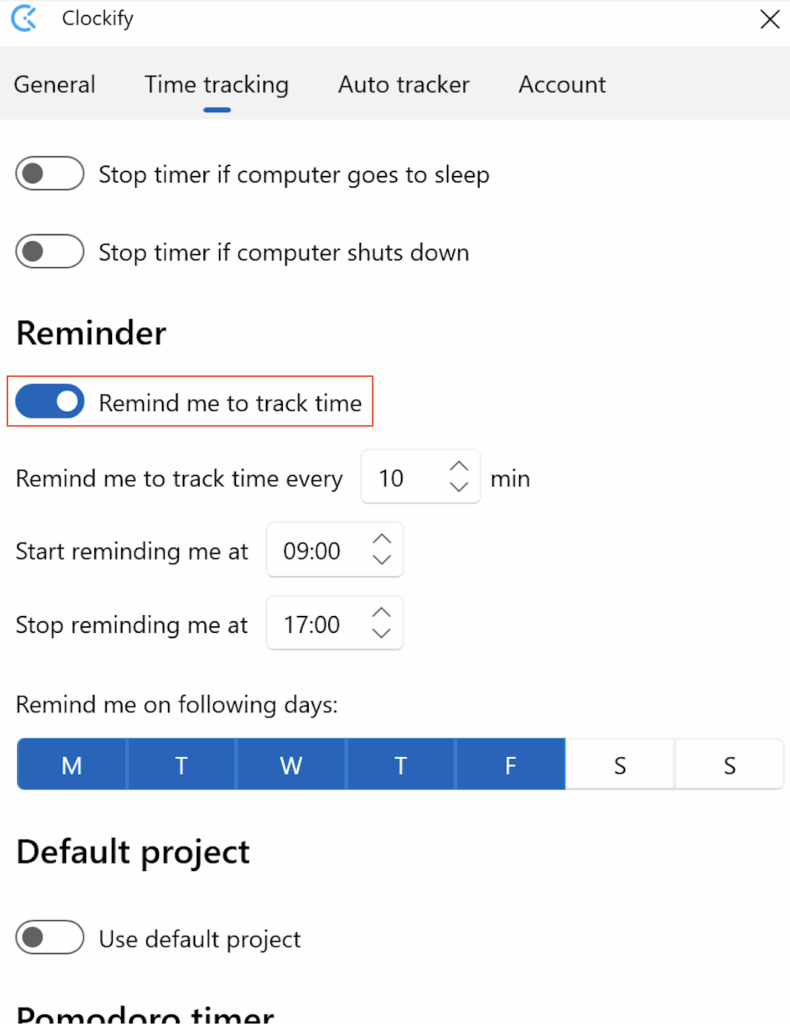
You can tell Clockify to send you reminders to track time at regular time intervals.
Simply check the Remind me to track time box, specify the interval (e.g. 10 minutes), and Clockify will show you a notification every 10 minutes, reminding you to use the timer.
You can start the timer directly from the notification by clicking Start timer in the notification.
You can also set reminder start and end time, during which time the reminder will appear (e.g. from 08:00 to 16:00). Outside of those times, the reminder notifications won’t appear.
You can also set days for which you want to enable/disable reminders. If you don’t want to receive reminders on Sundays for example, leave it unchecked.
You can enable reminders by choosing Preferences from the three dots menu and going to the Time tracking tab.
Idle detection #
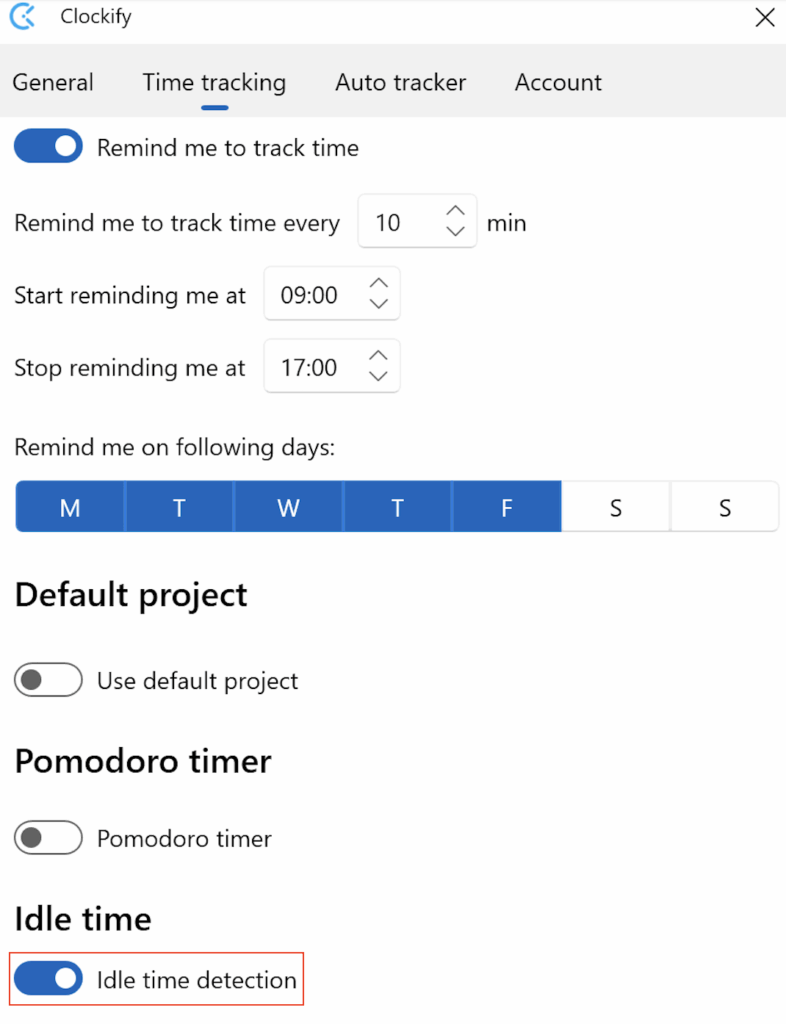
If you’re tracking time while working, the idle detection feature is there to check your activity. If the user is inactive for a certain period of time and stops the timer, there is a notification that is related to the time when the user was inactive. Idle time detects the activity of the mouse and the keyboard and based on that, categorizes time as idle.
Configure idle time detection:
- Click on the Clockify timer button
- Open settings
- Choose Preferences
- Click on Time tracking tab
- Set the timer according to your preferences
- Check Idle time detection checkbox
- Enter the number of minutes after which the idle time will be detected (10 min by default)
When you have a timer running, your computer have been idle for selected number of minutes (no mouse or keyboard activity), and you return to the computer and move your mouse (or type on a keyboard), you’ll receive notification where you can choose what you wish to do with the inactive time:
- Discard idle time: Timer is stopped and the detected idle time is removed from its total
- Discard idle & continue: Timer is stopped, the detected idle time is removed from its total and new timer immediately starts for the same activity
- Keep idle time: Timer continues running as is; close the screen, or dismiss the notification to keep idle time in the app
- Add idle time as new time entry: Timer is stopped and idle time is added as new entry; two time entries are displayed with the second one being the time for which the user has been inactive
If the user is tracking time and that time is longer than the inactive time that was set, then, the idle time is classified as the time from when the user was inactive to the time they become active again e.g. For a 45-minute time entry, if the idle time is set to 15 minutes and if the user was inactive for 30 minutes, these 30 minutes will be qualified as idle time.
Menu options #
To find the app’s menu, tap on the menu icon located in the upper right-hand corner. In this menu you can:
- Switch workspaces
- Refresh
- Use mini timer
- Auto tracker
- Preferences
- Visit the Reports on the Web
- Visit Clockify Help page for Windows article
- App version
- Share feedback
- Log out
- Quit desktop app
Pomodoro timer #
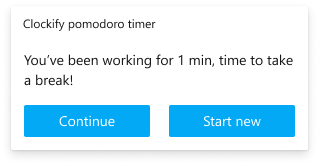
With the Pomodoro timer, you can set up notifications that will let you know when it’s time to take a break.
Clockify desktop app will send you a notification when you reach the end of your current Pomodoro interval to let you know you should take a break.
After the break, you can continue tracking time on the latest task by clicking on that entry’s play icon, or start a brand new timer.
You can set just the Pomodoro timer (when to stop the timer and give you a notification), and you can also set breaks.
When Pomodoro break is enabled, and you reach the end of your Pomodoro time, Clockify will let you know with a notification to stop the timer for the current task. After that, a new timer starts, with the description “Pomodoro break”. After it ends, the timer will stop, and you can start a new timer for anything you want.
You can start the timer for break directly from the notification by clicking Start break in the notification.
You can enable Pomodoro timer and set your preferred Pomodoro and break intervals in Preferences > Time tracking tab.
Shortcuts #
Navigating through Clockify is easy with shortcuts. These universal keyboard shortcuts are not set by default, but you can set and configure them yourself.
To configure shortcuts:
- Click on the Clockify timer button
- Open settings
- Choose Preferences
- Define your global shortcuts in General tab

You can set shortcuts for showing and hiding the app, or continuing and stopping the timer.
Screenshots #
Windows app has an integrated screenshot feature.
If the screenshots are enabled in the workspace settings users will be informed that screenshot capturing is activated.
While the timer is running, the screenshot icon will be red, indicating that screenshots are taken once in every 5-minute interval.
Offline support #
You can track time in Clockify Windows app even if you’re offline.
You can create time entries manually or start/stop the timer. Entries made while offline will be saved locally on your computer. Once you get back online, they’ll get synced with your web account.
When you’re offline, you won’t be able to see your other time entries, only those that were created while you were offline and which haven’t been synced yet.
Projects, tasks, and tags are not available while offline.
You can also enable the Force Offline mode in the Settings, which can speed the app if you have an unstable connection, and later turn it off to sync entries.
If you are using the app in the offline mode, make sure to sync your time entries with the cloud prior to logging out because all of the data that is not synced at the moment of logging out will be lost.