Schedule projects
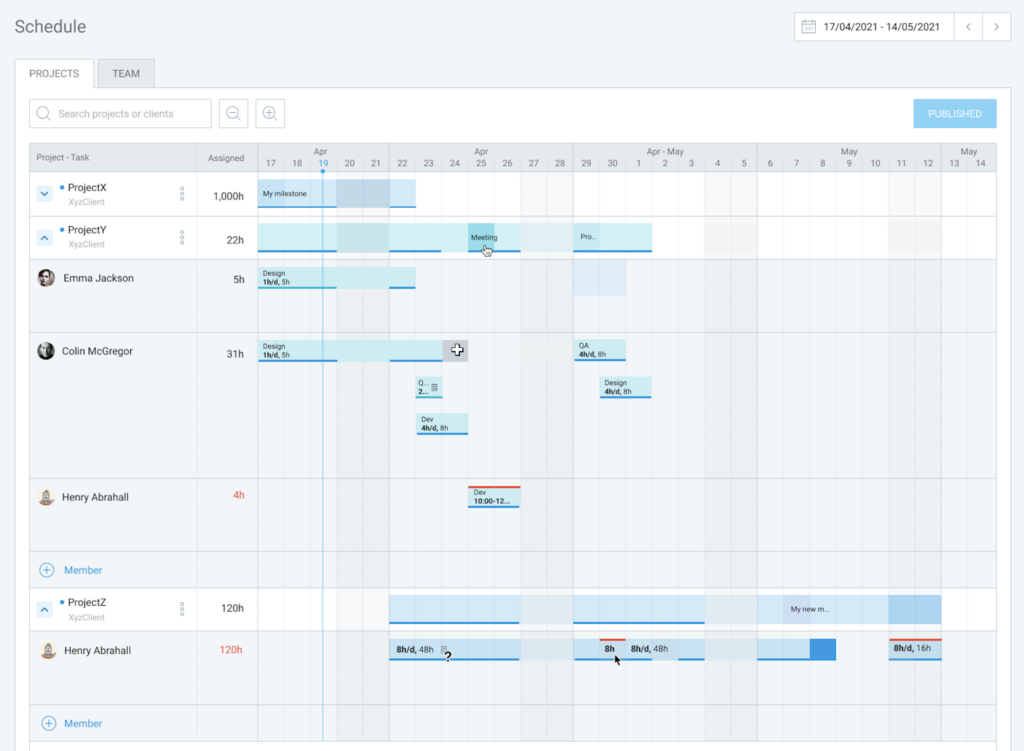
Scheduling projects simplifies project planning and task delegation. You can visualize project timelines, see projected costs and billable amounts, assign tasks to team members and use the Team view to manage their availability. Stay organized and improve team collaboration.
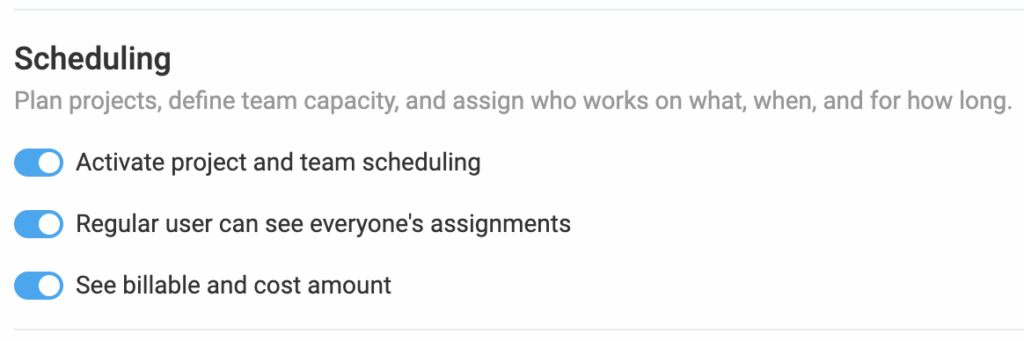
Scheduling is a paid feature, which you can enable by upgrading your workspace to the Pro or Enterprise plan.
To schedule projects and team, activate project and team scheduling in the Workspace settings.
Project view #
Scheduling can be performed by Admins. Project managers can only schedule their own projects.
Project view offers a timeline-based overview of scheduled and active projects and tasks.
To see scheduled projects in the project view:
- Navigate to the Schedule page in the sidebar
- Choose Projects tab to see project view

Add new project #
To add a new project:
- Click on Add project in project view
- Choose the project in Projects window

The project, along with all its assignments (if any) will be loaded and displayed on the project timeline.
Regular users can create assignments, but this option needs to be enabled in Workspace settings by an admin or workspace owner.
To enable all users to create assignments:
1. Click on the three dots icon next to your workspace name
2. Click Workspace settings
3. Go to the Permissions tab
4. Scroll down to Who can create assignments
5. Select Anyone

Manage project visibility #
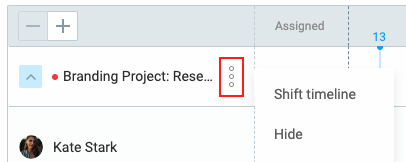
If your project view becomes cluttered, you can hide a project scheduled for later and keep the timeline clear and simple.
Hide a project:
- Navigate to the project
- Click the three-dots menu
- Choose Hide option
Add milestone #
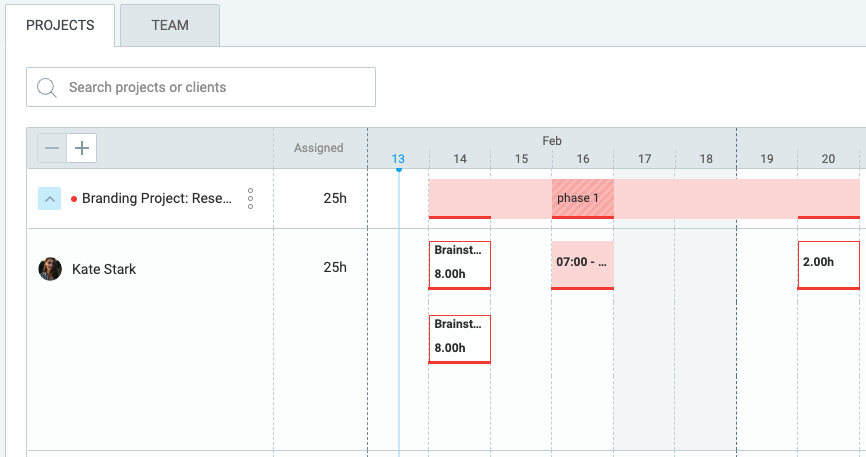
For projects with multiple phases, milestones can help to mark completion:
- Choose a timeline step/phase date for your milestone
- Hover over that date and select Add milestone
- Enter a name and specify the milestone date
- Click Create to complete the process
Drag-n-drop to move it to a different position on a timeline, or click on it and change its name.
If your project timeline changed and you’d like to remove a milestone:
- Click on a milestone
- In the Edit milestone window, click on the three dots
- Click Delete to remove the milestone

For more information on what you can do with scheduled projects, check out Manage scheduled projects.