Start using add-ons
To make the most of your CAKE.com and unlock its vast array of functionalities, you first need to ensure that you’re logged in with your CAKE.com Marketplace account.
If you’re visiting Marketplace from Clockify for the first time, you’ll be automatically logged in.
Sign up for Clockify account #
To explore extra features and add-ons for Clockify, you will need to visit the CAKE.com Marketplace.
To access it, first create a Clockify account and ensure you verify your email address. Once your email is verified, you can use your new Clockify credentials to log directly into the Marketplace.
Log in #
After creating your Clockify account, you can go to marketplace.cake.com and click Log in.
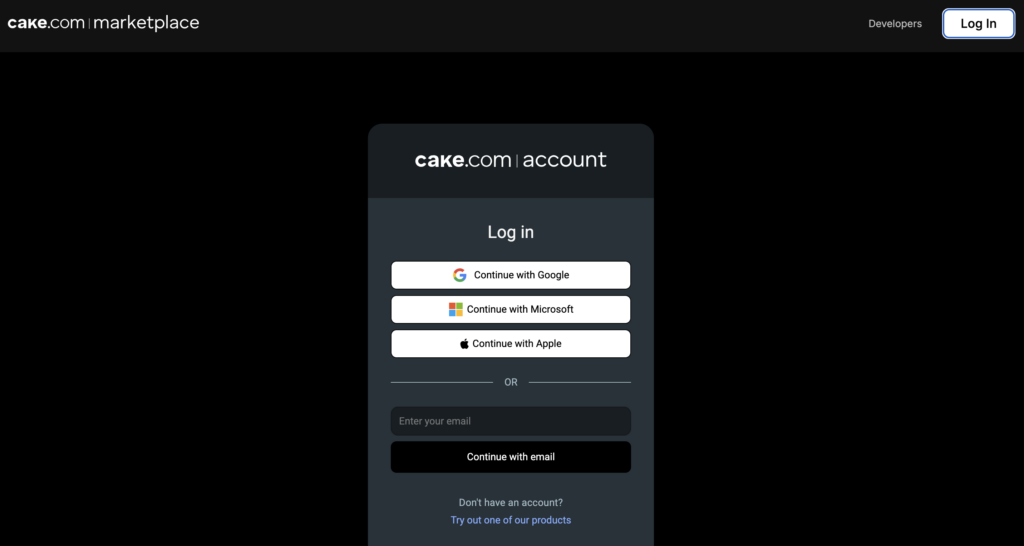
You can log in with Google, Microsoft, Apple, or you can choose to enter your email and click Continue with email.
Install free add-ons #
Ensure that you’re logged in to Clockify and that you’re a workspace owner or admin for the account before installing add-ons.
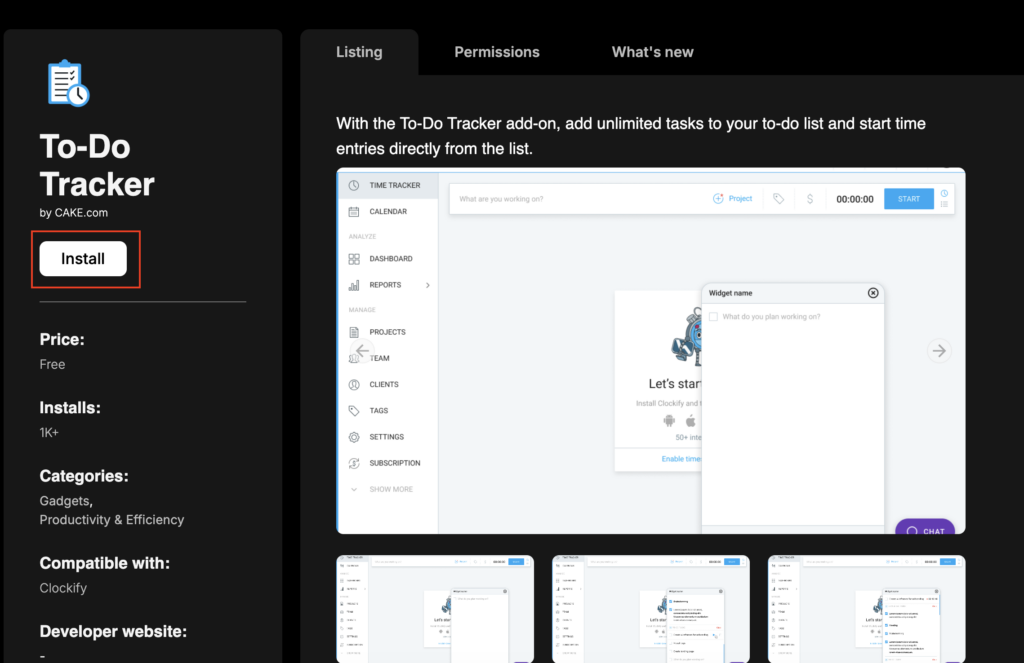
To install a free add-on:
- Go to marketplace.cake.com
- Search for the add-on
- Click Install on the left panel
4. Select your workspace
5. Tick the box to agree to the Privacy policy
6. Click Install

7. Click Test add-on the success message
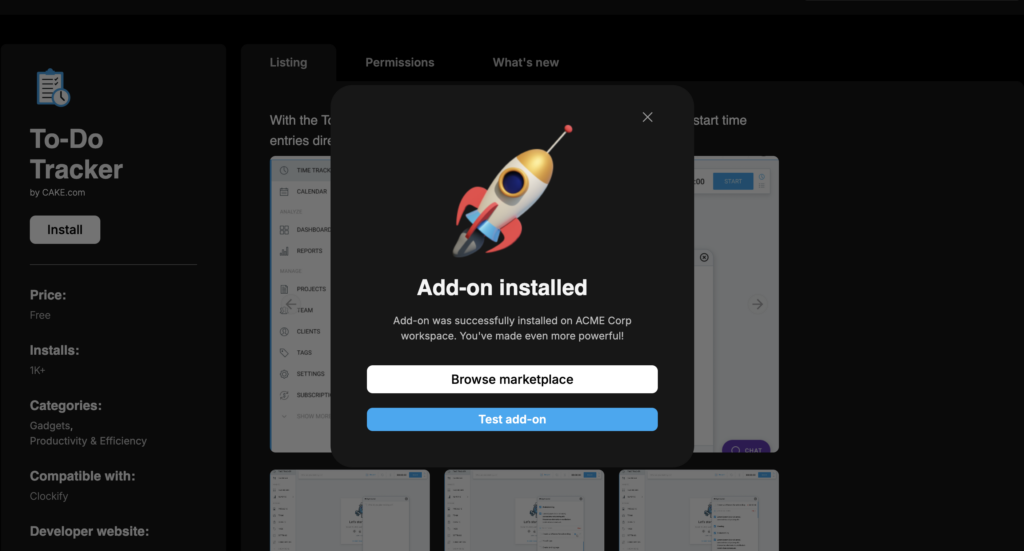
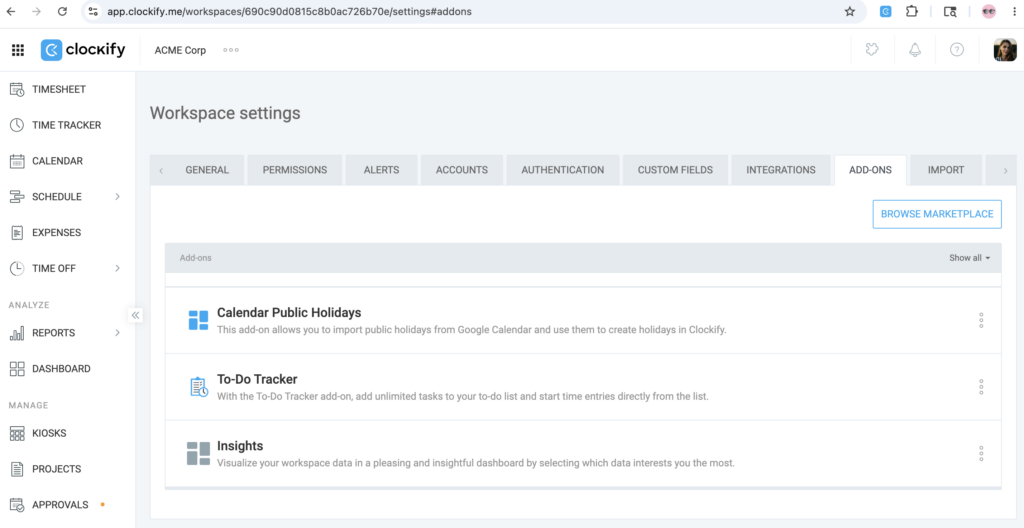
You should be directed to your Clockify account where you can see all installed add-ons.
Install paid add-ons #
Currently, paid add-ons are installed and billed at the workspace level, meaning a single flat monthly rate covers your entire workspace.
A “per-seat” option is coming soon, which will allow you to manage and pay for add-ons only for specific users
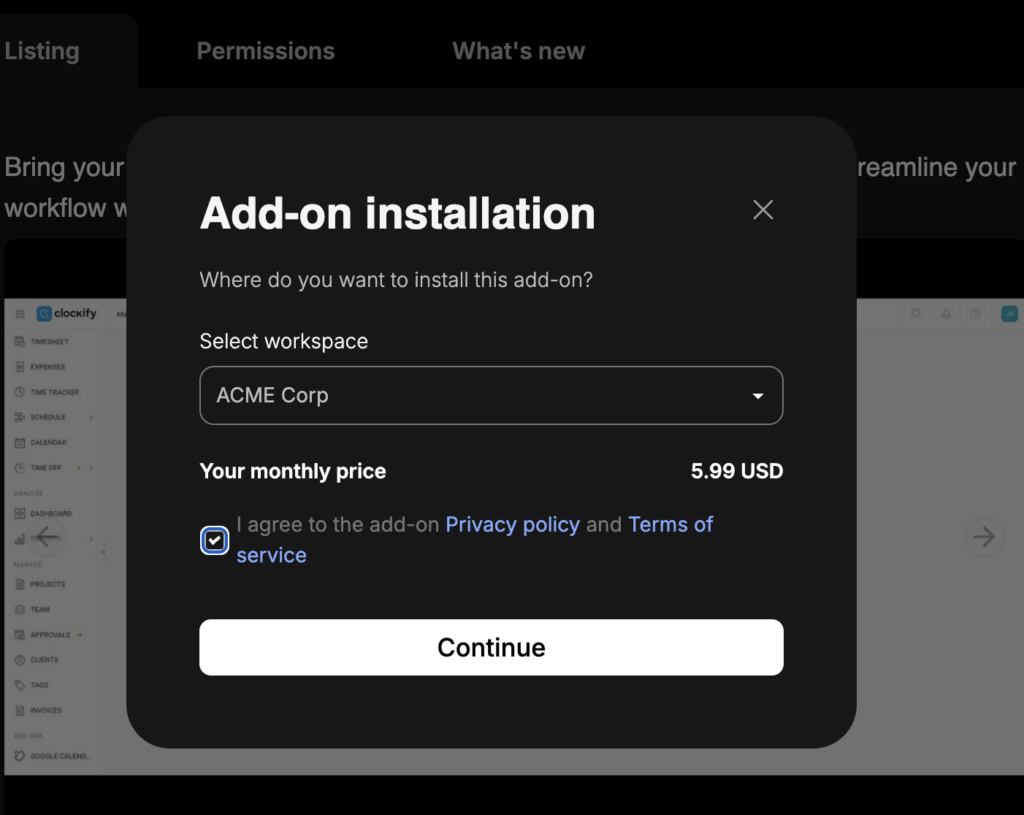
To install a paid add-on, follow these steps:
- Log in to your Clockify workspace
- Click to install your desired add-on
- Select the workspace
- Review the flat-rate monthly price
- Tick the box to agree to the Privacy policy and Terms of service
- Click Continue to complete your setup
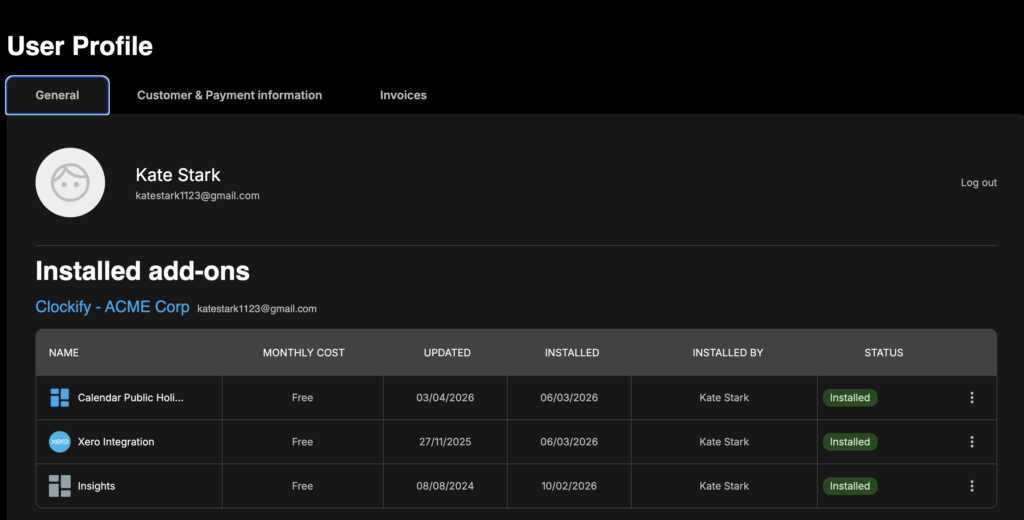
View installed add-ons #
To view all installed add-ons:
1. Click on your profile icon on the top-right corner of the page
2. Select My profile
3. Go to General tab
Deactivate or uninstall add-ons #
To deactivate or uninstall an add-on:
1. Go to your profile
2. Click on the three dots icon next to the add-on
3. Select Deactivate or Uninstall
4. Type UNINSTALL again on the confirmation window (if you chose to uninstall)
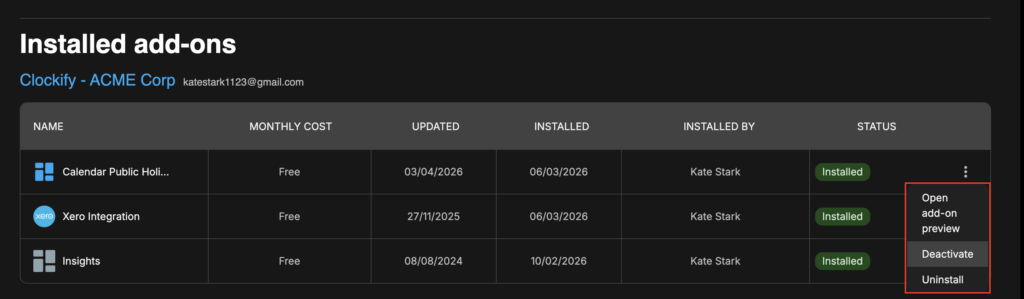
Deactivating an add-on temporarily removes it from your workspace (and it can be reactivated). Uninstalling an add-on permanently removes it from your workspace.
Install private add-ons #
To improve your integration’s security, you can create private add-ons directly in the Developer portal.
Remember to whitelist your Clockify workspace during the add-on release process.
To successfully install and use your private add-on, follow these steps:
- Whitelist your Clockify workspace while creating private add-on in developer portal
- You’ll receive an email confirming the whitelisting, which includes a View add-on button
- Click this button to be redirected to your private add-on’s preview page in the Marketplace
- Click the Install button
- Choose your workspace to complete the installation
If you see a This page doesn’t exist error, make sure you’re logged into the CAKE.com Marketplace with the correct Clockify account.
Customer & payment information tab #
Information regarding customer and payment data can be edited at any time, but only workspace owners can edit customer information.
To check or edit your payment information:
1. Click on your profile icon on the top right corner of the page
2. Select My profile
3. Go to Customer & Payment information
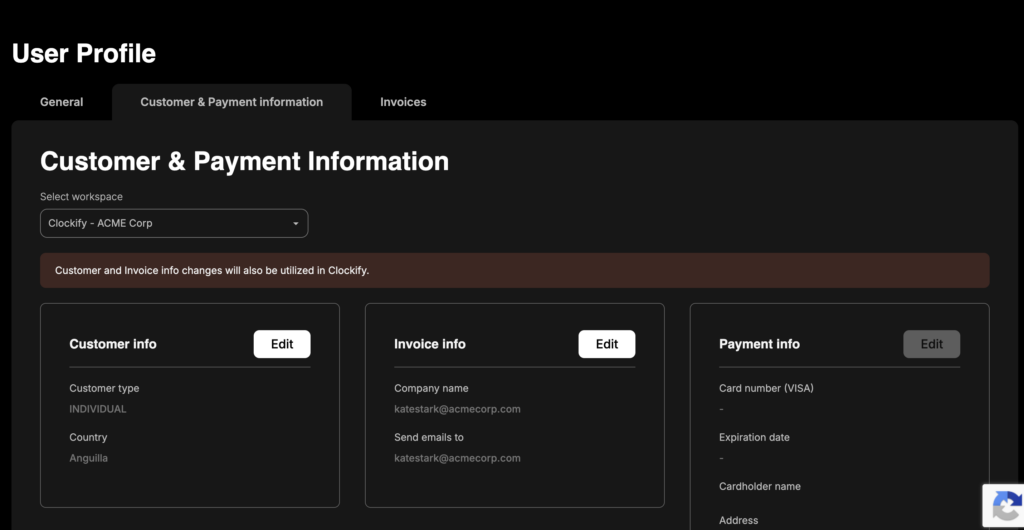
You can select different countries for Customer and Payment info.
Things to remember: #
- If an add-on is already installed in a workspace, that workspace will be disabled in the dropdown
- For workspaces in specific regions, the add-on may not save data there due to the data protection regulations. This means that Clockify doesn’t have an insight into where add-on data is stored. Add-ons might store data in regions different from the Workspace region.
Troubleshooting #
In the unlikely event of an error occurring during an installation process, an Add-on maintenance screen will appear notifying you that the installation is temporarily unavailable.
For further assistance, feel free to reach out to our support team.