Manage and configure add-ons
Once you’ve successfully installed an add-on, take some time to explore the settings and features available in the Add-ons tab within the Workspace settings.
Add-on menu in Clockify #
Installed add-ons are displayed at the top bar on the right and ordered based on whether they have some additional functionalities (settings) or not.
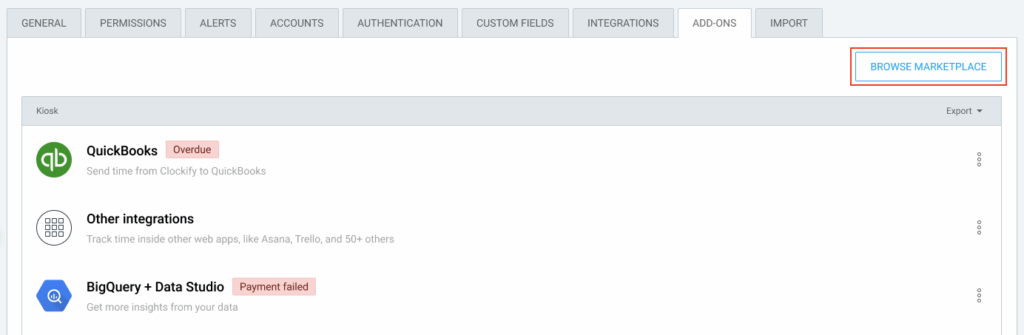
Paid add-ons will additionally have a tag indicating in which payment status they are currently in:
Overdue (payment is overdue)
If payment is Overdue, a warning of the screen is displayed for user before they start using the add-on.
You can continue using an add-on with the Overdue status until the grace period (instalment date + 14 days).
Subscription ended (payment failed)
After the 14 days of grace period are over, the add-on gets a new tag indicating that the subscription is over and that the add-on is unavailable.
Unistalled (add-on has been uninstalled)
Paid add-ons with Payment failed and Uninstalled status are not displayed in the main add-on page.
Some add-ons in your list may be marked Private. These are for internal testing and aren’t available to the public. For more information, please contact your organization owner or development team.
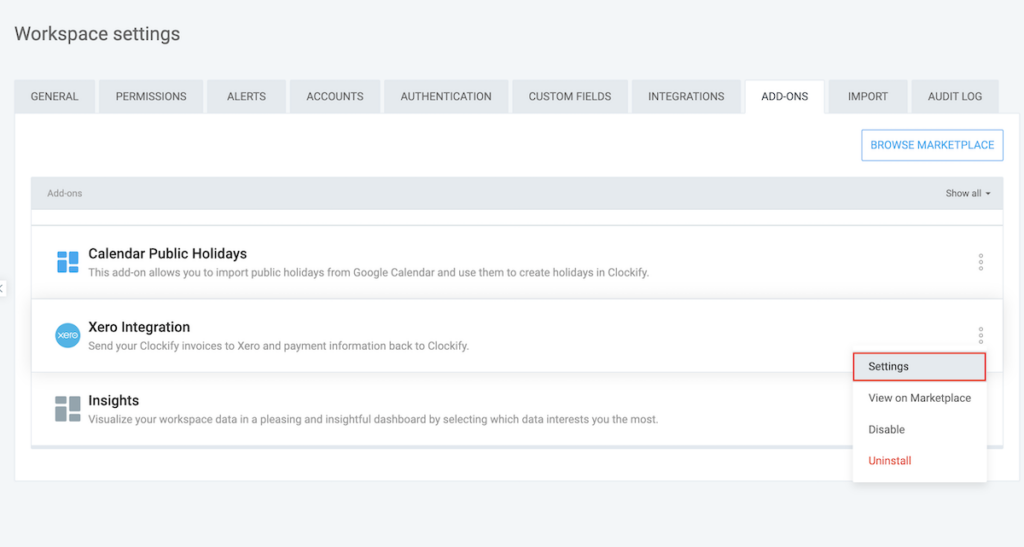
Add-on settings #
Add-on settings are optional and defined by the developer who created them.
Click on the three dots icon next to an add-on to check if Settings is an option.
Webhooks #
There is a limit of 3 webhooks per workspace for Free plan users.
Explore the webhooks sent from Clockify to the particular add-on. Each webhook contains essential details such as the webhook name, the triggering event, and the URL where the webhook sends information.
View on Marketplace #
By selecting this option, you’ll be directed to the Marketplace page where the add-on is published.
Enable/disable #
Installed add-ons are automatically enabled. You can disable an add-on if needed.
Browse Marketplace #
To search other available add-ons, click the Browse marketplace button in the Add-ons tab. This will open the CAKE.com Marketplace homepage in a new window.
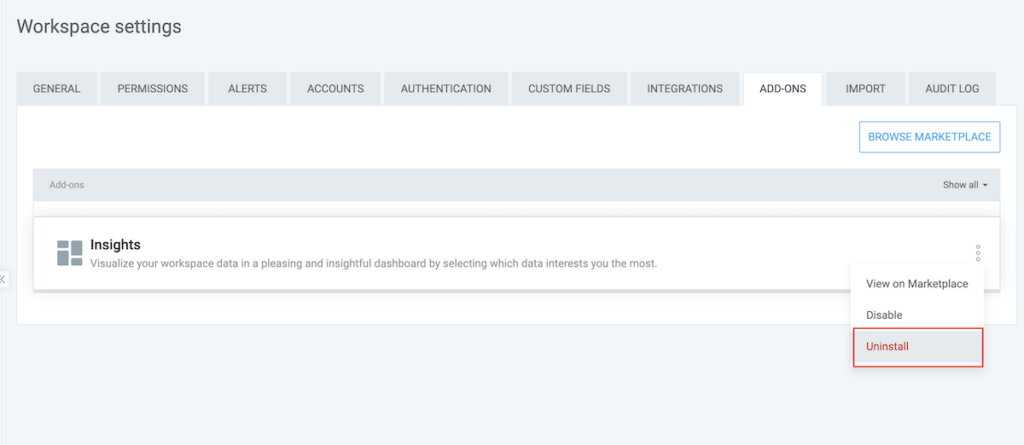
Uninstall add-on from Clockify #
As an admin, you have the authority to uninstall add-ons from your workspace.
To do so, follow these steps:
1. Navigate to installed add-on and open its menu
2. Choose Uninstall
3. Uninstall add-on screen appears
4. Type and click Uninstall to confirm the action
As a result:
- Add-on is disabled and removed from the workspace list in the dropdown
- Add-on is disabled and removed from the Add-ons tab
- Depending on the Terms of Use and Privacy Policy, stored data might be lost
Paid add-ons can be reinstalled without additional payment.
Cancel your subscription to Clockify add-on #
The subscription for the add-on will be canceled automatically after the add-on is uninstalled. To cancel your subscription, simply follow the instructions on how to uninstall the add-on from your Clockify workspace.
Cancel or downgrade subscription to Clockify #
If you downgrade your Clockify subscription plan that doesn’t meet the minimum requirements for your active add-ons, those add-ons will be automatically uninstalled at the end of your billing cycle.
You will receive an email notification confirming the cancellation and uninstallation of the affected add-ons.
Add-ons will also be uninstalled at the end of the trial period.
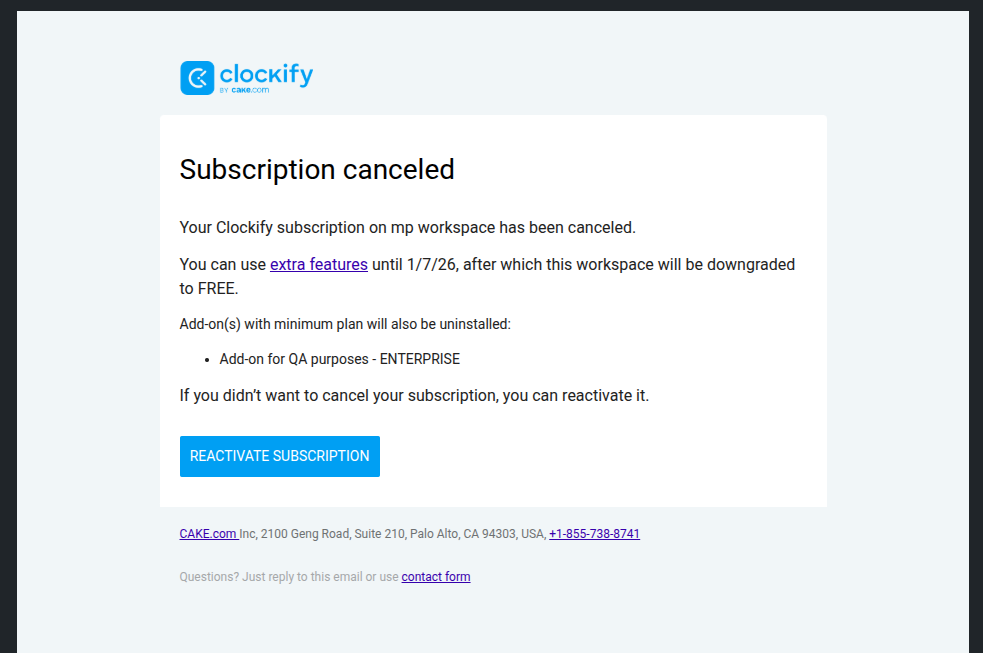
You can choose to reactivate your subscription by clicking Reactivate subscription in the email.
Unresponsive #
In case the add-on is unresponsive from the Clockify side, a screen will appear indicating that the app is currently unavailable.