How to uninstall desktop apps (Windows and MacOS)
In some cases, uninstalling and reinstalling the Clockify desktop app can help resolve unexpected issues, performance issues, or update problems. Here’s how to fully remove the app from your system based on your operating system.
Uninstall Clockify on Windows #
1. Uninstall Clockify:
Begin by uninstalling Clockify from your system through the standard uninstallation process (e.g., via “Add or remove programs” in Windows Settings).
2. Delete Residual Files (User Data):
- Navigate to the following directory: C:\Users\<Your Username>\AppData\Local
- Locate and delete any folders named “Clockify” within the Local folder.
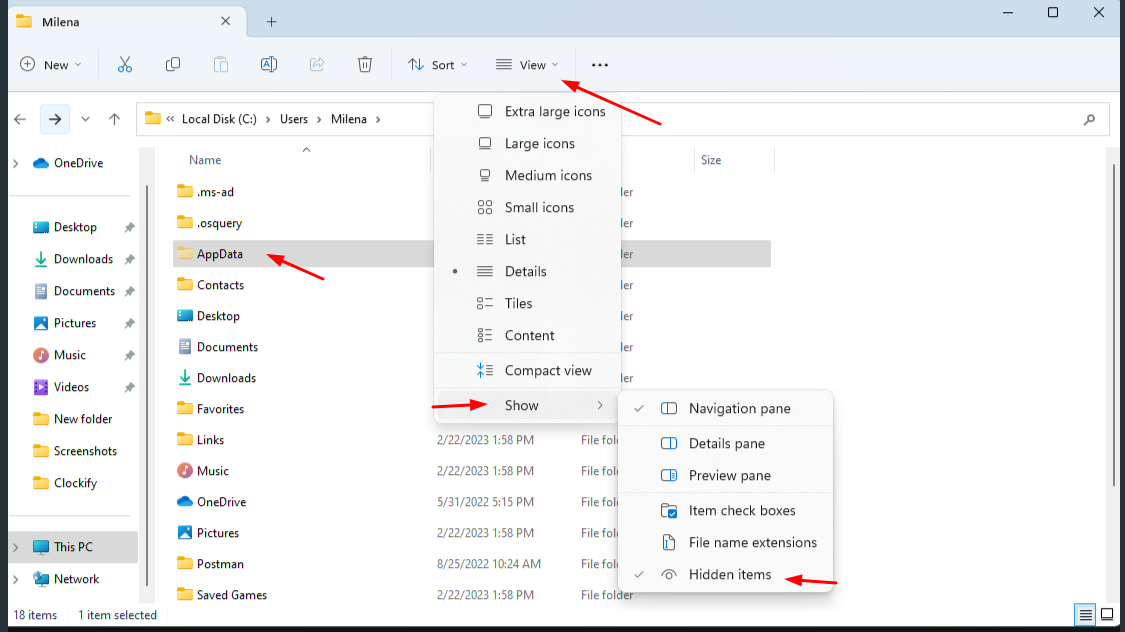
The AppData folder is often hidden by default. If you cannot see it, open File Explorer, go to the “View” tab, and check the “Hidden items” box in the “Show/hide” section.
3. Delete Residual Files (Program Data): - Go to the root of your C: drive.
- Navigate to the ProgramData folder.
- Locate and delete any folders named “Clockify” within the ProgramData folder.
The ProgramData folder may also be hidden by default. If so, follow the same steps as above to reveal hidden items.
4. Reinstall Clockify: - Visit the official Clockify website for Windows
- Download the Clockify application.
- Install the application following the on-screen instructions.
Uninstall Clockify on MacOS #
Before attempting a clean install of the app, you can reset it without deleting the files:
- Open the Clockify app and bring it to the front
- Click on the Help option in the menu bar
- Select Reset Clockify

This will reset your app completely and might help resolve issues you’re facing.
Manual Reinstall #
Step 1:
- Log out of Clockify.
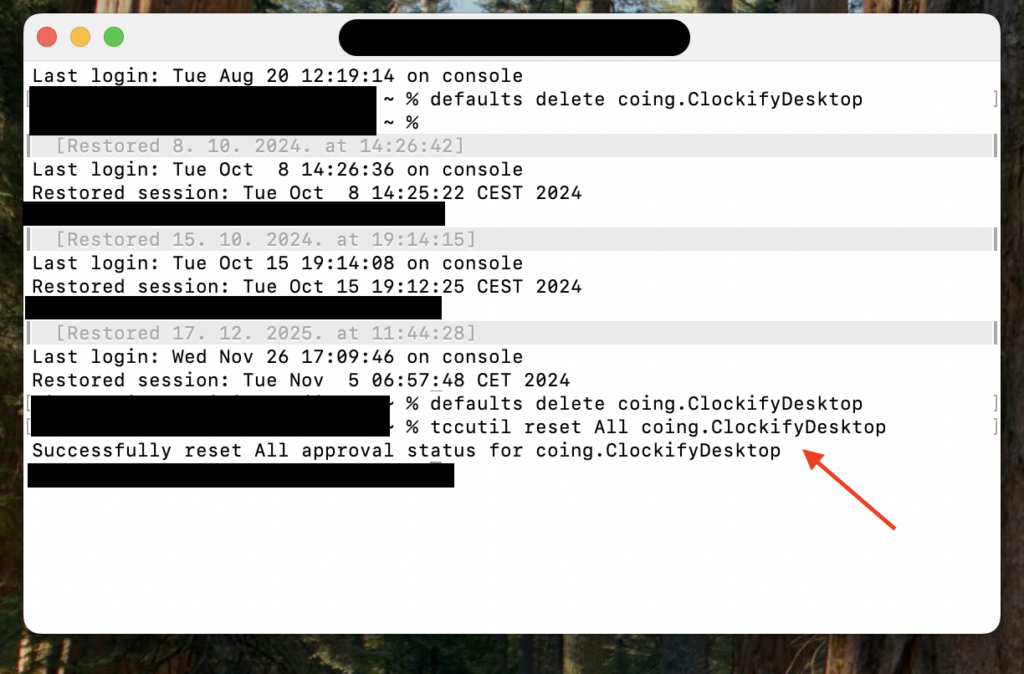
- Open Terminal (click on the Launchpad in the Dock, search for Terminal, and click to open) and execute the command: defaults delete coing.ClockifyDesktop
- In Terminal, execute the command: tccutil reset All coing.ClockifyDesktop
Step 2:
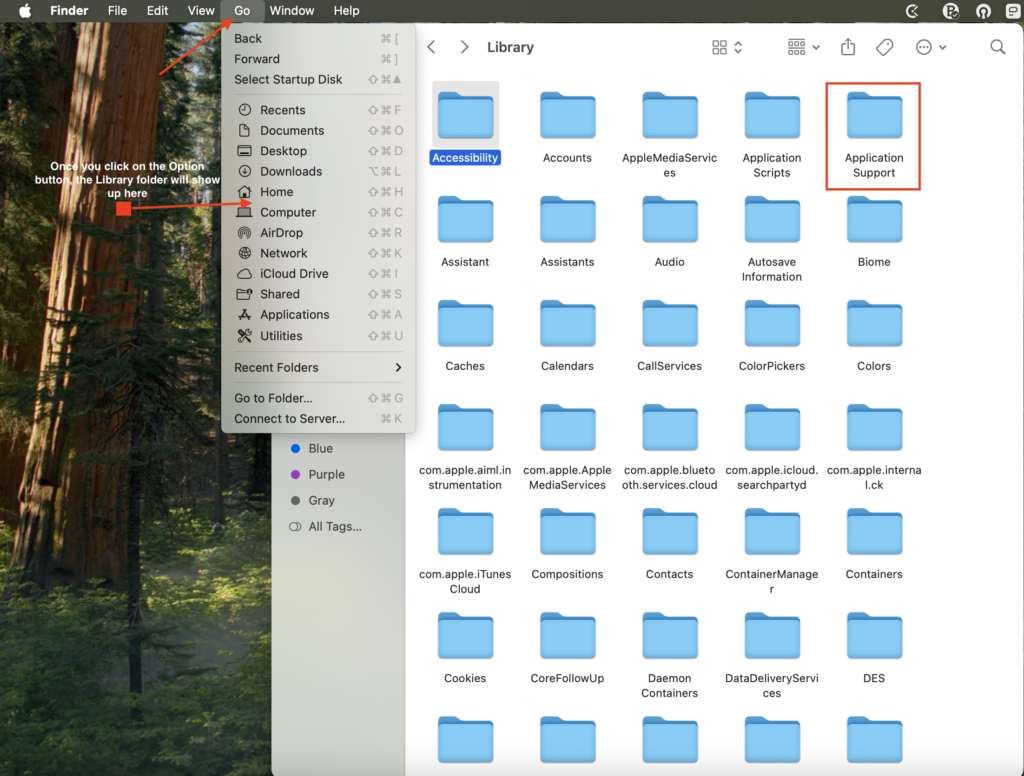
- Open Finder
- Click Go in the top menu bar
- Hold the Option key
- Click Library
- Open Application Support
6. Find the ClockifyDesktop folder and delete it
7. If you see files such as default.realm or default.realm.lock delete them as well
Step 3:
- Open Finder
- Go to Applications
- Find Clockify Desktop
- Drag it to Trash
- Download the new version of the App from the App Store or our website
The clean reinstall will delete all of your Auto Tracker data. If you wish to save it, you can click on the “Add as a time entry” option on the right side of the Auto Tracker sessions to save them to your Clockify reports.