Time entries aren’t syncing to QuickBooks
If time entries aren’t syncing to QuickBooks, it could be due to how the integration is set up, plan compatibility, or how projects and clients are structured. Here’s how the connection works and what to check if syncing fails.
QuickBooks plan may not be supported #
Clockify QuickBooks integration requires you to be on Standard, Pro, or Enterprise plan. It also only works with:
- QuickBooks Online Essentials
- QuickBooks Online Plus
- QuickBooks Advanced
The integration does not work with QuickBooks account that has payroll enabled.
If you are using QuickBooks Online Essentials, Plus, or Advanced with payroll enabled, you need to install the QuickBooks Payroll Add-on instead. The paid add-on can be downloaded from CAKE.com Marketplace. It also requires a Clockify account on Standard plan or higher.
To check your plan:
- Open QuickBooks Online
- Go to Account and Settings -> Billing and Subscription
- Review your current plan and features
Client and project mapping don’t match #
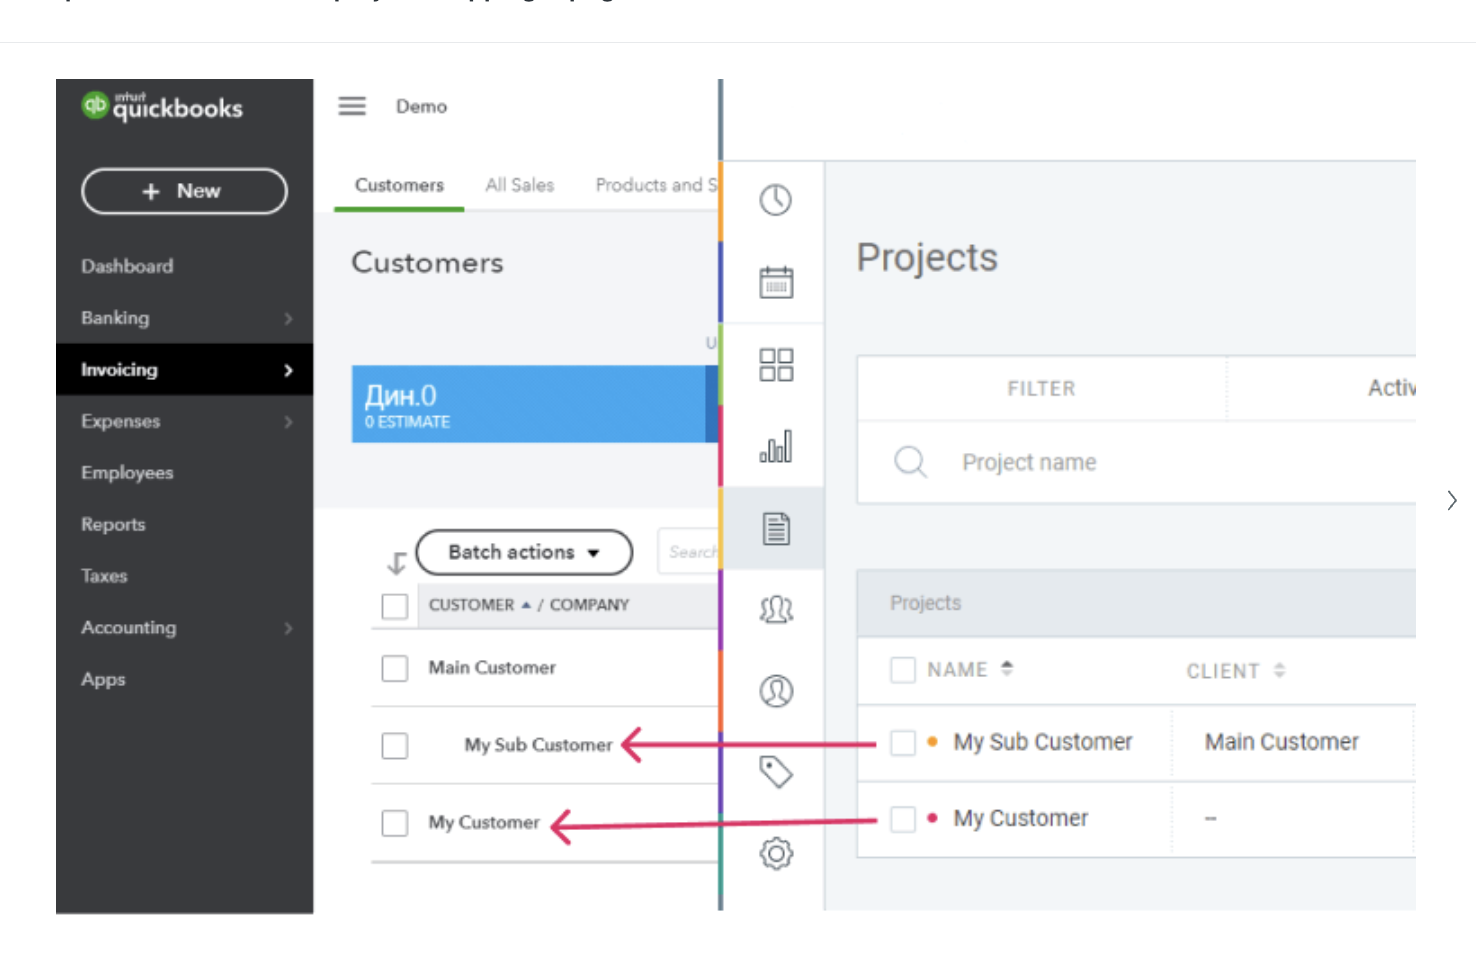
Mapping between Clockify and QuickBooks happens based on matching names and structure.
- The user name from Clockify must match an Employee name in QuickBooks
- If using only projects in Clockify, project names must be identical to Customer names in QBO
- If using both clients and projects in Clockify:
- Clockify clients must have the same name as the parent customers in QBO
- Clockfy projects must have the same name as sub-customers in QBO
If you only have projects in Clockify, in that case, you would sync them with customers in QuickBooks; however, if projects also have clients in Clockify, then your project will actually be a sub-customer and the client a parent customer in QBO.
Check for new users and customers #
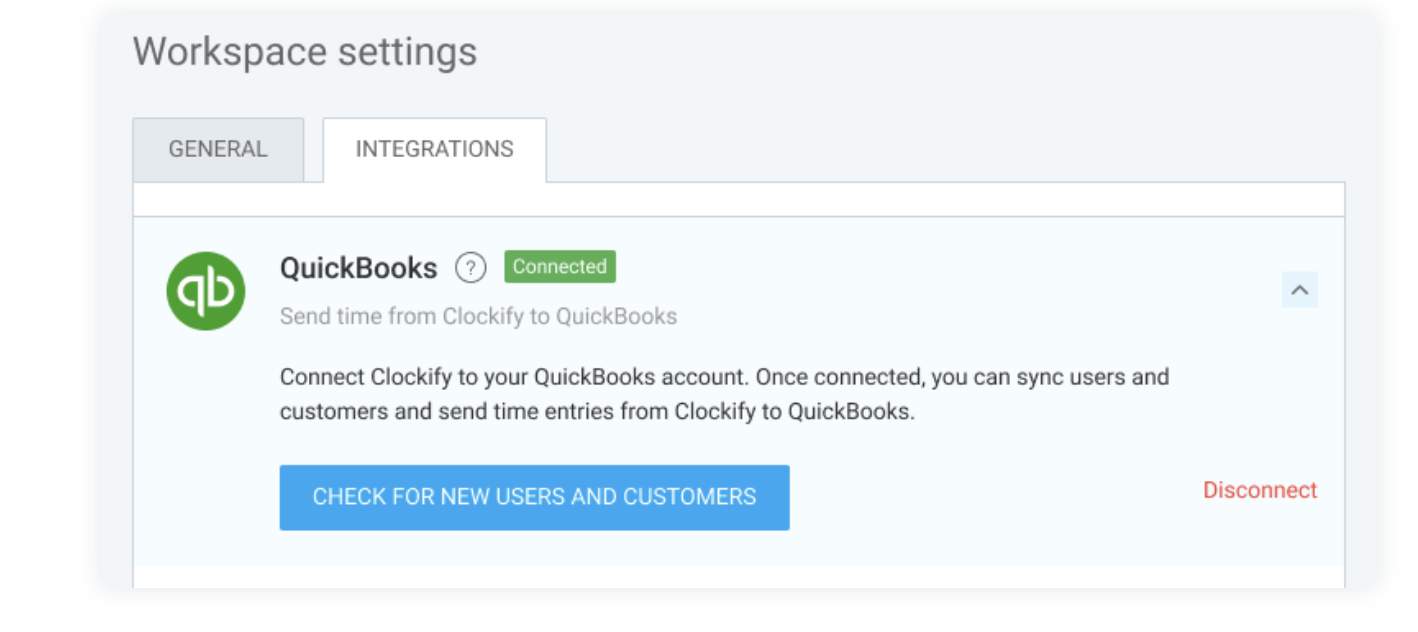
If everything has been set following the data mapping rules, make sure to resync your QBO data with Clockify.
- Click on the three dots next to your Workspace name
- Select “Workspace settings.”
- Click on the Integrations tab
- Click on the “Check for new users and customers” button
Reconnect the integration #
If data sync was unsuccessful, try disconnecting the integration.
- Navigate to the Workspace settings by clicking on the three dots next to the Workspace name
- Open the Integrations tab
- Select the dropdown arrow next to QuickBooks
- Click Disconnect
- Reconnect your QuickBooks account and follow the prompts
Only billable time entries will sync #
Make sure your time entries meet these criteria:
- Marked as billable (represented by blue dollar icon in Clockify)
- Assigned to a project (and client, if applicable)
- Tracked by a mapped user
You can check all of this via the Detailed report in Clockify.
Still having issues? The Clockify Support Team will be happy to look into it and assist you further. Please contact us at support@clockify.me and include the following details:
- Information about your current QBO plan and whether you have a Payroll feature enabled
- A screenshot of any error messages you might have received when sending time to QBO
- A screenshot of your projects, clients, and users from both Clockify and QuickBooks