Define required fields for time entries
By defining required fields for time entries, you’re making sure that every entry contains the minimum amount of information needed to be created and saved. This helps you achieve accuracy and consistency across all time entries in your workspace.
What are the required fields? #
Required fields are mandatory fields that must be completed before a time entry can be created or saved. By defining which fields should be required, you make sure that time entries contain the necessary information for proper organization, reporting, and analysis.
Enable required fields #
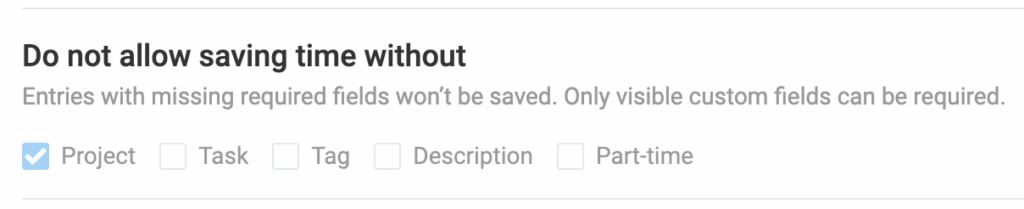
Available required fields are predefined and are listed in the Workspace settings > General tab > Do not allow saving time without section.
You can choose from the following fields to make mandatory for all time entries:
- Project
- Task
- Tag
- Description
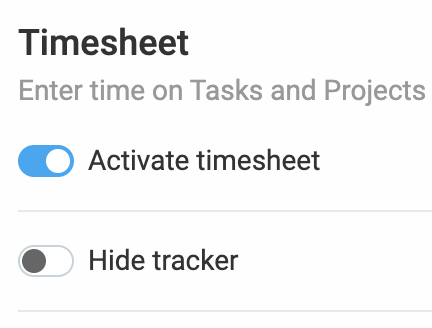
If Timesheet page is activated in your workspace settings, Project field becomes required. You must define a project for an entry to be saved.
How it works #
If you mark Project and Tag as required fields:
- Users will not be able to add a time entry without selecting a project and a tag
- The timer can be started, but it cannot be stopped until both fields are filled in
- Time entries will not save without these two fields
For example, if Task is a required field, time entries linked to projects without tasks will not show up in the project picker, preventing incomplete time entries from being submitted.
What are custom fields? #
In addition to the standard required fields, you can add custom fields to track anything specific to your business needs.
These could include:
- Expenses, mileage, breaks, overtime
- Invoice status, location, equipment
- Links to tickets, receipts, and more
Create custom fields #
Only Workspace owners and admins have the permissions to configure custom fields.
To create custom fields for time entries:
- Go to Workspace settings > Custom fields
- Click on Create new field and select the field type:
- Text: Free-text input
- Number: Only numerical values (e.g. mileage, expenses)
- Link: URLs (e.g. links to receipts)
- Switch: Yes/No options (e.g. paid/unpaid)
- Select: Dropdown list (e.g. status, location)
- Select multiple: Allows multiple selections (e.g. equipment used)
Make custom fields required #
To set a custom field as required for every time entry:
- Make sure the field is Visible with a default value, or editable by users
- In Workspace settings, under the General tab, select the checkbox for the custom field in the Do not allow saving time without section
- The field will now appear as a required field in both Time tracker and Timesheet, ensuring all users fill it out when entering time
Best practices for using required fields #
- Make sure your required fields are the same across all projects and workspaces
e.g. Let’s say that as a marketing manager you need to track [Campaign name] for every time entry. If you make this a required field for your [Social media] project but not for your [Email marketing] project, your company reports will have missing data. By making [Campaign name] a required field for all projects, your data stays clean and complete, making it easy to run reports later. - Use custom fields to track key business information you need for reports and analysis
e.g. Your software development team needs to prioritize bugs. You create a custom field called Bug priority with options like high, medium, and low. By requiring your team to fill this out for every bug-related time entry, you can quickly filter your reports to see exactly how much time was spent on high-priority issues.
FAQ #
What happens if I don’t set any fields as required? #
If you don’t set any fields as required, users can submit time entries without completing critical information like the project, task, or description. While this won’t prevent users from adding time entries, it can lead to incomplete or inconsistent data, making reporting and analysis more difficult.
Can I make a custom field visible only for specific projects? #
Yes, custom fields can be set to be visible only for specific projects. In Project settings, you can manage which custom fields should be visible and set default values for each project. Additionally, you can choose to make some fields visible only when a user selects a specific project.
Can I make certain fields invisible to regular users? #
Yes, you can make certain fields invisible to regular users while still allowing them to track the data. Invisible fields can be used for metadata, project IDs, or backend integrations. Users won’t see these fields in their Time Tracker or Timesheet, but the data will still be available for reporting and can be used in exports or API integrations.
Can required fields be used in reports? #
Yes, required fields can be used in reports. When you export time entries to Excel or CSV, the required fields (and their values) will appear in the Detailed report. This allows you to filter and analyze time entries based on those required fields, ensuring you have consistent and complete data for reporting purposes.