Custom fields
Custom fields let you add extra data to your time entries, such as:
- Mileage
- Invoice status
- Location
- Project IDs
This feature is available on the web app, mobile apps (iOS and Android), Mac app, and Windows app.
Create custom fields #
1. Click the three-dot icon next to the workspace name
2. Select Workspace settings
3. Click Custom Fields
4. Click Create
5. Enter a name and description for the field
6. Select the field type:
- Text – Enter any text
- Number – Accepts only numerical values
- Link – Accepts a URL for files or websites
- Switch – Provides a simple Yes/No toggle
- Select – Lets you choose only one option from a predefined list
- Select Multiple – Lets you choose multiple options from a predefined list
You can also set Who can edit to either Everyone or Admins.
If you set a field to be Admin-only editable, regular users can’t change its value, but they can still see it on their time entries.
You can create up to 50 custom fields.
Activate custom fields #
Users won’t see custom fields until you activate them. To activate custom fields:
1. Go to Workspace settings
2. Click Custom Fields
3. Drag the field from the Available column and drop it to the Visible slot in the Active column.
A maximum of five (5) active visible fields is allowed for the entire workspace.
Active visible fields will appear in the Timesheet and Time Tracker for everyone in the workspace.
Invisible fields #
Invisible fields aren’t visible to users in the time entries. However, they will exist on the entries and appear in Excel/CSV exports of the Detailed Report.
Invisible fields are used to:
- Automatically inherit metadata (such as project ID) from the project
- Update entries via API or integrations
Customize fields by project #
You can override workspace-level settings and apply custom fields to individual projects.
1. Go to the Projects page
2. Click on the project
3. Go to Settings
4. Click Custom Fields
5. Find the Additional fields section
6. Manage visibility and set default values for active fields
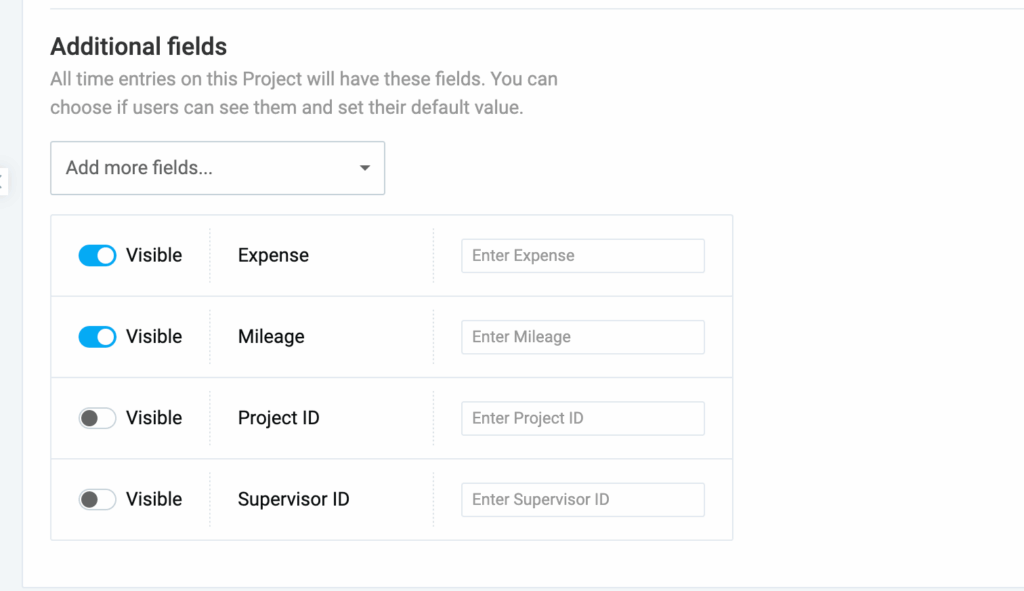
You can have up to 10 visible fields on a single project.
Be careful when setting default values on a project. A default value always overrides any existing custom field value on a time entry when a user changes the project associated with the entry.
Advanced usage #
You can use the four core mechanisms below to customize your workflow:
| Permissions | Visibility | Default value | Use case |
| Everyone | Visible | Empty | Capture user input (e.g., mileage, receipts) |
| Everyone | Invisible | Inherits | Stamp entries with project metadata (e.g., project ID) |
| Admins | Visible | Inherits | Show project information for user reference |
| Admins | Invisible | Empty | Prepare entries for admin-only API updates |
Make a custom field required #
You can set a custom field as required to ensure users always enter data for a field.
1. Set the custom field as Visible
2. Set Who can edit to Everyone or define a default value
3. Navigate to Workspace Settings > General
4. Select the field under the Don’t allow saving time without section
Edit custom field #
When you edit a field, the change doesn’t impact older entries. You must manually update existing time entries to add a newly created field or change its value.
To edit a field:
1. Navigate to Workspace settings
2. Select Custom Fields
3. Find the field you want to edit in either the Active or Available column
4. Click the expand button next to the field name
5. Make your changes:
- Modify the field name
- Change the Who can edit permission
- Update the options (for Select/Select Multiple fields)
6. Click Save to apply your changes

Deactivate custom field #
Deactivating a field is applicable if you want to retain data from previous entries but don’t want to use the field in new entries.
To deactivate a field:
1. Go to Workspace settings > Custom Fields
2. Move the field from the Active fields column to the Available fields column.
Delete custom field #
When you delete a custom field, it permanently removes the field and all its data from every time entry in the workspace. There isn’t an undo option.
To delete a custom field:
1. Go to Workspace settings > Custom Fields
2. Click the expand button next to the field name you want to delete
3. Scroll down and click Delete
4. Type DELETE to confirm

Custom fields in reports #
You can retrieve custom field data for analysis in pivot tables using the export CSV/Excel feature in the Detailed Report.
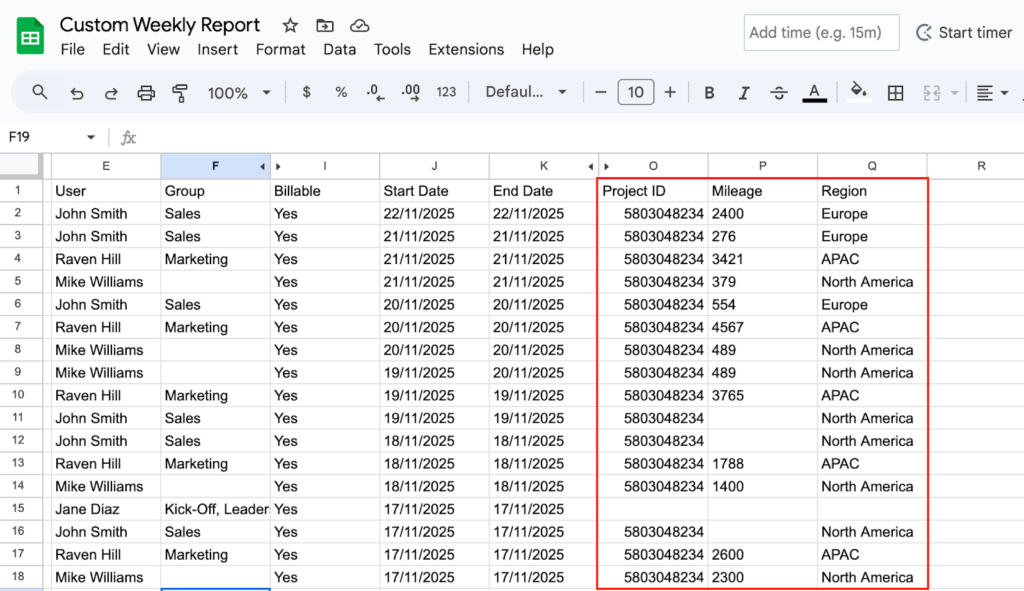
Data can be filtered using custom fields and won’t affect other users.
Download sample report (Excel)
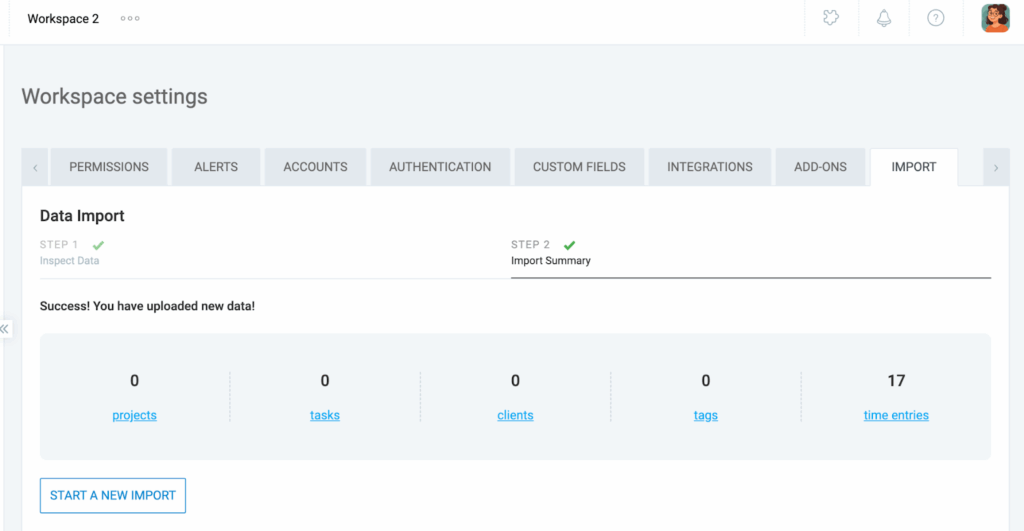
Import custom fields #
Custom field data can be imported using a CSV file that contains time entries. Ensure the column headers are in English and the time duration format matches your workspace settings.
- Go to Workspace Settings > Import.
- Upload your CSV file.
- Review the import analysis and click Start import.