Sign up & log in as manager
Signing up and logging in to Clockify gives you immediate access to your dashboard where you can oversee team time, manage projects, and review productivity.
This feature is available on any paid plan. Manager roles are assigned by Workspace owners and admins.
Signing up creates a brand new account in the system, while logging in grants you access to an account you have already created.
Sign up for an account #
You can create your account using the web, desktop app, mobile app, or a custom subdomain.
- Go to the official Clockify sign-up page or open your downloaded app
- Select your sign up method (Email, Google, Apple, or Microsoft)
- Check your email inbox for a verification code from Clockify if you signed up via email
- Enter the verification code into the required field to confirm your email
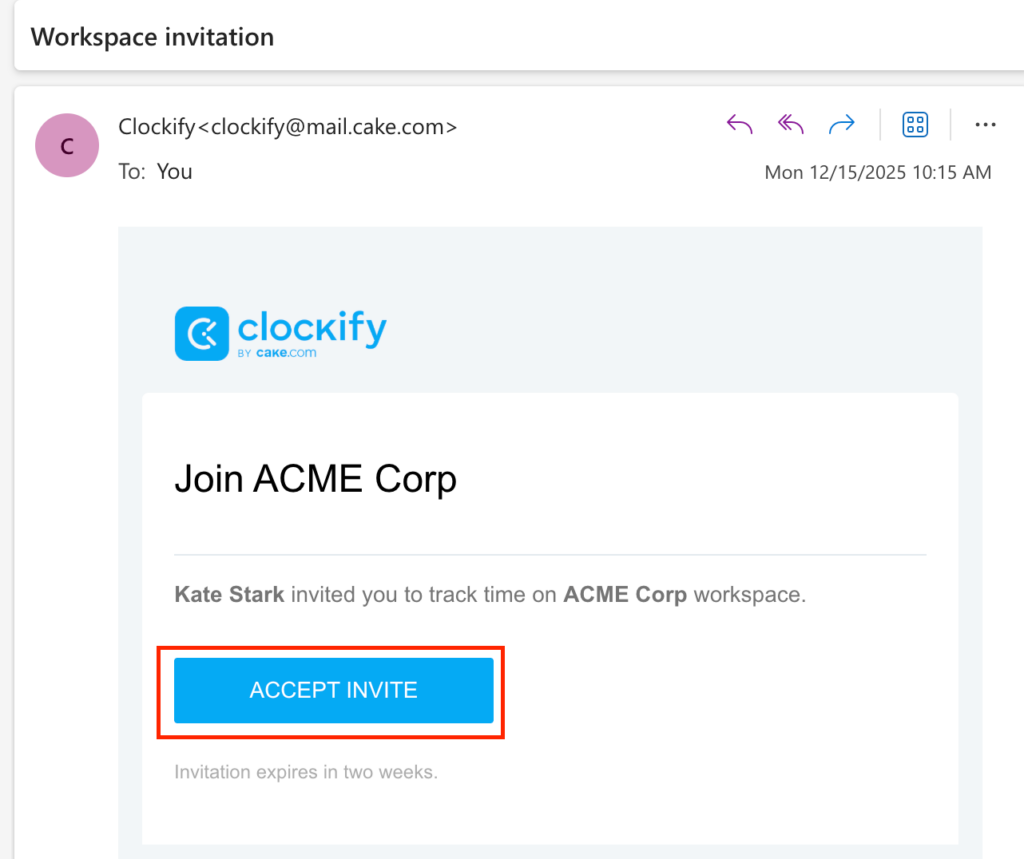
Sign up via invite
To sign up using an invitation sent to your email:
- Click on the Accept Invite button in the email message
- Follow the prompts to sign up
Log in to your account #
Once your account is created, your data syncs securely so you can seamlessly access it across any of your preferred devices.
- Go to the official Clockify login page or open your Clockify app
- Enter your registered email or select your third-party sign-in method like Sign in with Google
- Enter the verification code sent to your email to access your dashboard

If you do not receive the verification code right away, check your spam or junk folder, or click Resend OTP to try again.
Understand manager privileges #
As a manager, you gain access to specific tools to help streamline your team’s workflow. Here is a quick overview of what you can access:
| Privilege | Description |
| Team time management | View and track all time logged by your team members |
| Approvals | Approve or reject time off and time tracking requests |
| Reporting | Access detailed reports on billable hours, team efficiency, and project status |
| Project setup | Create new projects, assign tasks, and monitor progress |
Manage team time #
Viewing your team’s time entries allows you to see who is currently active and what activities they are logging on the dashboard.
- Go to the Dashboard page
- Click the dropdown in the upper-right corner and select Team
- Scroll down to the Team activities table to see recent or active entries
- Look for a red dot next to a time entry to identify currently running timers
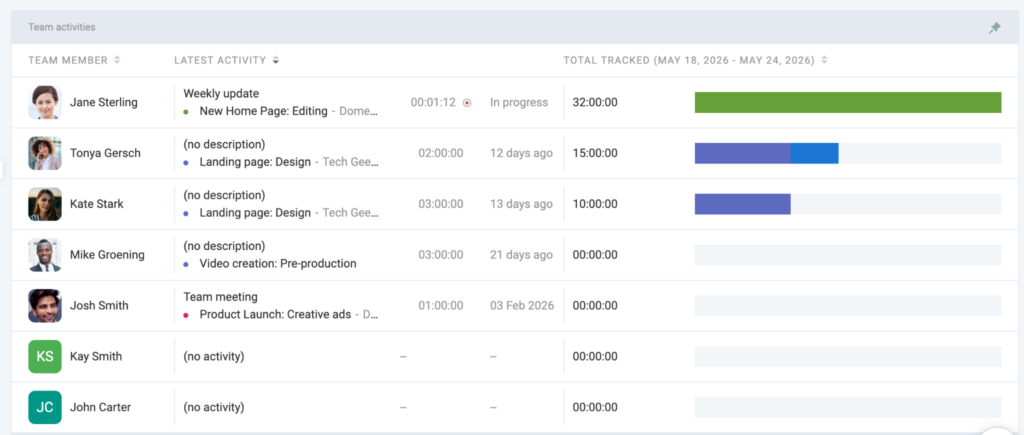
You can click the pin icon in the upper right corner of the table to ensure the Team activities view is always visible at the top of your page.
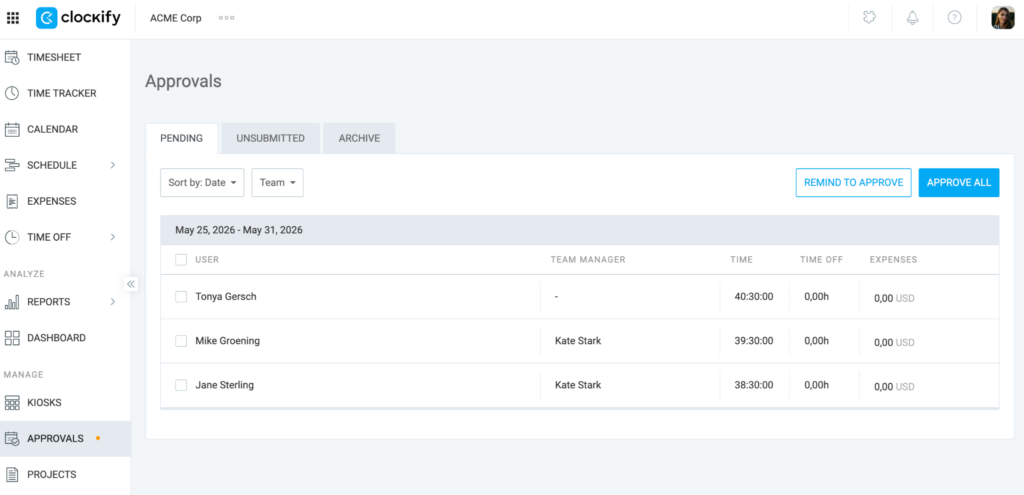
Approve time and time off #
The approval workflow lets you easily review, accept, or reject time entries and time off requests submitted by your team members.
This feature is available on Standard, Pro, or Enterprise plans.
- Click on the Approvals page in your sidebar
- Click on a team member’s name to open their request
- Click Approve in the top-right corner
- Click Approve again on the confirmation window
Set up projects #
Creating projects and assigning tasks helps you categorize work and break down larger goals into manageable assignments for your team.
Public projects are available on all plans, while private projects require any paid plan.
- Go to the Projects page
- Click Create new project
- Enter a project name
- Select an existing client or create a new one
- Choose a project color and click Create

To update or manage an existing project, click the three dots next to the project name to view options like setting it as a template or shifting the timeline.
FAQs #
How do I organize my team into departments?
You can create user groups to easily assign multiple team members to a project or filter reports by a specific department.
- Go to the Team page
- Click on the Groups tab at the top of the page
- Enter a name for your new group and click Add
- Click the + icon next to the group name to select and add team members
Can I schedule reports to send automatically?
You can set up automated emails to regularly deliver summary reports to yourself, your team, or your clients.
This feature is available on Pro or Enterprise plans.
- Go to Reports > Summary
- Click the Share icon located in the top right corner
- Select Schedule from the dropdown menu
- Choose your frequency and enter the recipient email addresses before clicking Create
You can customize the scheduled report link to lock the date range, ensuring recipients only see data for that specific week or month.
How do I see a breakdown of who tracked the most time?
You can use the Team dashboard to quickly visualize which team members have logged the most hours over a specific period.
- Go to the Dashboard page
- Click the dropdown in the upper-right corner and select Team
- Use the calendar at the top to select a timeframe
- Review the bar chart to see a comparative breakdown of tracked time per user