QuickBooks: Clockify integration
Connecting Clockify to QuickBooks Online lets you send tracked time entries directly to your accounting software. This eliminates manual data entry and speeds up payroll processing for your organization.
Before you begin #
Please note the following requirements:
- Clockify Plan: Standard, Pro, or Enterprise.
- QuickBooks Plan: QuickBooks Online Essentials, Plus, or Advanced.
This integration does not work with QuickBooks Desktop or the QuickBooks Online Simple Start plan. Additionally, if you have the Payroll feature enabled in QuickBooks, this integration will not work due to system limitations.
Step 1: Prepare your data #
For Clockify and QuickBooks to communicate properly, the names of your users and clients must match perfectly in both systems.
- Match Employees: The User Name in Clockify (found in Profile settings) must be identical to the Employee Display Name in QuickBooks.
- Match Customers: The Project Name in Clockify must be identical to the Customer Name (or Project Name) in QuickBooks.
If you use Quickbooks Essential, the QuickBooks Parent Customer will act as the Clockify Client, and the QuickBooks Sub-customer will act as the Clockify Project.
If you are setting up Clockify for the first time, simply invite your team, ensure their names match QuickBooks, and the initial integration sync will automatically create Clockify projects for your existing QuickBooks customers.
Step 2: Connect Clockify to QuickBooks #
Once your names are matched up, you are ready to link the two platforms.
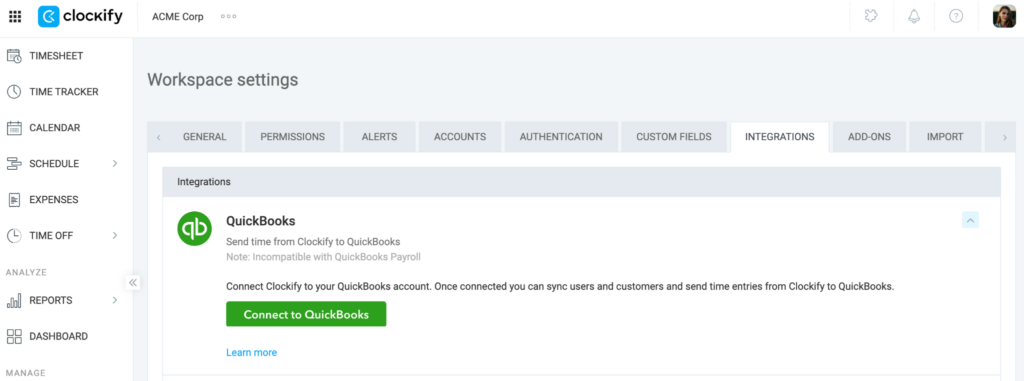
- Log in to your Clockify account as an Admin
- Click the three dots menu next to your workspace name (top left) and select Workspace settings
- Navigate to the Integrations tab
- Scroll down, expand the QuickBooks section
- Click Connect to QuickBooks
6. Enter your QuickBooks credentials and click Authorize to grant Clockify access or click Connect if you’re already logged in to your Quickbooks account
7. Click Next on the confirmation screen
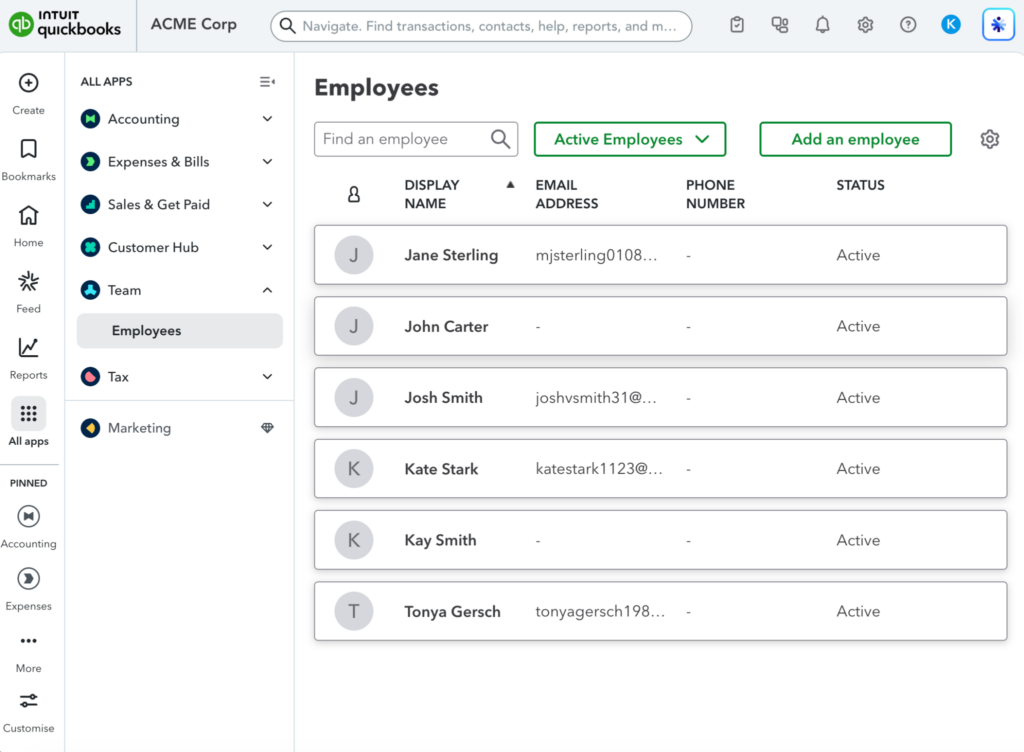
Step 3: View team members in Quickbooks #
To check if your team members were properly synced with Quickbooks:
1. Log in to your Quickbooks account
2. Go to Teams > Employees
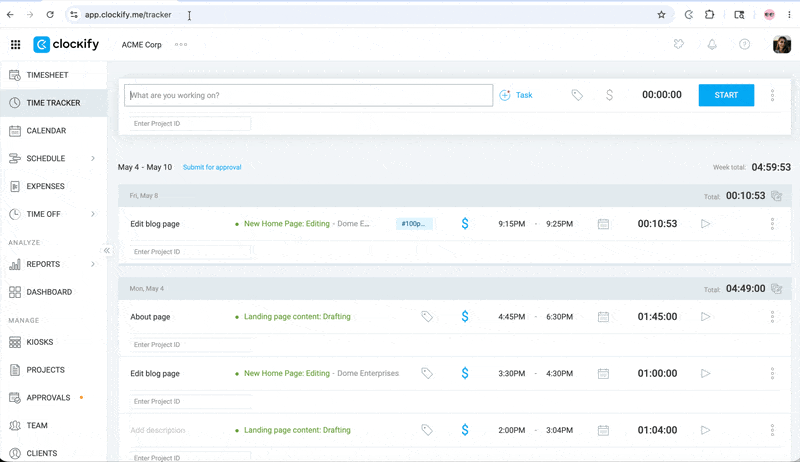
Step 4: Send time entries to QuickBooks #
Now that the systems are linked, you can start pushing your team’s time entries to QuickBooks.
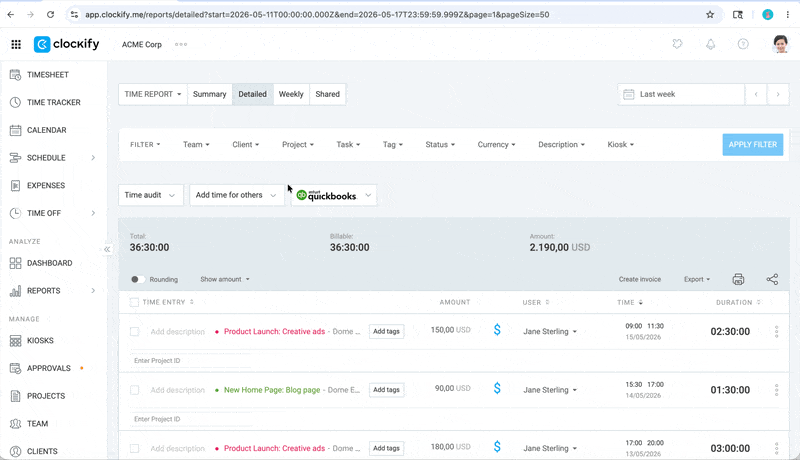
- Go to Reports > Detailed Report
- Use the filters at the top (Date, User, Client, or Project) to narrow down the time entries you want to send
- Click the newly visible QuickBooks button near the top of the report
- Review the list to ensure accuracy
- Click Send to QuickBooks
- Click Send on the confirmation window
A pop-up window should appear to confirm the time entries were successfully sent.
What gets sent?
Clockify will push the following:
- User’s name
- Date
- Project (Customer)
- Duration
- Description
- Billable status
- Billable rate
Once sent, the entries are marked as “Sent” in Clockify and cannot be sent again.
Create invoice from Clockify time entries #
- Log into QuickBooks Online
- Click the Create + icon on the left panel
- Select Invoice
- Select the client from the dropdown for customer
- Click Add all in the menu that appears on the right side
- Click Review and send to send the invoice to the client or Save and close to save the invoice and close the page
Important notes #
- You cannot send a billable time entry to QuickBooks unless it is assigned to a Project in Clockify.
- Once a time entry is sent to QuickBooks, changes made in Clockify will not sync over. If you realize an employee made a typo after sending the data, you must manually correct the time entry inside QuickBooks.
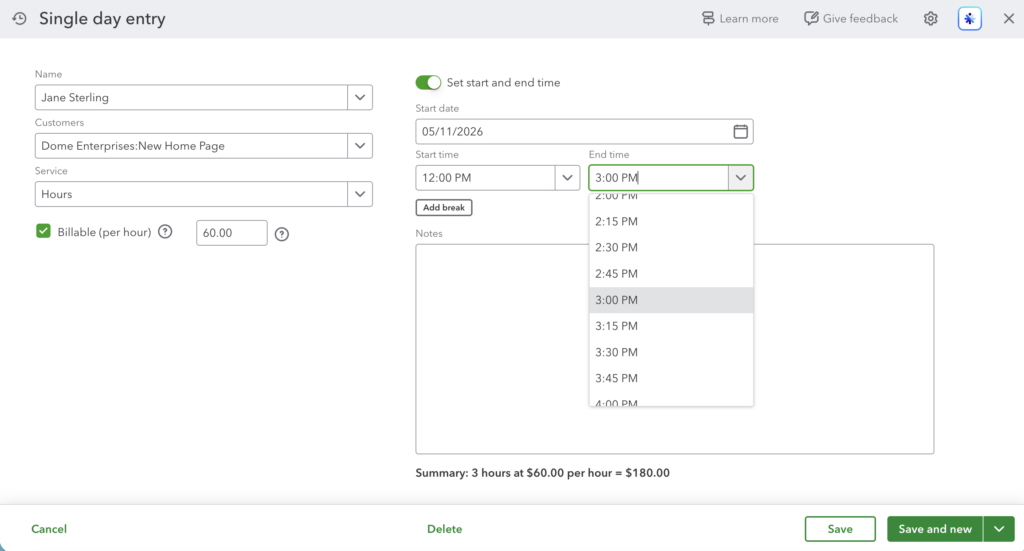
To edit a time entry in Quickbooks:
1. On the left navigation menu, click Time (or go to All Apps and select Time)
2. Click on Time entries
3. Look for the Display by dropdown and select Date
4. Filter by the appropriate Date range or search for the specific team member’s name
5. Locate the time entry you want to change and click Edit next to it
6. Make your adjustments to the duration (Start/End) then click Save
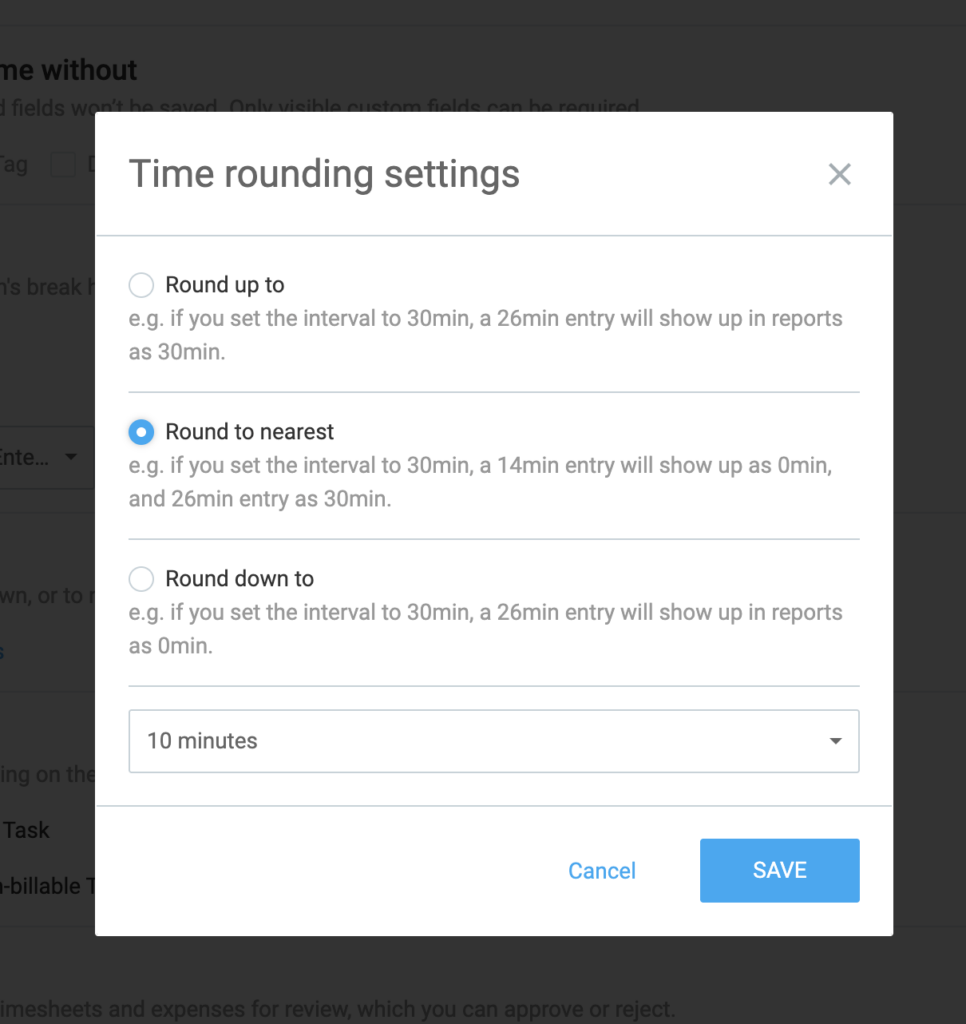
- If you have time rounding turned ON in Clockify, the system will send the rounded values to QuickBooks, not the exact raw seconds.
For example, if a time entry is logged at 1 hour 38 minutes, and time rounding is turned on to round up to the nearest 10 minutes in Clockify, the time entry will reflect as 1 hour and 40 minutes in Quickbooks.
The maximum duration for an individual time entry that can be sent from Clockify to QuickBooks is 23 hours and 55 minutes. If you have a time entry that exceeds this limit, it will not sync successfully. To get around this, you will need to split the tracked time into two or more separate entries within Clockify before exporting the data to QuickBooks.
Disconnect the integration #
If you ever need to stop the integration:
- Go to Workspace settings > Integrations tab in Clockify
- Expand the QuickBooks section and click Disconnect
- Confirm the action
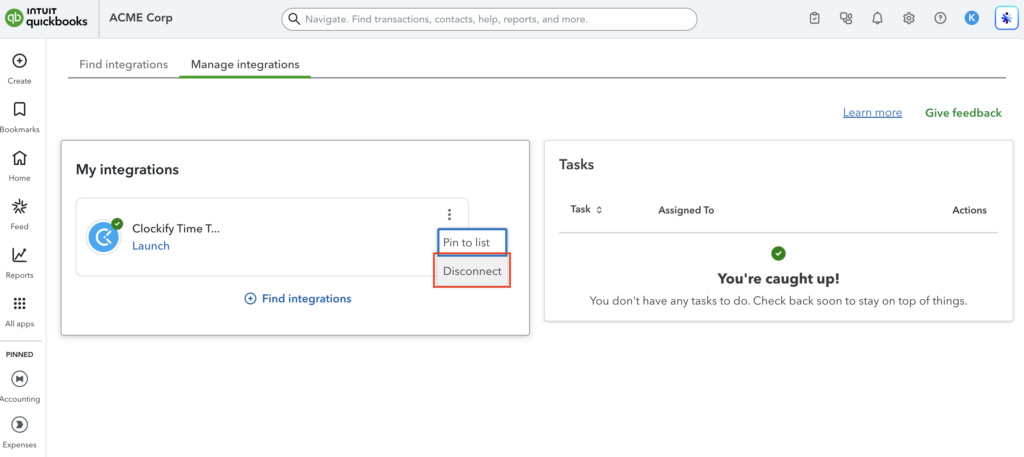
Your QuickBooks button will disappear from the reports, and Clockify will immediately lose access to your accounting data.
FAQs #
Why aren’t my time entries syncing or showing up when I try to send them to QuickBooks?
If entries fail to sync, verify that they meet all three of these mandatory criteria in your Clockify Detailed Report:
- Marked as billable: They must have the active blue dollar icon in Clockify. Non-billable entries will not sync.
- Assigned to a project: Every entry must be assigned to a project (and a client, if applicable).
- Tracked by a mapped user: The entry must belong to a user whose name perfectly matches an employee in QuickBooks.
For more information on how to fix this issue, check out our Troubleshooting guide.
What should I do if I add a new user in Clockify or a new customer in QuickBooks after the initial setup?
Clockify does not automatically map newly added items in real-time. If you add a new user or customer, you must manually refresh the mapping rules before sending new time entries:
- Navigate to Workspace settings by clicking the three dots next to your Workspace name
- Open the Integrations tab and expand the QuickBooks section
- Click the Check for new users and customers button to refresh the sync definitions
How should I structure my data mapping if I use both Clients and Projects in Clockify?
Mapping depends strictly on your organizational structure in both platforms:
- If using only Projects in Clockify: Clockify Project names must perfectly match Customer names in QuickBooks Online.
- If using both Clients and Projects in Clockify: Clockify Clients must match the parent customers in QuickBooks Online, and Clockify projects must match the sub-customers in QuickBooks Online.
What should I do if the integration gets stuck or data fails to process repeatedly?
If your data mapping is completely accurate but the sync remains unsuccessful, resetting the API handshake usually clears the error:
- Go to Clockify Workspace settings > Integrations tab
- Select the dropdown arrow next to QuickBooks and click Disconnect
- Confirm the action
- Click Connect to QuickBooks again and follow the prompts to complete a fresh reauthorization