User fields
User fields allow you to add additional information about team members (like job title, start date, position, phone, department, employee ID), and later export it along with time entries.
This is a paid feature and it is available for users of Pro and Enterprise plans.
Create user fields #
To create a user field, go to Workspace Settings > Custom Fields tab, scroll down to the User custom fields section, and click Create.
First, you need to specify the field type based on the type of information you’d like to add about the user.
- Text – input field for any type of information (e.g. Employee ID, Location, Start Date)
- Number – input field for numerical values (e.g. Internal ID)
- Link– input field that accepts URL to websites or files (e.g. Certificate, Profile Link)
- Switch – a simple yes/no switch (e.g. Part-Time)
- Select – input field that lets users select a single option from a pre-determined list (e.g. Department)
- Select multiple – input field that lets users select any number of values from a pre-determined list (e.g. Eligibility)
Fill in name, description, placeholder, and select values (if any).
Once you create a field, drag it to the Active column so it becomes visible in user profiles.
The maximum number of the created user fields is 50 and the maximum number of active user fields is 10.
Apply user fields #
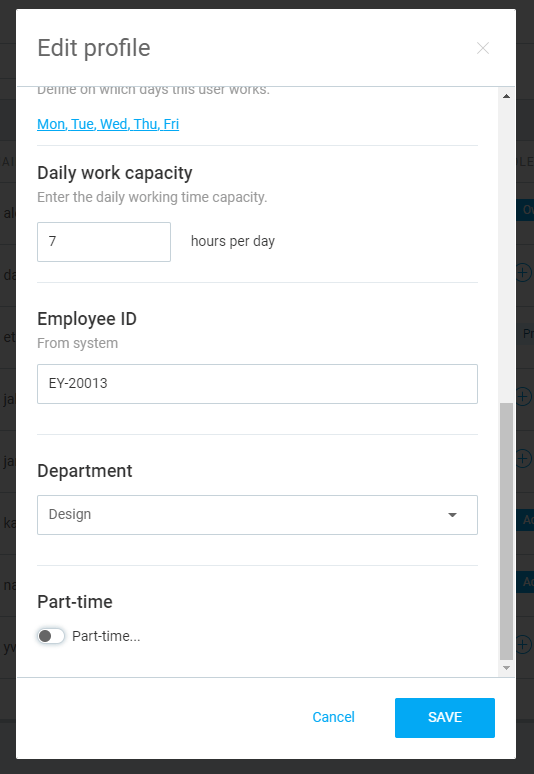
After the user field has been created and activated, go to Team page and click on three dots next to some user.
When you scroll down, you’ll see the user field you have created and you can set the value for that user.
User fields values can be entered by Owners and Admins.
Edit and delete user fields #
If there is a value defined for the user field, after that field is drag & dropped into the Active fields column, that value is transmitted to all the users in the Team (active, inactive and invited)
If, at some point, the default value of the Active user field changes, then this new value is applied only to new users (the default value for the existing users doesn’t change).
User fields can be drag & dropped back and forth between Available fields and Active fields.
Deleting a user field deletes that field and all its data of all members, across the whole workspace. Once you delete a field, it’s like it never existed. You cannot revert this action.
To retain data, it’s best to deactivate a custom field by moving the field to the Available column.
User fields in reports #
When a user has some user field filled out, you can get its value when exporting reports along with that user’s time entries.
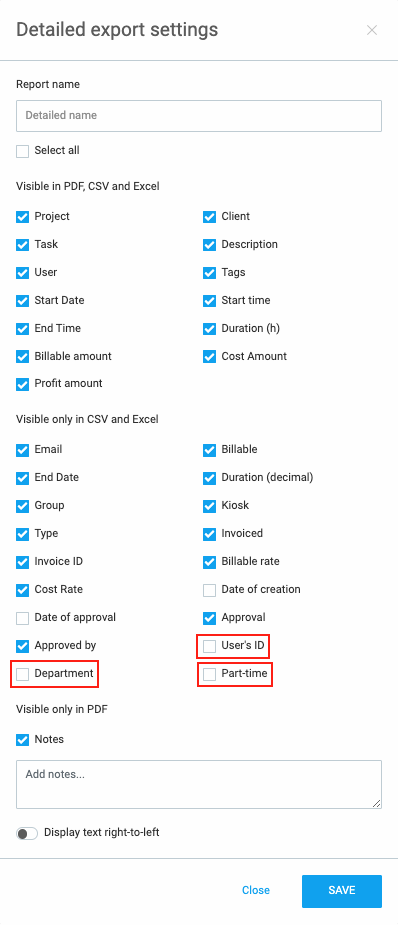
To get user fields in CSV and Excel, you’ll need to enable them first:
- Go to Detailed report
- Click on Export and choose Customize
- Check what fields you wish to get in export
- Save Export settings
- Export CSV or Excel
You can filter reports by any user field by clicking on the dropdown arrow next to Filter, and checking the user field filter (only active fields are shown). Then, select by what value you wish to filter and click Apply filter.