Create & manage projects & clients for your team
Learn how to create, manage, and organize projects and clients in Clockify.
Create projects #
Projects help categorize and track time entries for specific tasks. Each project is typically assigned to a client, though you can create clientless projects for internal use.
Steps to create a project: #
- Go to the Projects page
- Click Create new project
- Name the project
- Select an existing Client or create a new one by typing a name and clicking Create Client
- Choose a Project color and set the Visibility (Public or Private)
- Click Create
Once created, you can assign tasks and start tracking time for the project.
You can only create Public projects on a Free plan. Upgrade to any paid plan to enable Private projects.
Quick create #
When adding a time entry, click the +Project field, type the project name, and select Create new project.

Manage projects #
Archive projects #
Once a project is completed, you can archive it to keep it out of the way during time tracking. Archived projects remain in reports.
Steps to archive #
- Go to Projects and click the three dots next to the project
- Select Archive
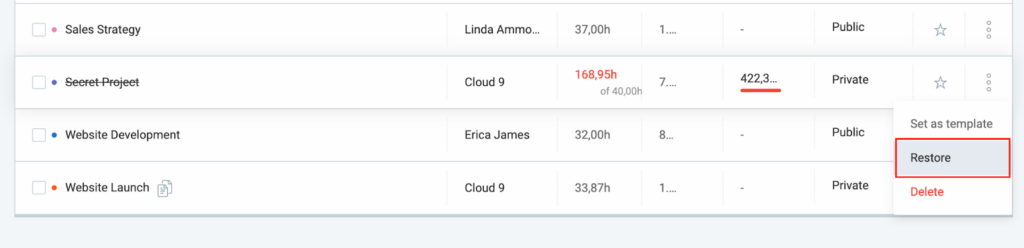
To restore an archived project, click the three dots and select Restore.
Delete projects #
Projects can only be deleted once archived. Be aware that deleting a project removes it from time entries but leaves the associated time data intact.
Steps to delete #
- Go to Projects
- Select Archived from the filter
- Click the three dots next to the project and select Delete
- Type DELETE in the text field
- Click Delete to confirm the action
Set project billable rates #
You can set a billable rate for each project, which applies to all time entries associated with that project.
Steps to set a billable rate: #
- Go to the Projects page
- Click on the project name
- Switch to the Project settings tab
- Set the Billable rate for the project
- Click Save
Create clients #
Clients are necessary to link to projects, though they can exist without a project.
Steps to create a client: #
- Go to the Clients page
- Enter the client’s name and click Add
As a Manager, you can create clients when creating a project, but you won’t have access to the Clients page unless you’re an Admin.
Assign tasks to projects #
Tasks help you break down the work within a project. You can add new tasks, assign them to users, and set deadlines.
Steps to add a task: #
- Go to the Projects page and select the desired project
- In the Tasks tab, enter the name of the task in the Add new task field
- Click Add
- Set assignees, billability, rates and other details

Filter and sort projects #
With many projects, filters and sorting options help you stay organized.
Filter projects by:
- Status (Active, Archived)
- Client
- User
- Billability
You can also sort projects according to:
- Name
- Client
- Tracked time
- Progress
- Amount
Set project templates #
If you manage multiple similar projects, creating a template can save you time. Templates pre-define settings like billable rates, tasks, and estimates.
Steps to set a project template: #
- Go to the Projects page
- Open the three-dot menu next to the project’s name
- Choose Set as template

Role permissions for Managers #
As a Project manager, you can:
- Create, edit, archive, and restore projects
- Add and modify tasks, assign them, and track progress
- Change project visibility (public/private)
- Add/remove members from projects
- Set billable rates for projects and tasks
As a Team manager, you have similar permissions but without the ability to manage project settings like billable rates or templates.
FAQ #
Can I assign different billable rates to different users in the same project?
Yes, billable rates can be set per project member within the Access tab of the project.
Is it possible to archive or delete multiple projects simultaneously, or do I have to manage them one by one?
Yes. You can use the Bulk Edit option to Archive, then delete multiple projects at once.