Jira time tracking integration
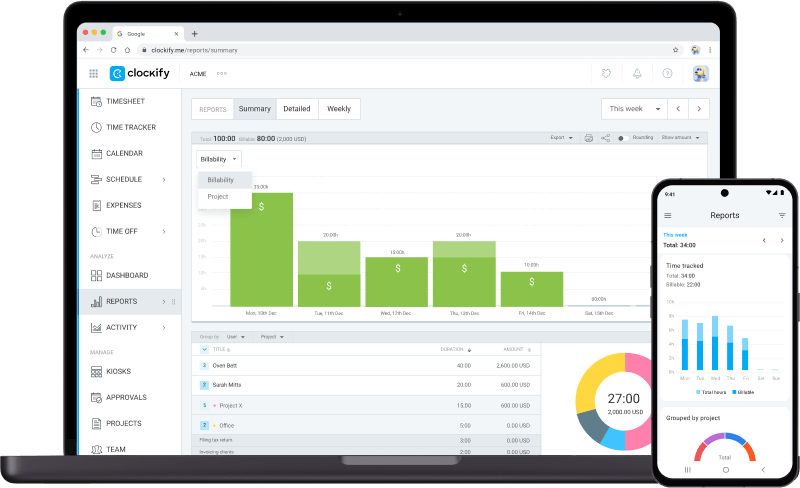
Track time on tasks in Atlassian Jira with just one click. Later, run time reports in Clockify, the most popular free time tracking app.
Don't have an account? Sign up free
How to track time in Jira
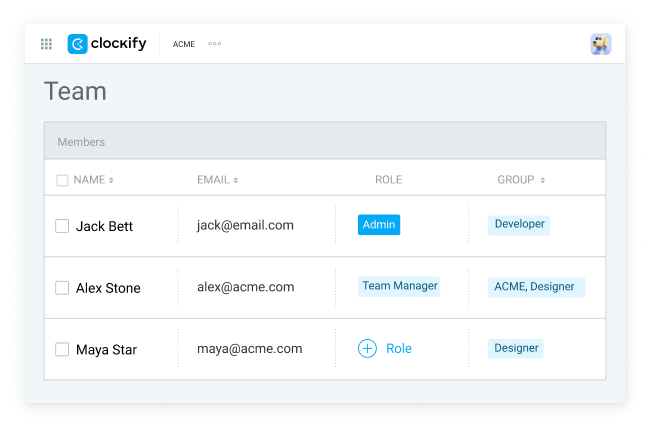
Invite team to Clockify
Add emails of people who need to track time on Jira tasks.
Install Clockify plugin for Jira
Get Clockify's plugin for Jira on Atlassian Marketplace. Both Cloud and Server Jira are supported, as well as Jira Service Desk. Once installed, Clockify will show up for all users in your Jira organization when they open a task.
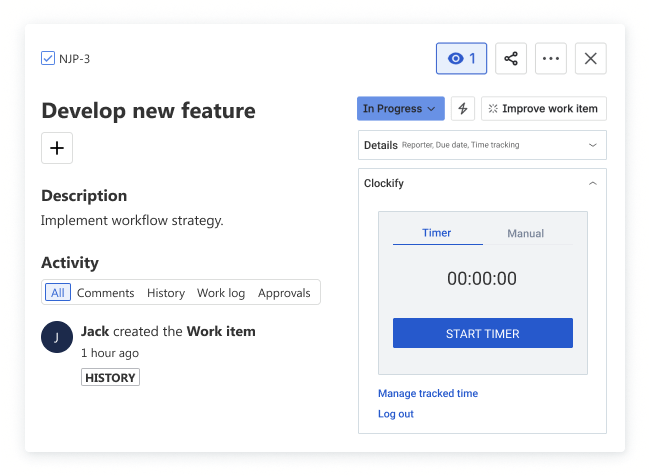
Log in with email
Open some task in Jira, click Clockify on the right side, and enter an email associated with your Clockify workspace. Each team member needs to log in on their own in order to track time.
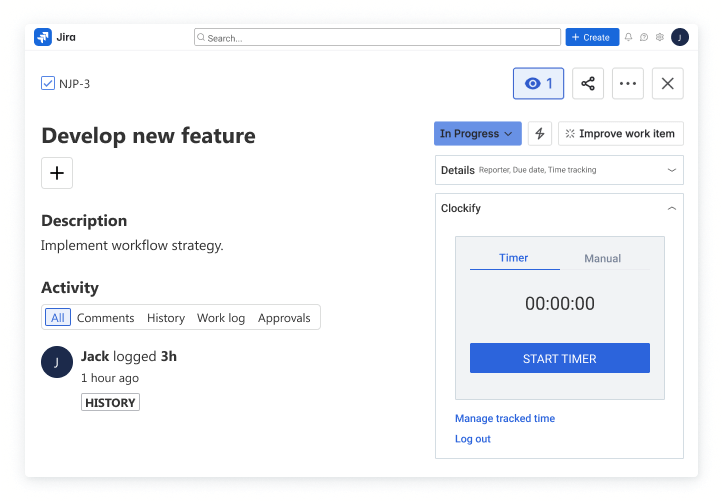
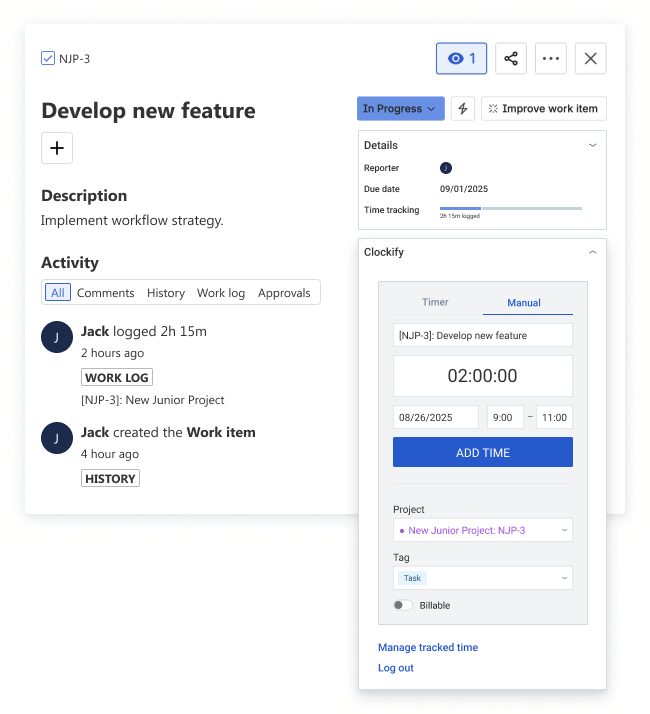
Start timer
When timer starts, Clockify will pick up description, task, project, and label from Jira, and try to match it with information in Clockify. You can also fill and change information on your own.
If the user has permissions, the integration will create missing project, task, and tag in Clockify.
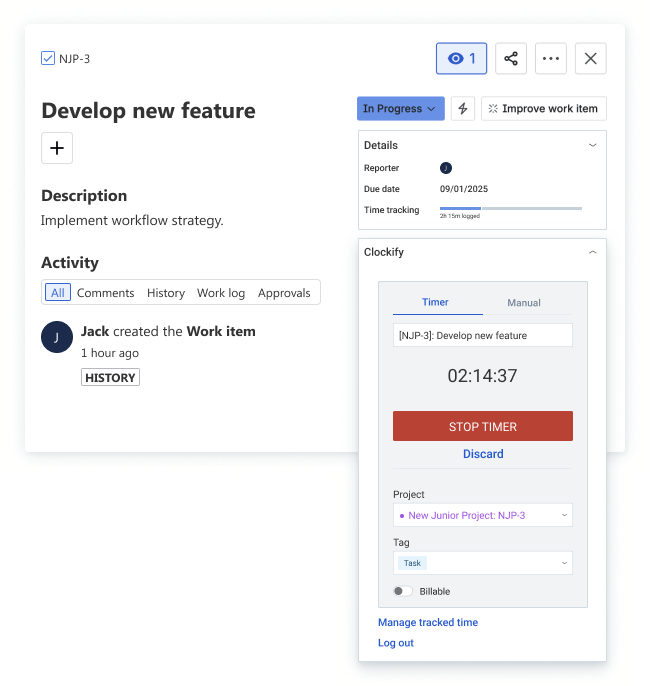
Stop timer
You can stop the timer in Jira, or via one of the Clockify apps (browser, mobile, or desktop). If you start a timer on another task, the running timer for previous task will be automatically stopped.
Once the timer is stopped, the entry will be saved in Clockify. If you stop the timer in Jira, a time log will also be created in Jira (which gets added to the "Time Tracking" field in Jira, if you have it enabled).
Add time manually
Your team can also manually log hours they've worked on a task by switching to manual mode in Jira. Or, they can open Clockify and fill their online timesheet.
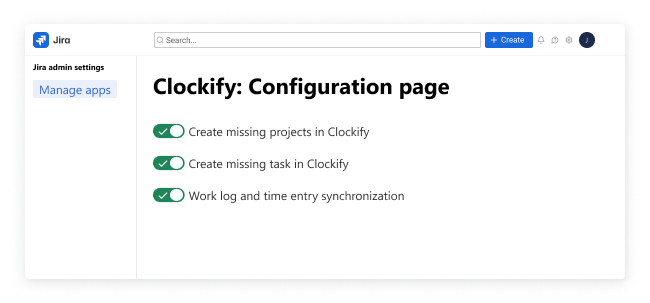
Configure plugin
If you have different project structures in Clockify and Jira, you can turn off automatic creation of projects and tasks in Clockify, in which case you'll need to manually select them each time you track time on a task (if they don't exist).
You can also turn off automatic work log creation. Work logs are created in Jira each time you track time via the Jira plugin. If you edit created time entries, associated Jira time logs will reflect the change. If you track time outside of Jira plugin (e.g. using Clockify mobile app), work logs won't be logged in Jira. Or, if you manually create time logs using Jira, they won't be transferred to Clockify.
More information
For more information on how exactly the integration works, check out our Help article.
Don't have an account? Sign up free