Mac app (AppStore version)
You can also download Clockify for Mac directly from the Clockify’s website. This version includes the Idle detection and Auto tracker features. Please note that due to recent changes in the App Store’s policies, these features are not available in the App Store version.
Log in
- Enter your Clockify account email and choose Continue with Email
- Click Continue with Google if you’ve associated your Clockify account with your Google account
If you’re not receiving verification emails, it might be due to too many unused verification codes. To fix this, simply open the last verification email and click the click here button to start receiving emails again.
If you don’t have a Clockify account yet, you can create it by clicking the Sign up button.
Custom domain and subdomain login
Launch the app and enter your Clockify account email Choose the workspace associated with your subdomain/custom domain You’ll be automatically redirected to the subdomain/custom domain in question - Click Continue with email
You’ll receive an email with a verification code Follow the instructions to verify your email by entering the code
Log in with Apple login
If you choose the Continue with Apple option:
You’ll be prompted to enter your AppleID - After your ID is verified, you’ll be able to Create your account
You’ll go through the login process via Google or Apple login After the process is successfully completed, a Sign up screen will appear - Check CAKE.com Terms and Conditions
Create your account
Apple login on Mac is only available if you downloaded Clockify from the AppStore.
If you go through the Apple login process but don’t have a Clockify account yet, before getting access to the app, you’ll get a Signup screen where you’ll need to agree with CAKE.com Terms of Use and click Create account.
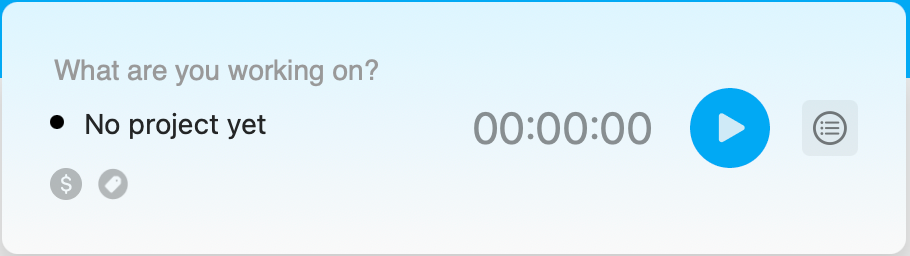
Track time using a timer
- Describe what you’re working on in the What are you working on? field
Start the timer by clicking the blue play button After you’re finished, click the red stop button and the time entry will be added to your list You can add a project, task, tags, and billability status to the time entry when you edit it in the popup window

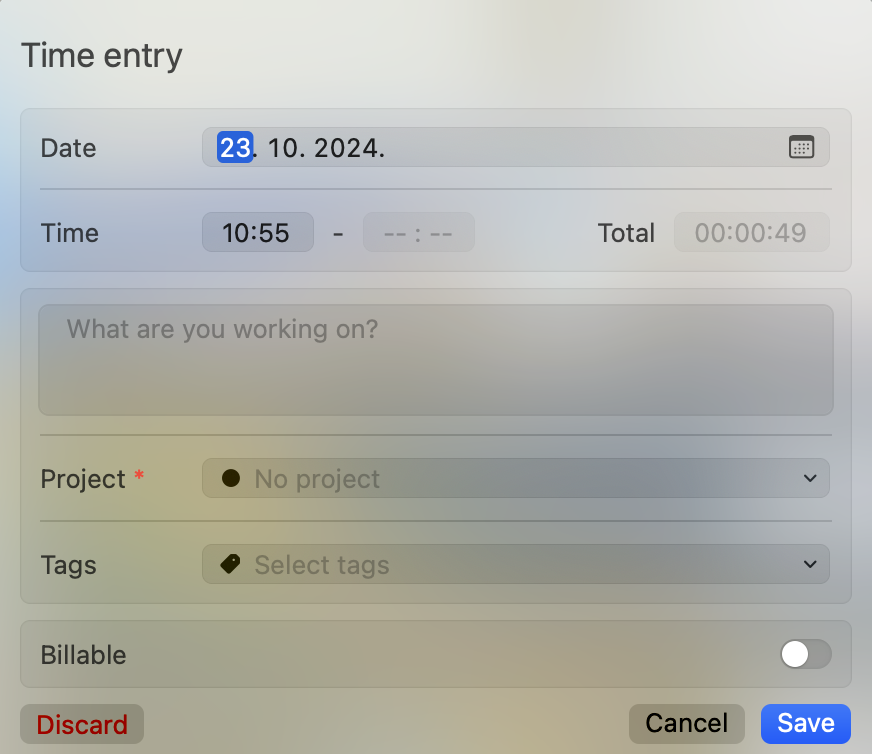
Add time entry manually
Click the icon with three lines (it’s next to the play button and beneath the clock icon) to enter manual mode Click the blue plus icon A popup window appears where you can enter start and end time, as well as all other details
Time format on the Mac desktop app is related to the time format settings set in your Clockify Profile settings on the web version. For example, if you set your time settings to 24h format on the web, the desktop app will show hours in the same format as well.
Edit time entry
Click on an existing time entry in the list A pop-up appears where you can edit all the data you want Click Save to save changes
Continue time entry
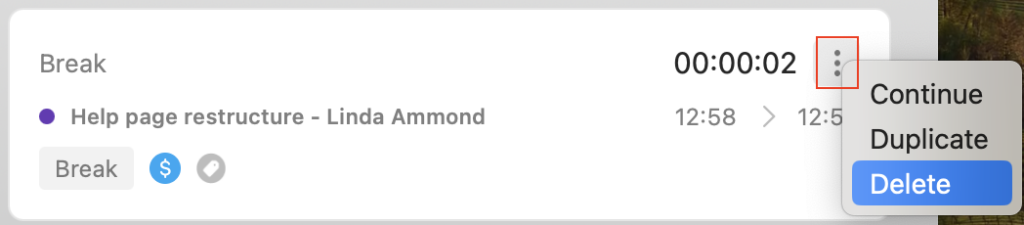
Delete time entry
To delete a time entry, click on the three dots menu and choose the Delete option.
Click on the time entry - Time entry details window appears
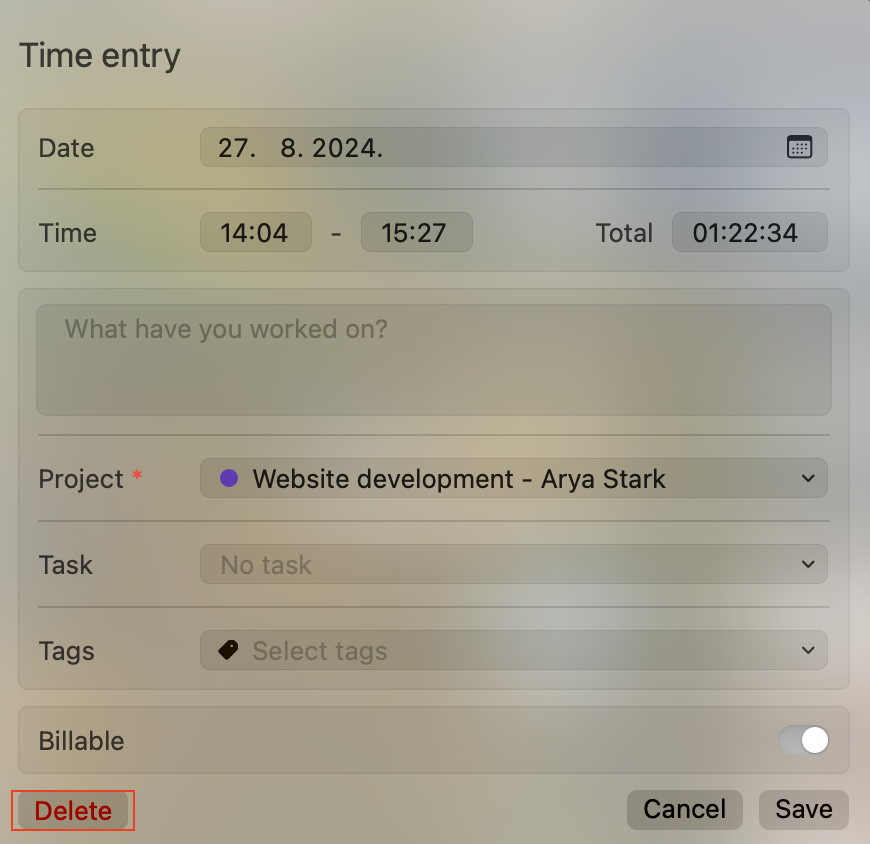
- Click Delete button at the bottom left corner
Click OK in the confirmation window to complete the process
Time entry list
Create new project, task or tag
You can quickly create a new project in the Time Entry Details popup window, by clicking Create new project; then you can add the project name, the name of the client, and choose the project color.
After you add the project, you can then add a new task. When you click Create new task, a new input field appears, where you can enter the name of the task, estimate, and choose an assignee.
You can add tags in the Time Entry Details popup window, by clicking Create new tag.
Don’t forget to click Save to save the added project/task/tag.
Regular (non-admin) team members aren’t able to create clients, projects, and tags if they are not granted these permissions. To give them such permissions, you will need to log in via Web browser and set Who can create projects and clients and Who can create tags to Anyone in the Workspace settings.
Settings
Change the workspace Go to reports in the web version Manage projects in the web version Adjust preferences Visit Help articles Log out
Preferences
To show the app hotkey Hide in dock Show timer and/or project in Status bar Select theme (Light or Dark) Set default project Set a custom global shortcut Change timer settings Show project color in Status bar
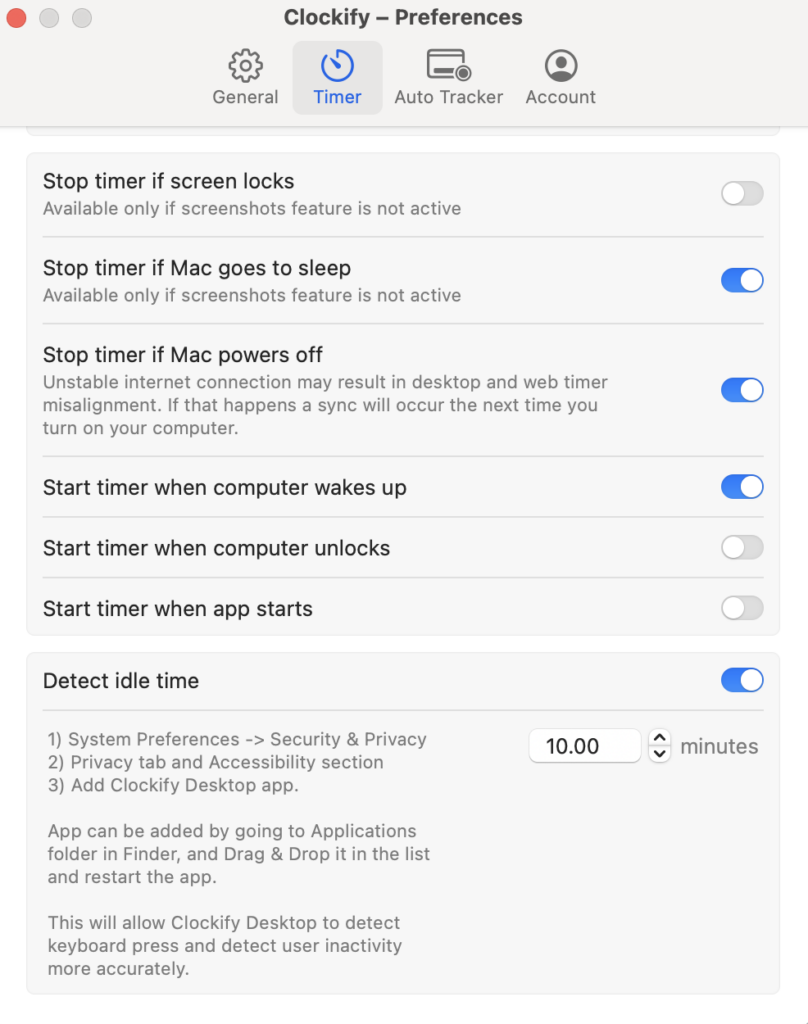
Auto-stop and start timer
When Mac goes to sleep, powers off, or when you close the lid (screen lock) When Mac wakes up, unlocks, or when app starts
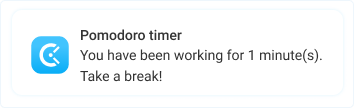
Pomodoro Timer
Default project
Fixed project , which will be always used when you start a timer for an entry without a project (until you change the default project) Last used project , and timer will pick up the most recently used available project from your list of time entries
Keyboard shortcuts
Cmd+S – Start the timer Cmd+T – Stop the timer Cmd+N – Enter manual time entry mode Cmd + Shift + S – Save time entry when editing Cmd+D – Discard the timer Cmd+Y – Sync data Cmd+L – Log out
Offline support
Open Clockify on system startup
Go to System preferences > Users and Groups - Open Login items tab
Add the desired app to the list
If you forget to manually start the timer, Clockify can automatically start the timer for you when your Mac is unlocked, awakes, or is booted. Or, if you forget to manually stop the timer, Clockify can automatically stop the timer for you when your Mac is locked, goes to sleep, or is shut down. Auto-start and stop can be enabled in Preferences > Timer.
Change language
By default, app will be displayed on your operating system’s language (if Clockify supports that language).
- Go to System Preferences
- Select Language
- Go to App tab
Add Clockify Select language