Calendar
Use the Calendar view to visualize your workday and manage time entries. Identify schedule gaps and compare planned activities with actual tracked time.
View time #
A time entry will appear as one block in the Calendar’s time slots. The current day is marked as blue in the table header, and the current time is indicated by a blue horizontal line.
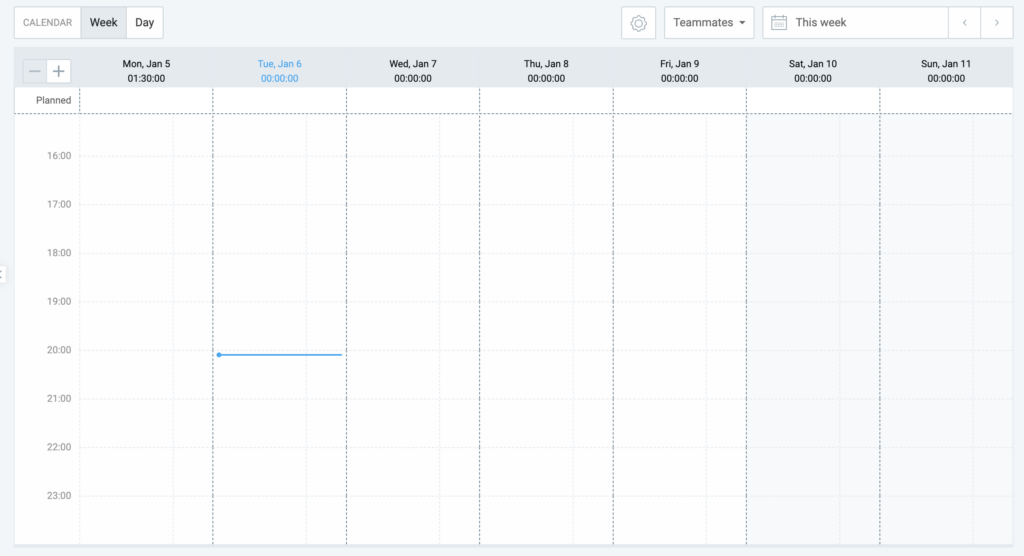
Each time slot represents 1 hour, but you can zoom in using the plus sign in the upper left corner down to 30, 15, or 5-minute blocks.
You can hover over a time block to see full entry details, or click on the block to open the full view of the time entry.
You can change the first day of the week in your Profile settings.
View team member’s calendar #
Viewing a team member’s calendar is part of the Add time for others feature, which is a paid feature available on any paid plan.
Not everyone can view a teammate’s calendar.
- Admins can view, add, and edit calendar entries for all members in the workspace
- Team Managers can view and edit calendars only for the specific users or groups they manage (provided the Team managers can edit time setting is enabled by an Admin)
- Regular users generally cannot view others’ calendars unless an Admin enabled it in Workspace settings
To view a user’s calendar:
- Go to the Calendar page
- Click on the Teammates dropdown at the top of the Calendar page
- Select a user from the list

Add time entry #
To add a time entry in the calendar:
1. Click on the time block to log a time entry
2. Add or modify the following details as needed in the Add time entry window:
- Duration: The total length of time spent on an activity
- Start/End Time: The time when a task began and concluded
- Date: The date when the task was completed
- Description: A short description of the task
- Project: The project the entry is assigned to
- Tag: A keyword or category commonly used for reporting or billing purposes
- Billable (Yes/No): A toggle used to indicate whether the time spent should be charged to a client
3. Click Add
Make sure to stop an active timer before creating a time entry in the calendar to avoid overlaps that cause conflict.
Edit time entry #
You can edit time entries directly in the Calendar:
- Resize: Drag the start/end time edges of the time block to shorten or extend the entry.
- Move: Drag and drop the whole time block to move it to another time slot or date.
- Split: Click on a time entry to split a running or already created entry.
Show working days only #
To hide weekends or non-working days:
- Click on the gear icon on your Calendar page
- Enable the Show working days only option
- Click Close to exit
Connect Google/Outlook calendar #
Clockify allows you to connect your Google or Outlook calendars to sync events in the Clockify Calendar page.
To connect your external calendar:
- Go to the Calendar page
- Click the gear icon
- Click Connect for Google Calendar or Outlook
- Authorize Clockify to access your calendar’s events
Some important information about this integration:
- Only the cloud-based version of Outlook is supported at this time
- Clockify has view-only access to your external calendars
- Changes made in Google or Outlook (like moving a meeting) will update in Clockify
- Moving or editing a “copied” block in Clockify will not change the original event in your Google or Outlook calendar
- Only events with a start and end time appear in the Calendar view. If you have all-day events in your external calendar, it won’t be visible in the Clockify calendar.
Start timer for an event #
To start a timer for a Google/Outlook event:
- Go to Calendar
- Hover over the event and click the play icon
Create a time entry from event #
To create a Clockify time entry from an external event:
- Go to Calendar
- Hover over the event and click Copy as time entry
- Edit the event details on the pop-up window
- Description
- Project
- Tags
- Billable/non-billable
- Click Add
Open event in Google/Outlook #
You can open external events directly from the Clockify calendar.
To open an external event:
- Go to Calendar
- Click on the event name
- Click the launch icon to open the event in Google/Outlook
Important notes on external calendars:
- External calendar events are private. Even if you are a member of a team, your manager or workspace admin cannot see your Google/Outlook events.
- Converting an external event to a Clockify time entry makes it a standard entry that is visible to admins and included in workspace reports
Work with multiple calendars #
You can add calendars from multiple accounts by repeating the connection process for each account.
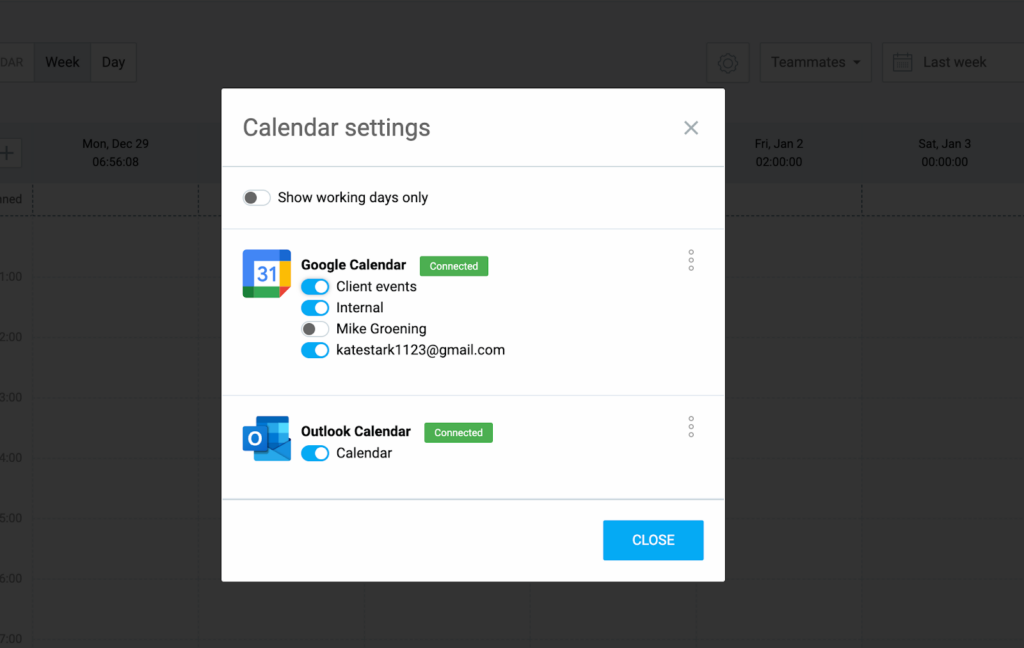
If you have events spread across multiple different accounts (e.g., a personal Gmail and a work Gmail), you should share the secondary calendars with your primary account first. Once shared, those sub-calendars will appear in Calendar settings, where you can toggle them on or off individually.
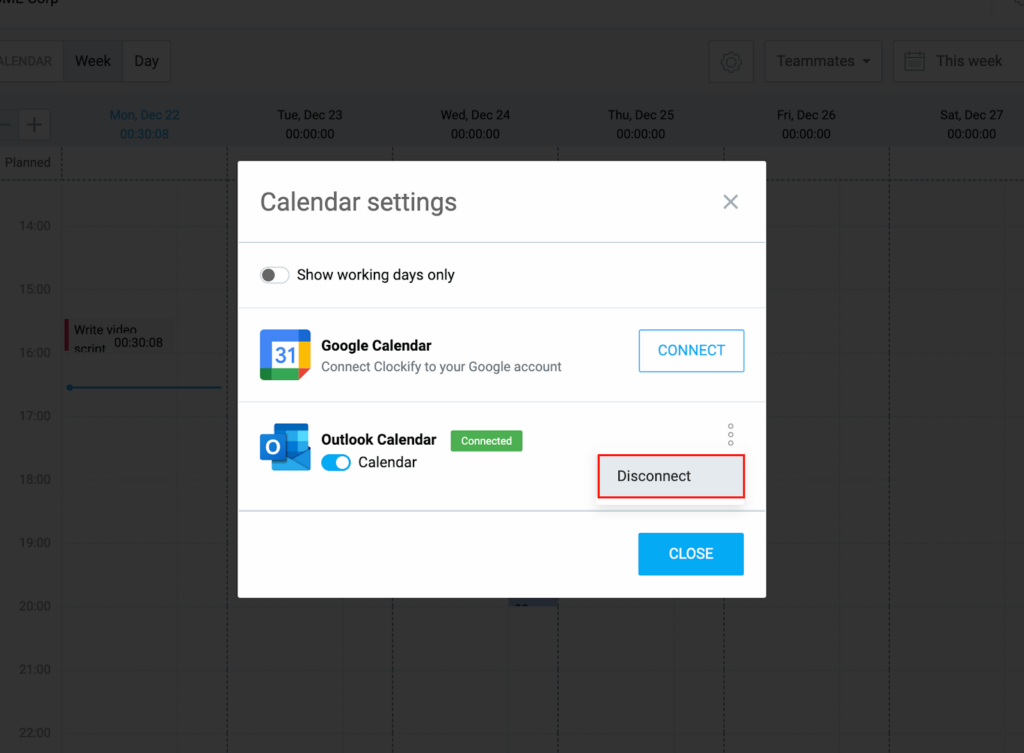
Disconnect Google Calendar or Outlook #
To remove a connected calendar:
- Go to the Calendar settings
- Click on the three-dot icon next to the calendar you want to disconnect
- Select Disconnect
Once disconnected, Clockify loses its read-only access to your external calendar. If you want to reconnect later, you will need to re-authorize the connection through your Google or Outlook account permissions.