Use tasks
Tasks provide an extra layer of hierarchy within a project, functioning like sub-projects. They’re used to categorize time entries by type of activity, while the Description field is used for the specific work item.
By default, anyone in the workspace can create a task. If you subscribe to a paid plan, you can change this permission in Workspace settings > Permissions.
Create a task #
To create a task:
- Go to the desired Project
- Open the Tasks tab
- Type the task name and click Add
- Add the task details:
- Assignee – Select a user or group to indicate who works on the task
- Estimate – Set a time estimate (must be enabled in Project settings).
- Rename – Click on the task name to edit it
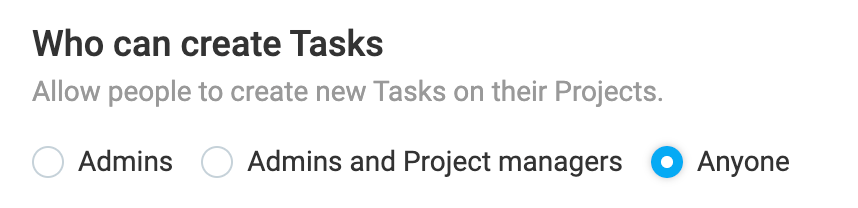
By default, owners and admins can create tasks, but you can modify this in Workspace settings.
| Workspace setting | Who can create tasks |
| Admins (Default) | Admins |
| Admins and project managers | Admins and Project Managers |
| Anyone | Admins, Project Managers, Team Managers, and Regular Users |
Assigning users to tasks #
The task assignee determines who can track time against that task:
- Anyone – Everyone who has access to the project can track time on the task.
- Specific User/Group – Only the assigned person or group can track time on the task.
For private projects, the user must be added to the project first. Projects are public by default on a Free plan. If you want to change project visibility to Private, subscribe to Basic plan or higher.
Add tasks in Time Tracker #
1. Go to the Time Tracker page
2. Click on the Tasks/Projects link next to the description field
3. Expand the project you’re working on to see the tasks
4. Click the task you want to track
5. Add a description for your task (optional)
6. Click Start to start the timer
Add tasks in Timesheet #
1. Go to Timesheets
2. Select the Project/Task link to initiate a new entry line
3. Expand the relevant Project within the selection menu
4. Choose the specific Task associated with your work
5. Input the time duration into the appropriate day column
Add tasks in Calendar #
1. Go to the Calendar page
2. Select the desired time block on the calendar to open the entry form
3. Click the Project field to expand the selection menu
4. Expand the relevant project to display its associated tasks
5. Choose the specific task for this time entry
6. Enter a Description for the entry (optional)
7. Click Save
Mark tasks as done #
1. Go to the Projects page
2. Click on the project
3. Click the three-dot icon next to the task you want to mark as done
4. Select Mark as done
When a task is finished, mark it as done to streamline your view.
| Task Status | Behavior |
| Done | Hidden from the main project page and the time tracking picker (unless you select Show done or Show all). |
| Tracking | Time entries for done tasks will still appear in reports. |
Marking tasks as done is most useful if you organize projects as to-do lists. If you use tasks for fixed activity types, closing them may not be necessary.
Delete tasks #
- Go to the Projects page
- Select the relevant project
- Click on the three-dot icon next to the task you want to delete
- Select Mark as done
- Click on the three-dot icon again
- Select Delete
- Type DELETE on the confirmation window
Important note about deleting tasks:
- Only admins and project managers can delete tasks.
- All time entries associated with the deleted task will become without a task but will still be linked to the project.
Rates and billable status #
To set specific hourly rates for tasks and mark them as Billable, you must first enable task rates in your Workspace settings.
To view the billable rate fields (e.g. task rate), the Activate billable hours must be toggled ON in the Workspace settings. Check your workspace setup by going to Workspace settings > Permissions tab to ensure this is active. Otherwise, the billable rate fields and the billable icon will be hidden in the workspace.

- Billable hours is a paid feature, which you can enable by subscribing to the Basic plan or higher.
- Task rates feature is available in Standard plan or higher.
Add tasks from a template #
Project Templates is a paid feature available with any paid plan.

If you regularly use the same task structure across multiple projects, you can use a Project Template. Templates automatically apply:
- Tasks
- Billable Rates
- Estimates
- Team members