Set up and manage kiosk
Kiosk allows your employees to clock in and clock out using a shared device while working onsite. Later, you can see their tracked time and attendance in reports.
Kiosk can also be used by users without emails for tracking their time. You can add them in the workspace as limited members who can only clock in via the kiosk.
If you work with seasonal workers (e.g. interns, part-time workers), you can set up a kiosk they can use to clock in and clock out during their stay with the company.
For an overall guidance on how to clock in and out via kiosk, watch the video and follow the instructions below.
Enable the kiosk #
Before you create a kiosk and use it for time tracking, you should first enable it in the workspace.
To enable the kiosk:
- Click the three dots next to your workspace name
- Click Workspace settings
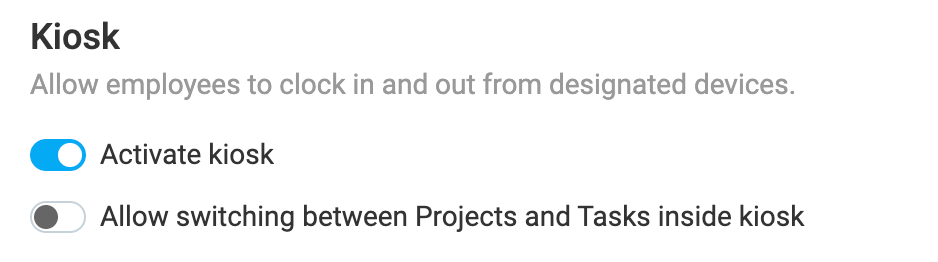
- In the General tab, scroll down to the Kiosk section
- Toggle the Activate kiosk switch to ON
Configure kiosk settings #
When a kiosk is enabled in the workspace, you can configure the kiosk settings before launching it.
General settings #
These settings apply to all the kiosks in your workspace. Go to Workspace Settings > General tab to set up the following:
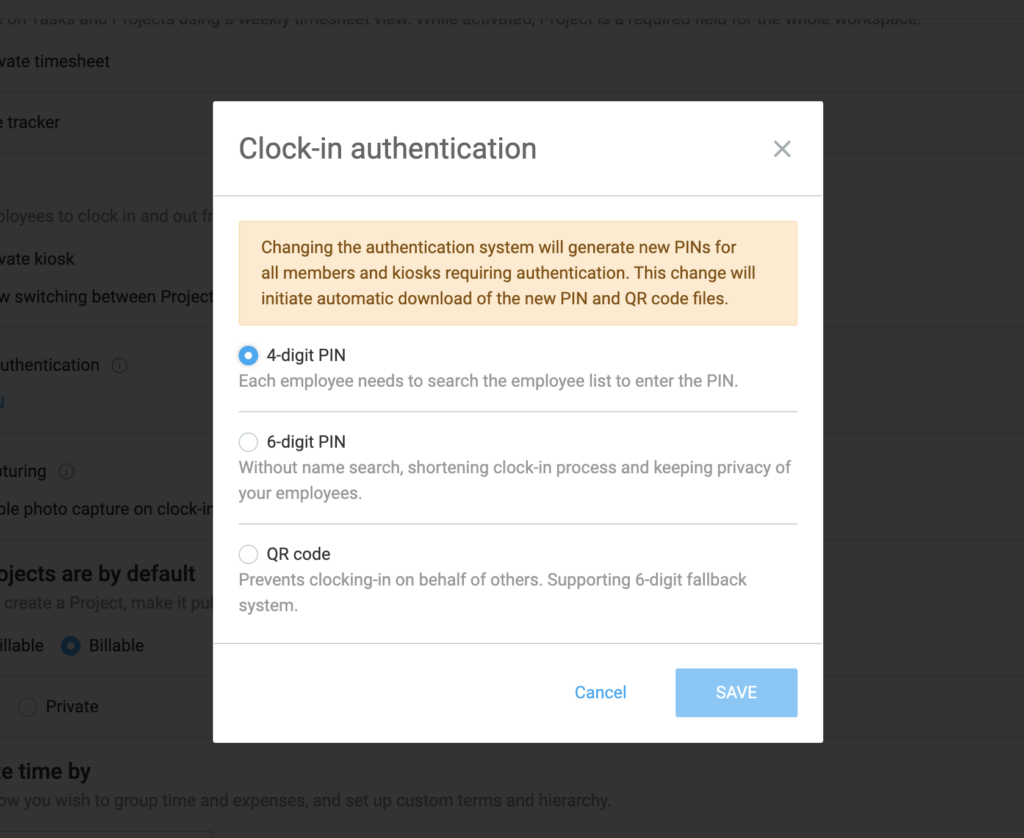
- Clock-in authentication – Select the options available to you (4-digit PIN, 6-digit PIN, or QR code)
- Projects/Tasks switching: Toggle the Allow switching between Projects and Tasks inside kiosk switch if you want users to track what they are working on while clocked in (e.g. switch from Project A to Project B)
- Breaks: Toggle the Enable breaks switch if you want users to track break hours
Launch settings #
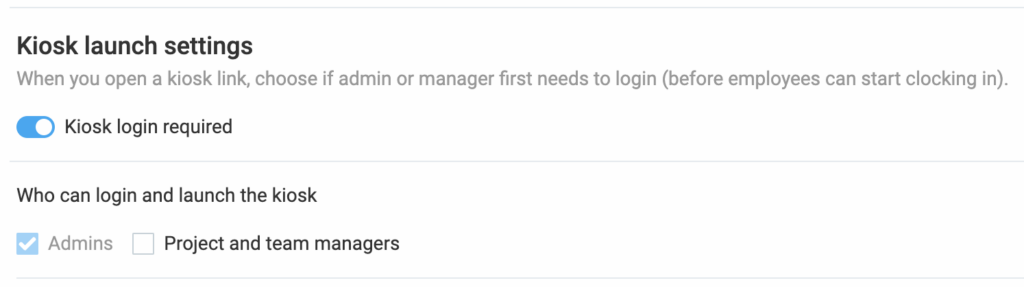
These settings define the permissions to launch the kiosk on a device. Go to Workspace Settings > Permissions > Kiosk launch settings tab to set up the following:
- Kiosk login required: Toggle this switch if you want admins/managers to log in before launching the kiosk
- Who can login and launch the kiosk: Set to Admins only (default) or include Project and team managers so they can also launch the kiosk
Create kiosk #
To create a kiosk:
- Go to the Kiosks page in the sidebar
- Click Create kiosk
- Enter the Name of the kiosk (no special characters allowed; e.g. Westside Bar: Staff)
- Choose the Assignees who can use the kiosk
- Choose the Default Project where all time entries are tracked (unless changed)
- Optional: Check the box next to Authentication required to require users to clock in with the authentication method you’ve set in the Workspace settings
- Click Create to complete the process
Each time you edit or enable the clock-in authentication method for kiosk, you will get a CSV file with newly-generated PINs/QR codes for your employees.
Photo capture for clock-in/clock-out #
This feature is available for users on the Pro plan and higher.
The photo capture feature provides an additional layer of post-clock-in verification by automatically taking a photo of users when they clock in and out via kiosk.
There are two ways you can activate photo capture for your workforce:
- Workspace setting: Turn on photo capture for all kiosks within your organization for uniform verification
- Individual kiosk setting: Selectively enable or disable photo capture for specific kiosks if only certain locations require verification
Photo capture permissions #
- Only admins can enable photo capture
- Admins can access and view all users’ photos
- Team managers can access and view their team member’s photos
- Team members can access and view their own photos
Ensure your team is fully informed about and agrees to the photo capture for clock-in/out when implementing this kiosk feature. This is necessary to maintain compliance and protect privacy.
Enable photo capture for your workspace #
Only admins can enable photo capture.
To turn on photo capture for all kiosks:
- Click on the three dots icon next to your workspace name
- Select Workspace settings
- Locate Photo capturing under the Kiosk section
- Toggle the switch next to Enable photo capture on clock-in and clock-out to ON
- Read and confirm that you’ve read the Photo capturing privacy policy and click I agree
Kiosk users must give explicit permission to have their photo taken before their first capture.
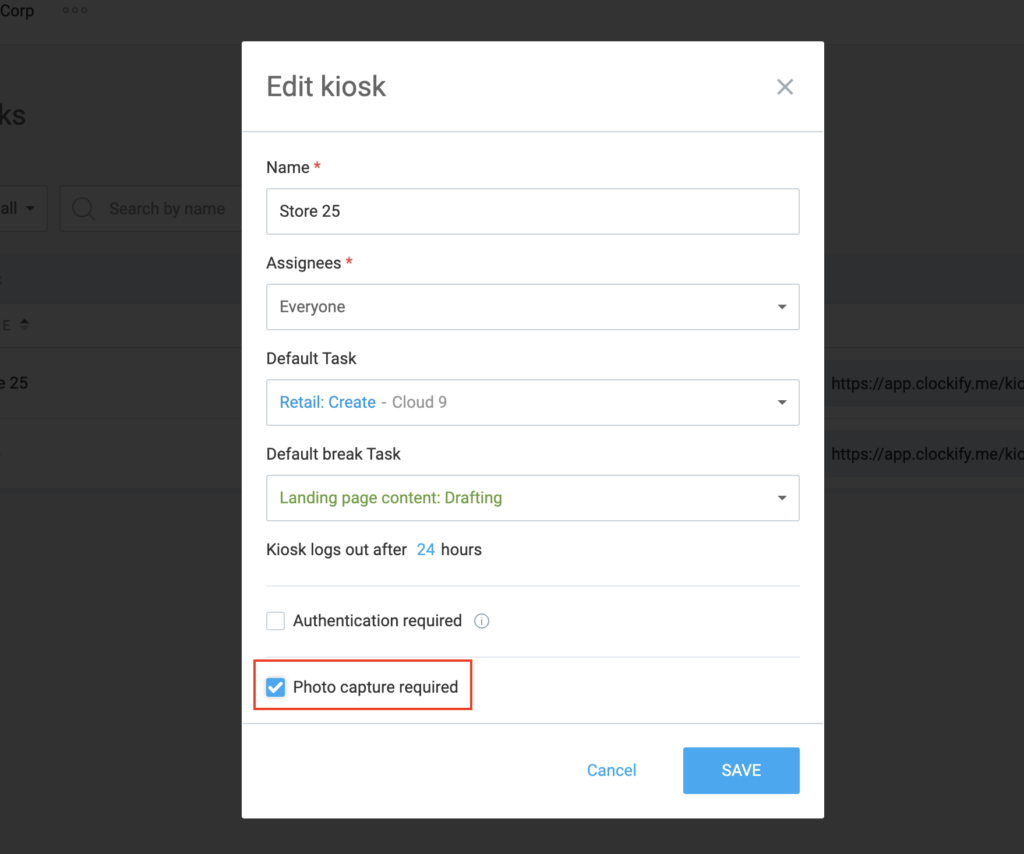
Enable photo capture per kiosk #
To turn on photo capture for a specific kiosk:
- Go to Kiosks
- Click the three dots next to the kiosk you want to update
- Select Edit
- Toggle the photo capture setting to turn it on
- Click Save
View captured photos #
To view captured photos:
- Go to the Activity page
- Select Kiosk photos
- Hover over a photo and click View
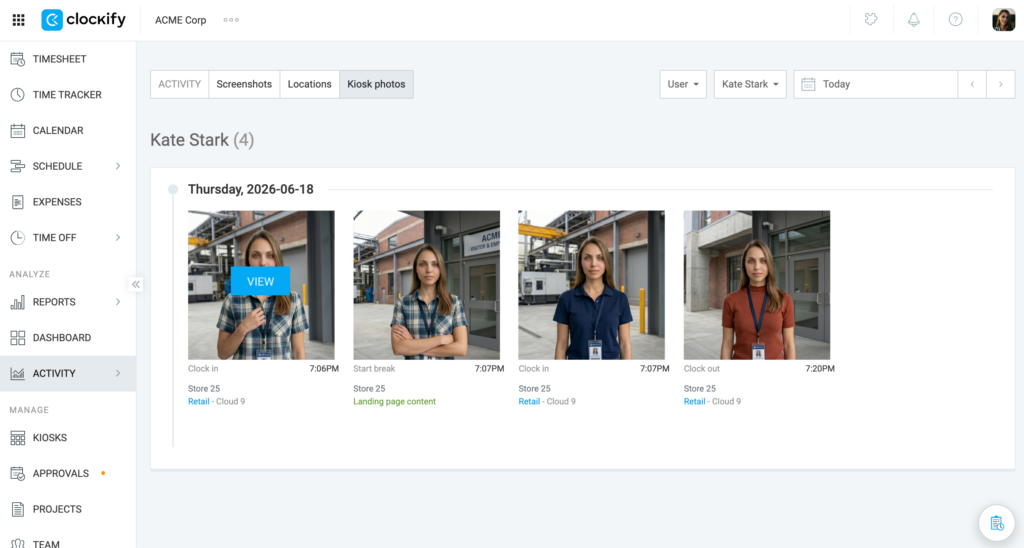
Regular users can only access their own captured photos, while admins can access and view all users’ photos, and team managers can access and review photos of their team members.
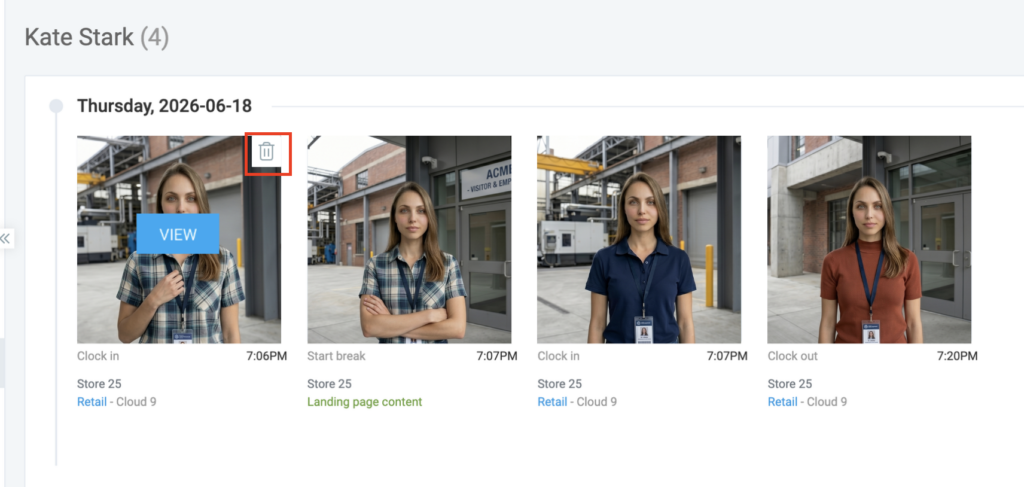
Delete captured photos #
To delete captured photos:
- Go to the Activity page
- Click Kiosk photos
- Hover over a photo and click the trash icon
- Click Delete on the confirmation window
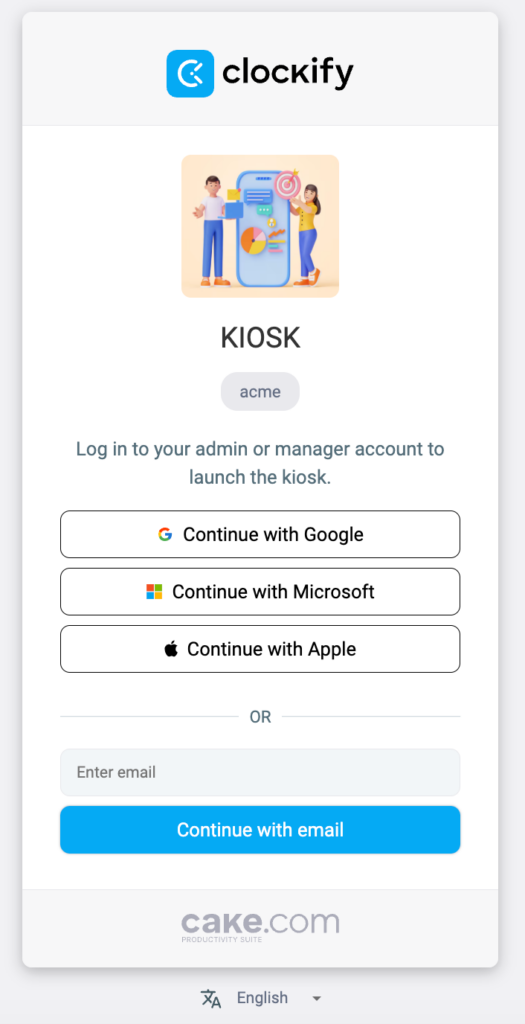
Launch kiosk #
This action is performed by Workspace admins, unless set up differently in the kiosk launch settings.
A kiosk can be launched via a link on any device in its browser (any tablet, computer, or phone, no special equipment needed).
To launch a kiosk:
- Go to the Kiosks page
- Copy the link to the kiosk
- Open the kiosk link on your device (e.g. tablet, phone, computer)
- If kiosk log in is required: Log in using your admin credentials
Alternatively, you can launch a kiosk directly from Clockify but you will be prompted to log out before clocking in the kiosk.
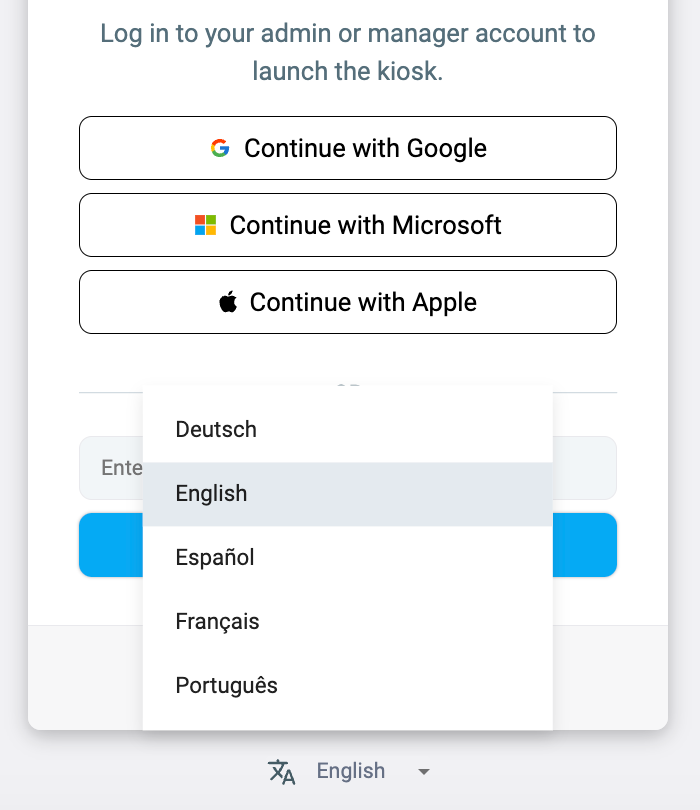
You can set the kiosk language in the kiosk login page. This only applies to the current session and you will have to set the language again when you launch a new session. If kiosk login is not required, the kiosk opens directly in the browser and the language follows the device settings.
Edit kiosk #
If needed, you can change the settings of the kiosk:
- Go to the Kiosks page
- Click the three dots menu opposite the Kiosk name
- Click Edit
- Change the field setting (e.g. Assignees)
- Click Save to apply the change

You also have the following options on the three dots menu:
- Export assignees to get information on the members assigned to the kiosk
- Deactivate the kiosk if you no longer need to use it
Clock in for others (Universal PIN) #
If needed, an admin (or someone authorized with the kiosk Universal PIN) can clock in/out for other employees:
- Go to kiosk
- Select the person’s profile
- Enter that kiosk’s Universal PIN (if required)
- Tap Clock in to start tracking time
To end the shift, follow the same steps and tap Clock out.
Organization owner and Workspace admin must always use their personal PIN code. Universal PIN code doesn’t apply to them.
For more information about clocking in for others by using PIN, check out this article.
Manage kiosk #
Admins can edit, deactivate, or delete a kiosk at any time.
- If the kiosk settings were changed, all kiosk sessions will be closed.
- If deactivated, the kiosk URL stops working and employees can’t clock in.
- If deleted, the URL disappears and the kiosk metadata is removed from the recorded time entries.
Kiosks stay open for 24 hours by default. After this period, the admin must relaunch the kiosk so it’s ready to use the next day. If you need longer sessions or need to use the kiosk on multiple devices, you need to upgrade to any paid plan.
If you’re on a Standard plan and you’ve uploaded the company’s logo in the Workspace settings, your logo is displayed on your kiosk.
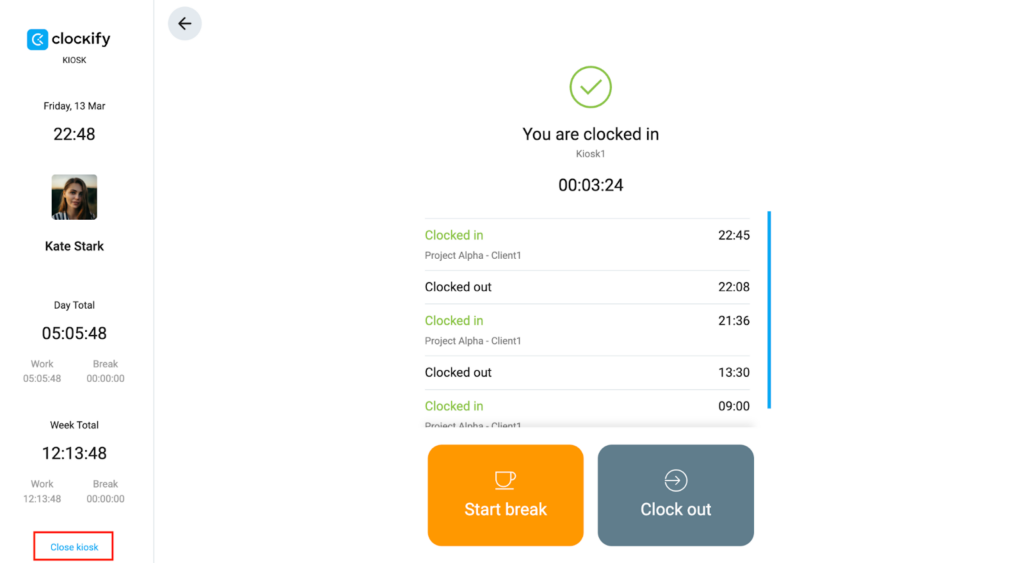
Close kiosk #
When you close a kiosk, users who are currently clocked in will not be able to clock out and stop their timer. If this happens, the admin will have to do it for them. On a paid plan, the admin can stop another user’s timer in the web app by visiting their Calendar and stopping the timer from their currently running time block.
To close a kiosk:
- Select your admin profile on the kiosk
- Enter your PIN (if required)
- Click Close kiosk in the lower left corner
Subscription downgrade #
If the admin downgrades the subscription from Enterprise/Pro/Standard plan:
| Target Plan | Impact | Admin Notification |
| Free | Kiosk is disabled | None |
| Basic | QR authentication disabled System reverts to 6-digit PIN authentication | Pop-up window |
| Customize kiosk disabled | None |
All settings and configurations remain saved in your account. To reactivate access to paid features, upgrade to a Basic plan or higher plan.
Kiosk reporting #
When logged in the kiosk app, the user can only view the time entries recorded for the day.
Organization owners, Workspace admins, and Full members who have permission can view all time entries recorded via kiosk in the Clockify workspace:
| Feature | Available data |
| Team Dashboard | View team members currently clocked in |
| Summary and Weekly Report | View summary of time entries by user, date, and project (can be exported as PDF, CSV, Excel file) |
| Detailed Report | View full list of clock in/out data (can be exported as PDF, CSV, Excel file) |
To filter time in reports by kiosk, you need to display the kiosk filter:
- Go to Reports page
- Click the Filter dropdown list
- Check the box next to Kiosk
Once the Kiosk filter is displayed, you can now apply the filter to display all data by kiosk name.
Access kiosk from mobile devices #
If you want to access the kiosk quickly from a mobile device and prevent people from accidentally exiting, pin the link to the homescreen by following the steps below.
- Open kiosk link in Safari
- Share
- Add to homescreen
- Name your shortcut
- Go to Settings > Accessibility > General > Guided Access
- Enable Accessibility Shortcut
- Go to your homescreen and open kiosk shortcut
- Start Guided Access by triple-clicking home button
- Go to Options in the down left corner and disable all options except Touch and Keyboard
- Resume Guided Access
Learn more: Guided Access (iOS) | Adding a shortcut (iOS)
- Go to Settings
- Go to Security & location > Advanced > App pinning (If you can’t find it, get help from your device manufacturer)
- Enable App pinning
- Open kiosk link in your browser
- Swipe up to the middle of your screen
- Tap the browser’s icon
- Tap Pin
Learn more: Pinning apps (Android)