Improve time tracking in Clockify
Issue 1: Daylight saving period #
Problem: Track time during daylight saving time period #
You’re wondering if the daylight saving time period is affecting your time tracking.
Solution: #
If you, at some point, realize that you’re missing an hour, or have an extra hour in your time entries, don’t worry, it’s probably due to the daylight saving time. Daylight saving time (DST) is a practice of turning the clock an hour ahead as the warmer weather approaches and an hour back as it becomes colder again.
According to the current EU law, DST starts on the last Sunday in March and ends on the last Sunday in October.
In Clockify, during DST:
- Time entries are an hour shorter
- Time changes from 2am to 3am and from 2am to 1am depending on the UTC time zone
- During transition, when the clock moves forward by an hour, that is one hour of time that doesn’t exist
e.g. When the clock jumps from 2am to 3am, the time between 2am and 3am doesn’t exist. Therefore, it’s not possible to choose a time that falls within that missing hour. - During the transition from DST, when the clock moves back by one hour, there is one hour of time that occurs twice
e.g. When the clock jumps from 2am back to 1am, the time between 1am and 2am occurs twice, so, it’s possible to choose a time that falls within that repeated hour.
If you have any additional questions regarding this, feel free to reach out to our support team.
Issue 2: Disable option to manually track time #
Problem: Can you disable the option to manually track time? #
You are wondering if you can disable the option to manually track time.
Solution: #
Yes, it’s possible to disable tracking time manually. If you’re on the Pro, or Enterprise plan, you can disable the option to add or edit time manually by using the Force timer feature.
If Force timer is enabled, users:
- can create new entries using only timer
- can add time entries via the Auto tracker
- can delete existing entries (unless locked or approved)
- can change entry’s description, project/task, tag, and billable status (unless locked or approved)
- can’t change start time of a running timer
- can’t change start/end time and duration of an existing time entry
- can’t duplicate an entry
Restriction applies to all users, including admins. Admins can’t add time manually through the Time tracker, but they can add time for others (including themselves) via the Detailed report. Team managers can add/edit time for their team members if enabled in Settings.
If you ask for all time entries programmatically via the API, entries made in timer have microseconds which are not equal to 0.
If you’re using the Standard plan, you can lock timesheets so that no time entries can be added or edited after a certain period.
Issue 3: Track time on tag level #
Problem: You’d like to track time on a tag level #
If you’d like to track time for time entries based on tags, you can do that by using Custom fields.
Solution: #
When referring to the default Tags per project, you can use the Custom fields option and create a field Tag (or name it as you like) and set values for this field.
To do that:
- Go to the Workspace settings page
- Choose Custom fields tab
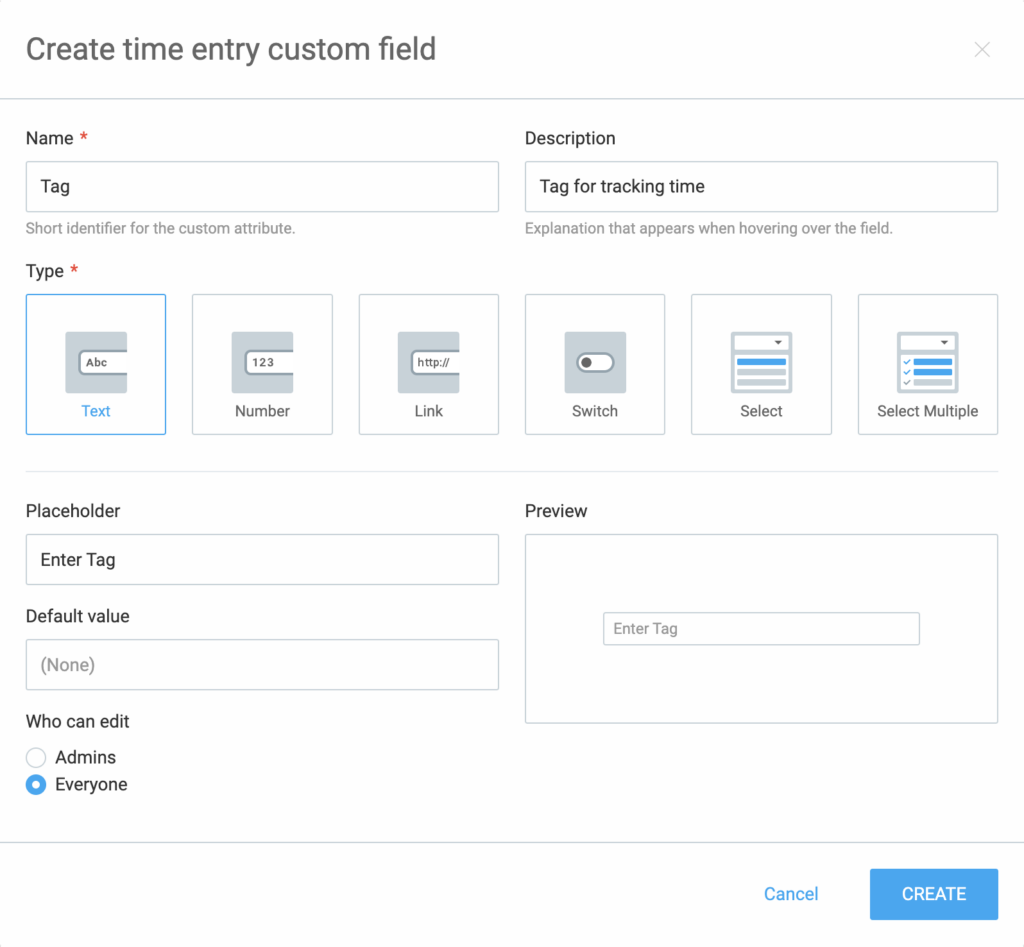
Now, you can start creating the custom field in the Time entry custom field section.
- Click Create in a Time entry custom field section
- Enter the following:
– Custom field name: e.g. tag
– Type: e.g. text
– Optionally add description - Click Create to complete the process
Now, you can set a tag to be visible for specific projects. This way, you can group time entries according to tags and organize and manage your time more efficiently.
Issue 4: Manually add time while timer is running #
Problem: Manually add time while timer is running #
At the moment, it is not possible to manually add time while the timer is running.
Solution: #
Although you can’t use the option to manually add time while timer is running, you can use the workaround and duplicate the previous time entry. This way, you create a new time entry as the previous one and change the details of that entry to fit your needs.
To duplicate a time entry:
- Navigate to the Time tracker
- Choose the time entry you want to duplicate
- Click on the three dots menu
- Choose Duplicate

The entry will be duplicated and you will be able to modify the details to fits your needs.
Issue 5: Share Timesheets with Clients in real time #
Problem: I’d like to share Timesheet with my Clients in real time #
I’d like to share tracked time in a Timesheet with all the real-time updates with my Clients.
Solution: #
To share Timesheet with Clients:
- Use filters to filter out data
- Customize report (choose date range, grouping, sort, rounding, show/hide amount)
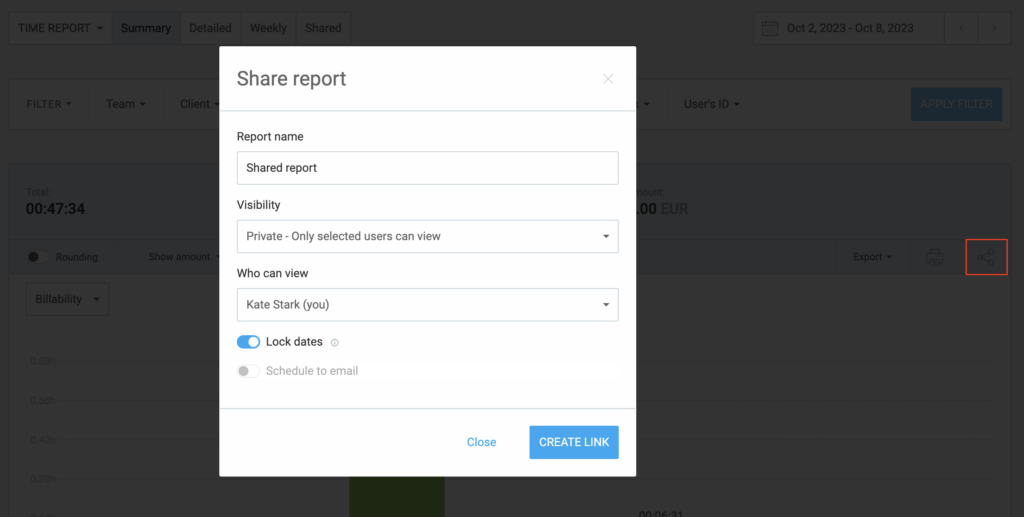
- Click on the share icon (located between Print and Rounding)
- Enter report name (this will be displayed as a title of the report in the header and in PDF export)
- Choose who can open link (public/private) and whether date range can be changed (lock dates)
- Click Create link
- Copy the link and send it to others
Others will be able to see the time as you track it on their projects, export data, and change grouping options and timeframe, but they won’t be able to edit anything.
Find here more info on sharing reports with clients.