

Alex Beadon
Founder of Together We Launch
"We use Clockify to see where our time is going and how to solve any problems. It’s just so beneficial."
More stories

Find new apps that fit you team's needs
Track time directly in Clockify via a timer or timesheet, and then send it to QuickBooks for billing and accounting.
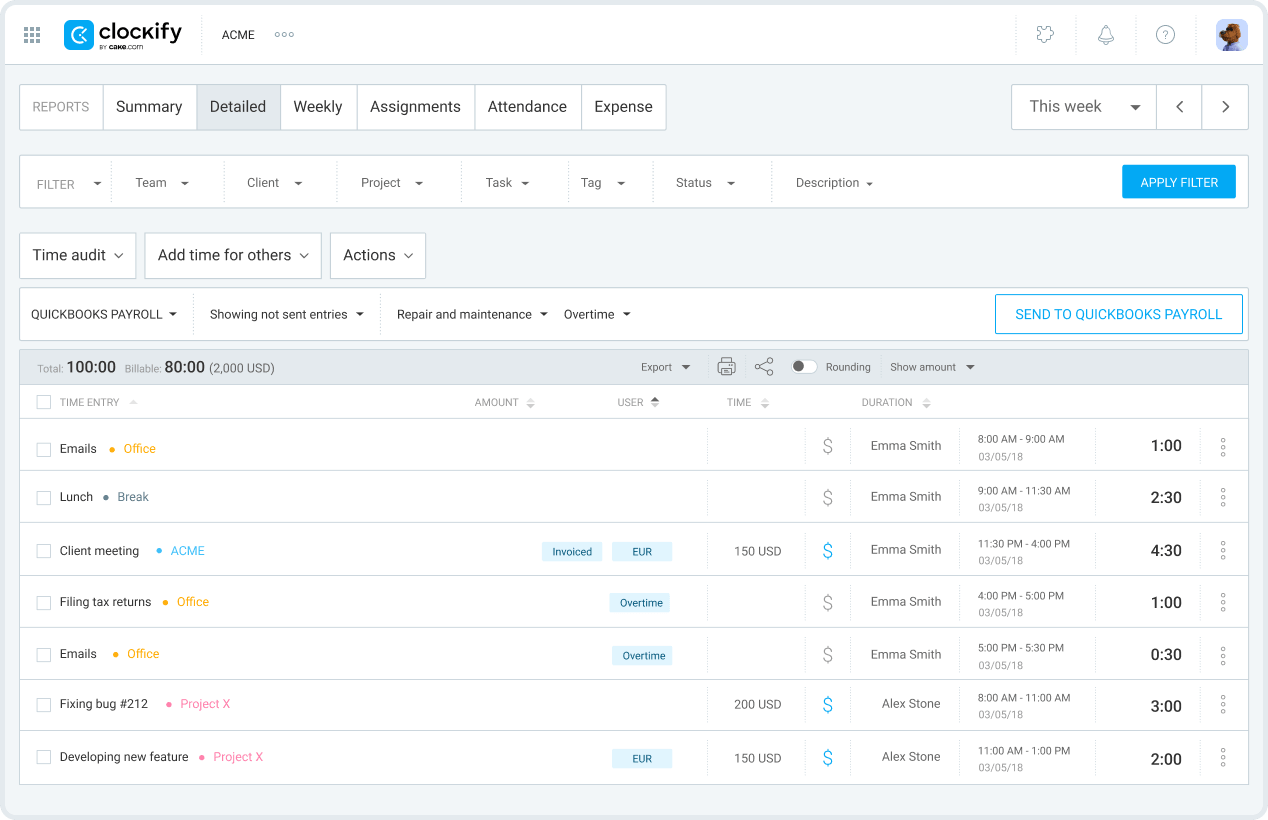
How the QuickBooks integration helps you manage accounting.
Connect all the hours tracked by your employees in Clockify to QuickBooks in no time.
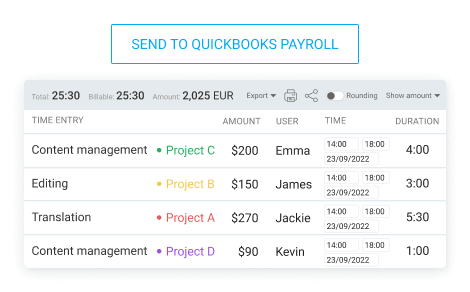
Forget about manually entering the tracked time in QuickBooks. Transfer the data easily from Clockify and prevent double-entry errors.
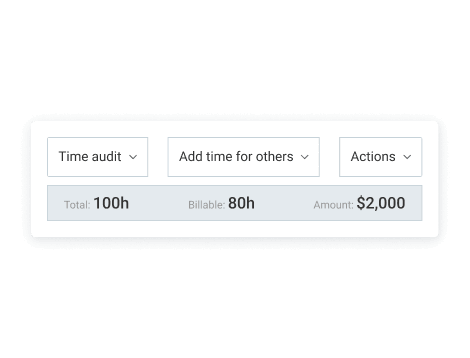
Once you sync your users, and transfer data from Clockify, you’ll be able to create invoices, automate your employee payroll, and calculate your billable hours within seconds.
To connect these two apps, you need to have both Clockify (Standard plan or higher) and QuickBooks (Essentials, Plus, or Advanced plan) accounts, and the QuickBooks Payroll Add-on. You’ll be able to define which Service type you need exactly.
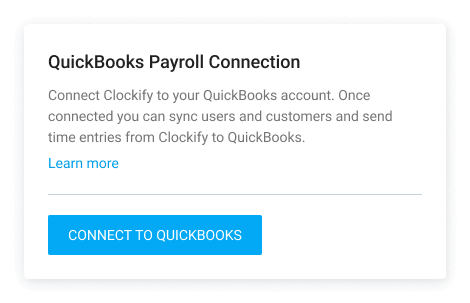
Go to Workspace Settings > Add-ons > QuickBooks Payroll settings, and connect your QuickBooks Online account. Allow Clockify to send time.
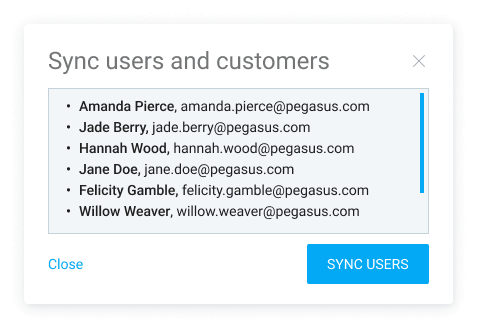
Map and synchronize existing users, and create the missing users from Clockify in a few clicks.
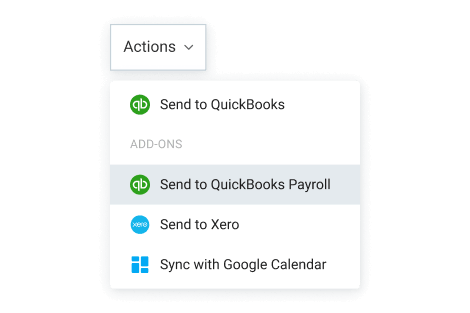
Filter out your Detailed report, review the data you want to send and click on Send to QuickBooks option.
