Welcome to Clockify
Clockify is the only free time tracking software on the market. It’s so simple that you and your team can track work time with one click.
Navigation menu #
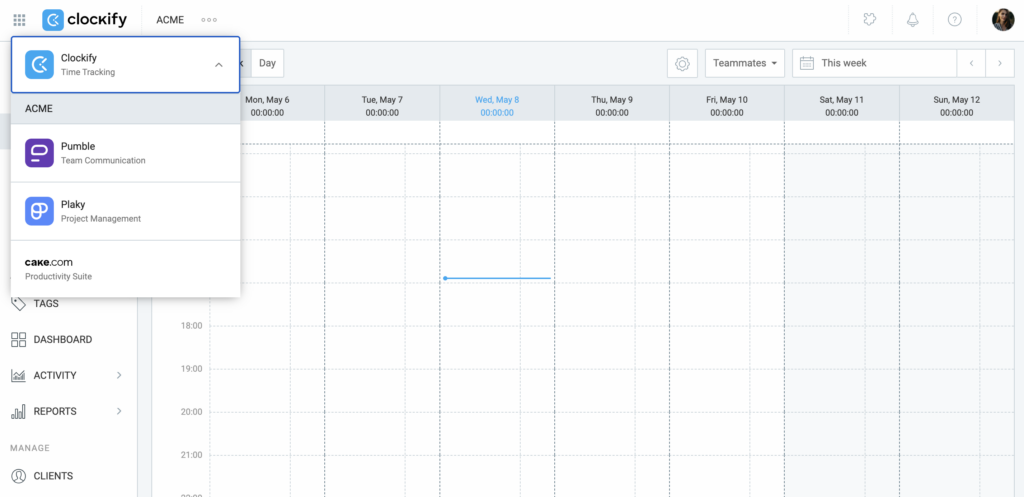
Clockify is an integral part of the CAKE.com Productivity Suite. When you navigate the menu, you’ll encounter all three products within the Suite: Clockify, Pumble, and Plaky. If you expand the Clockify label, you’ll see a list of all the workspaces you joined.
If you click on either Pumble or Plaky, you’ll be redirected to dedicated marketing pages, providing you insights into the respective products.
Time tracker #
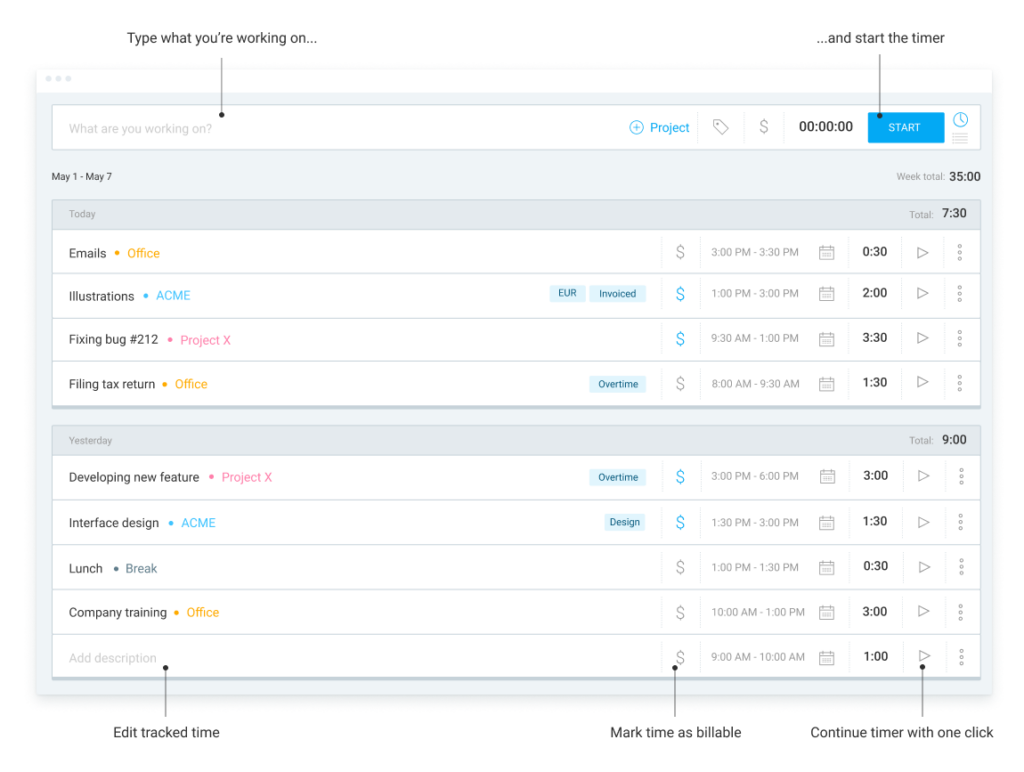
Everything in Clockify revolves around time entries. You track time you spend working on things and then analyze workweeks in reports. Clockify also lets you invite others, so you can track and analyze time together.
There are several ways you can create time entries in Clockify:
- Using timer, as you work
When you start working, type what you’re working on and start a timer. When you finish, stop the timer and the time entry gets added automatically to your timesheet. - Add time manually, after you’ve finished
If you don’t want to bother with the timer (or you forgot to start it), you can manually add time entries after the fact. Simply type what you worked on, choose start and/or duration, and add the time entry. You can also create entries via Calendar. - Add via auto tracker
If you need precision but forget to start and stop the timer, enable the auto tracker. Then, at the end of the day, go through all the recorded activities (e.g. apps and websites you used) and create time entries from them.
Timesheet #
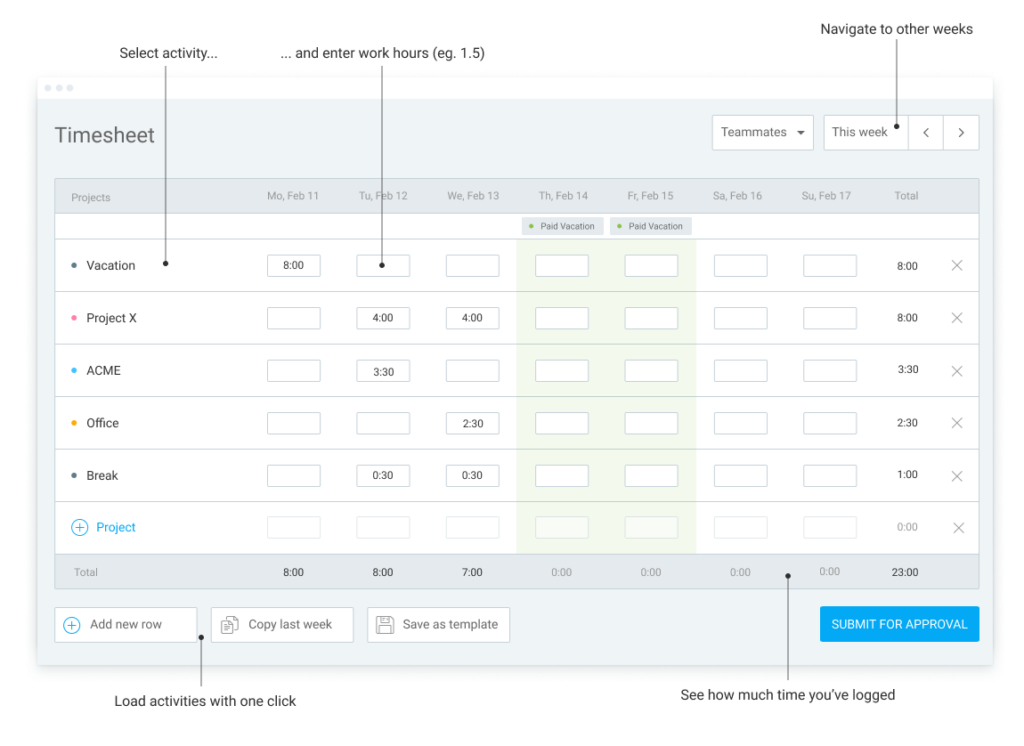
Log time manually by day and activity (you first have to enable it in Settings).
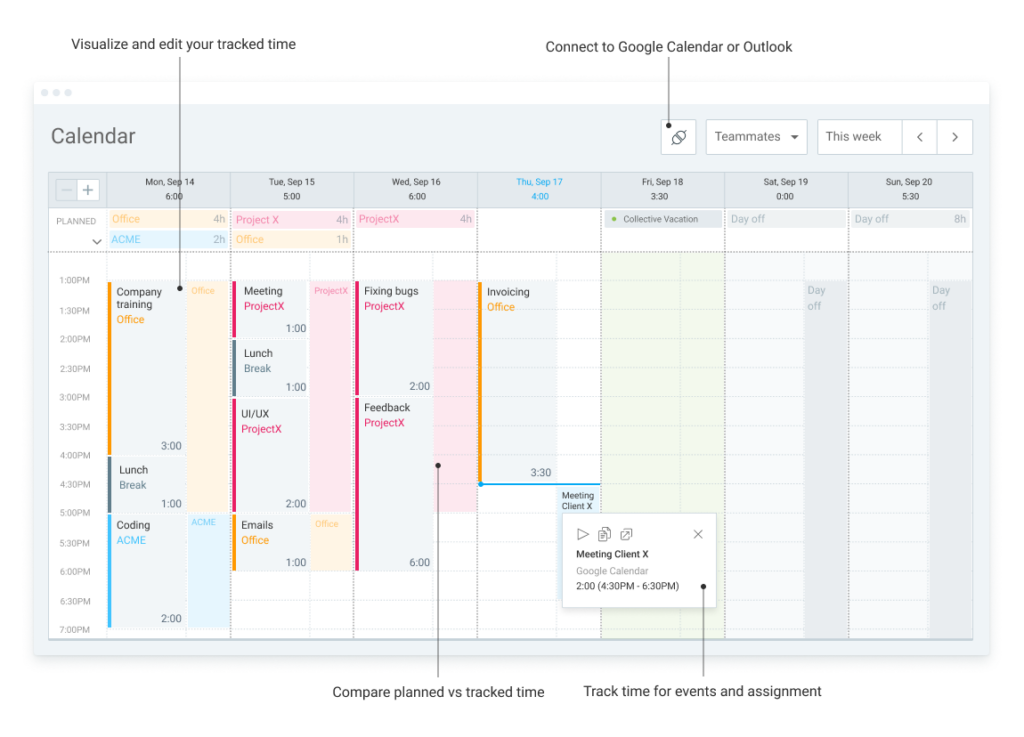
Calendar #
See how your day looks like, find gaps, and directly edit and add time.
Schedule #
Available on Pro and higher subscription plans.
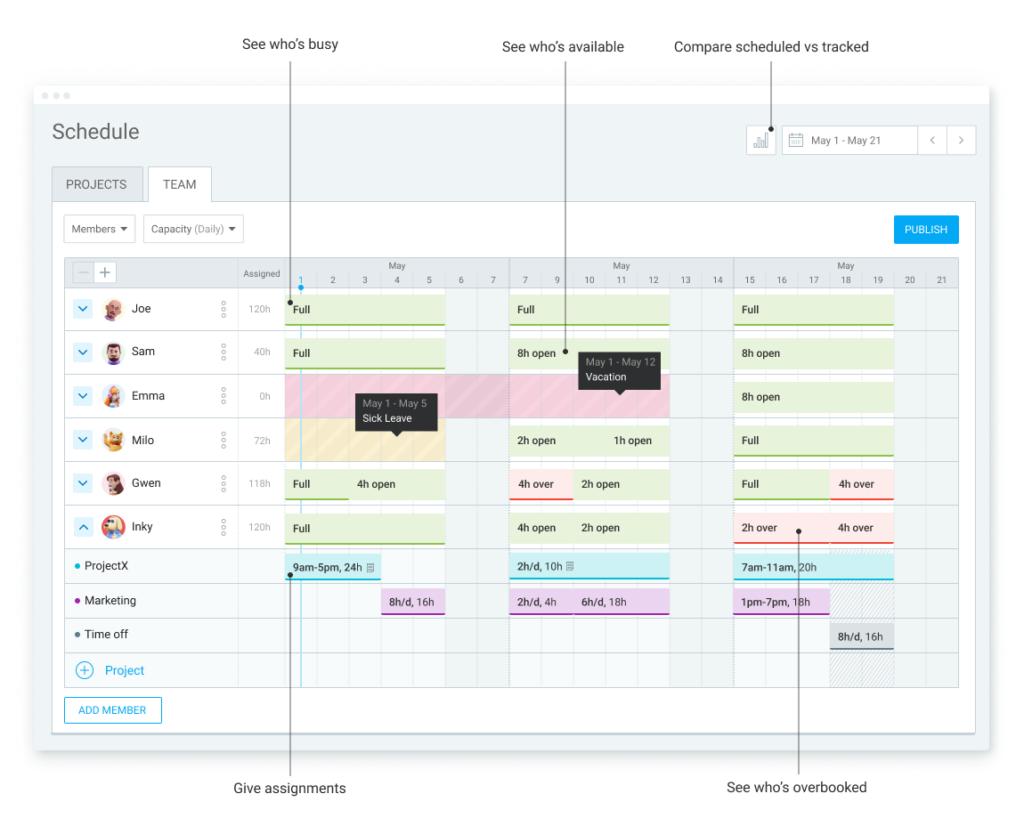
Plan projects and milestones, give assignments, publish schedule, and see who’s available.
Expenses #
Available on Pro and higher subscription plans.
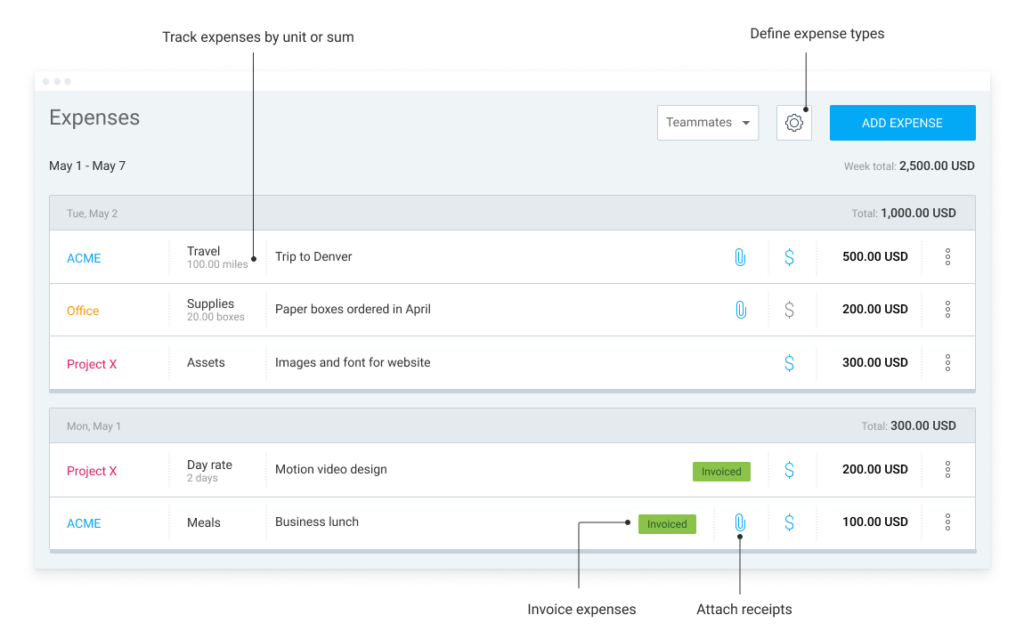
Record expenses (by sum or unit), attach receipts, include expenses in project budget, approve with timesheets, and export all in reports.
Time off #
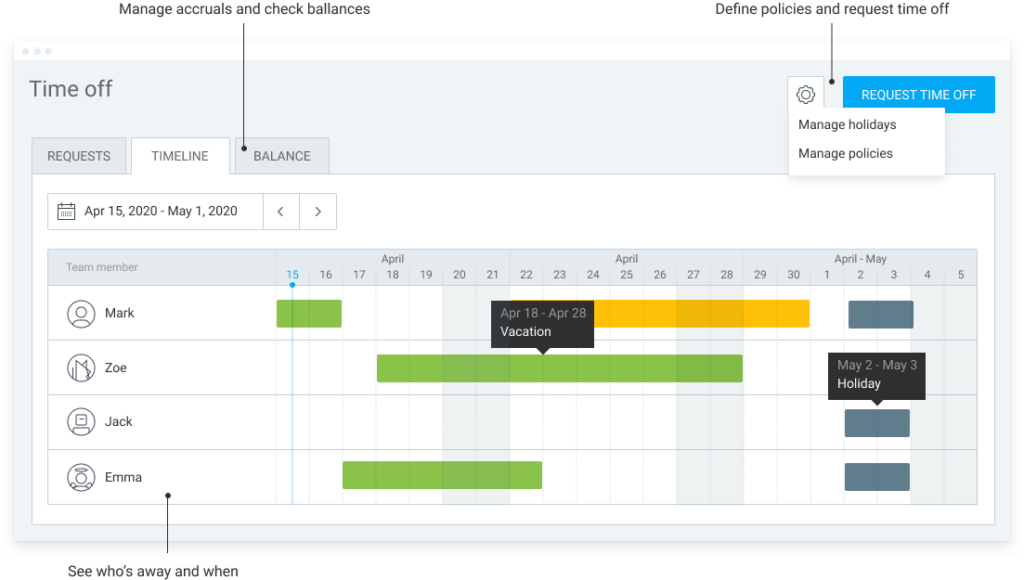
Create time off policies, give members days or hours, and let submit leave requests for approval.
Dashboard #
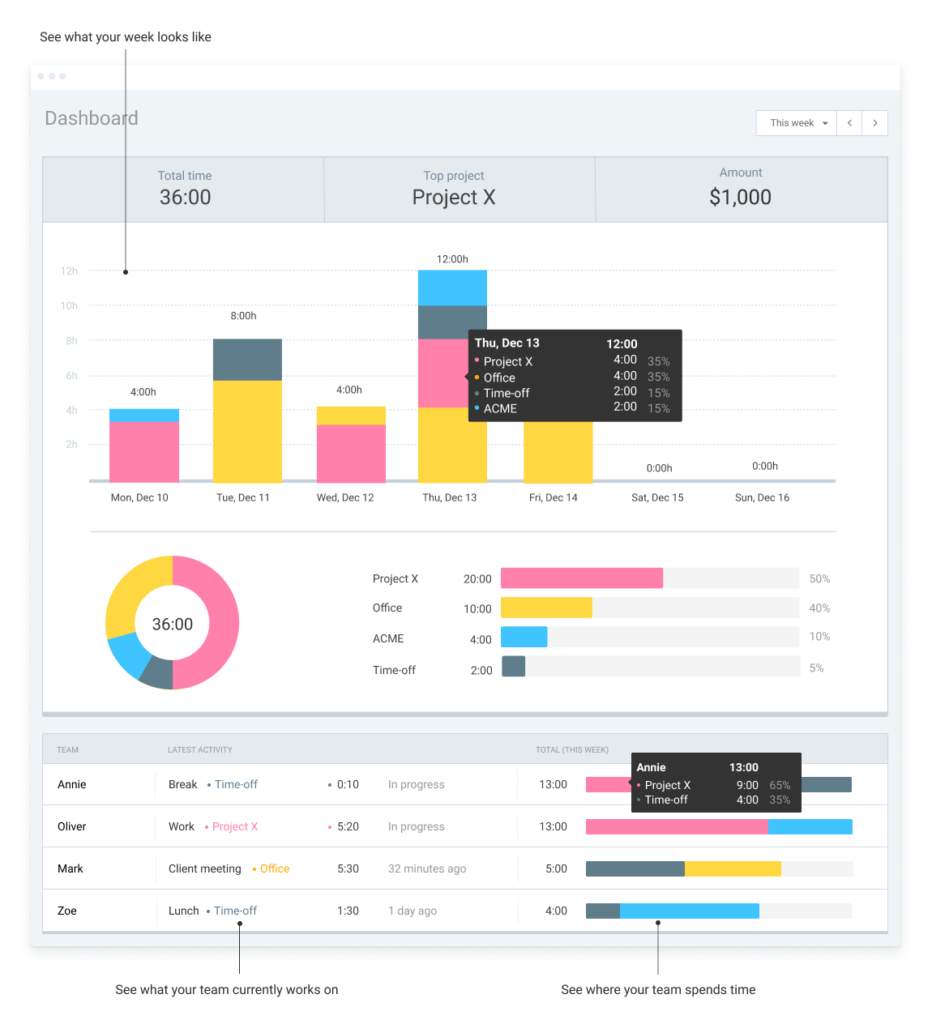
Once you have some time entries, visit Dashboard to see how productive you are and where you spend most of your time.
Reports #
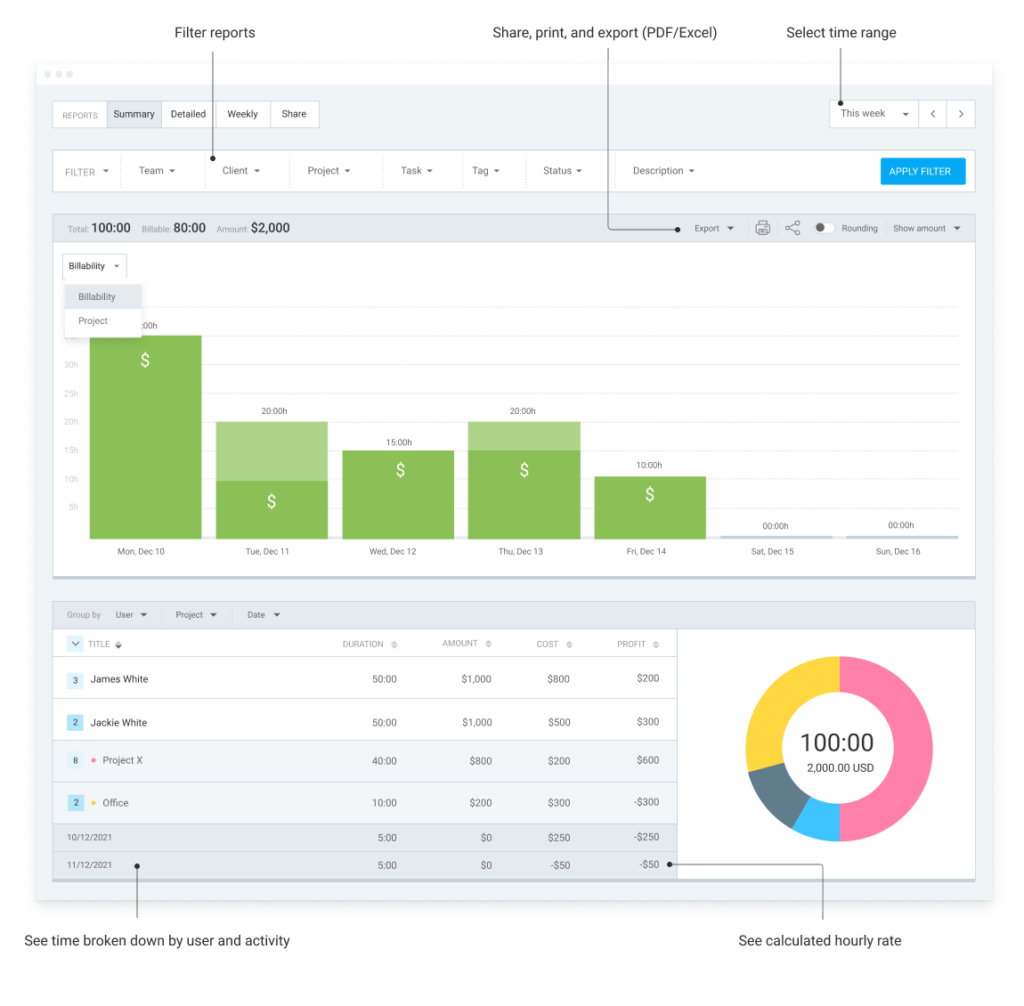
There are several types of reports in Clockify:
- Summary report is your standard report where you can filter and break down data
- Detailed report is for when you want to see all time entries, filter them, and edit them directly
- Weekly report is for seeing who tracked how much time each week
- Shared reports are the links to reports you shared with others
Kiosks #
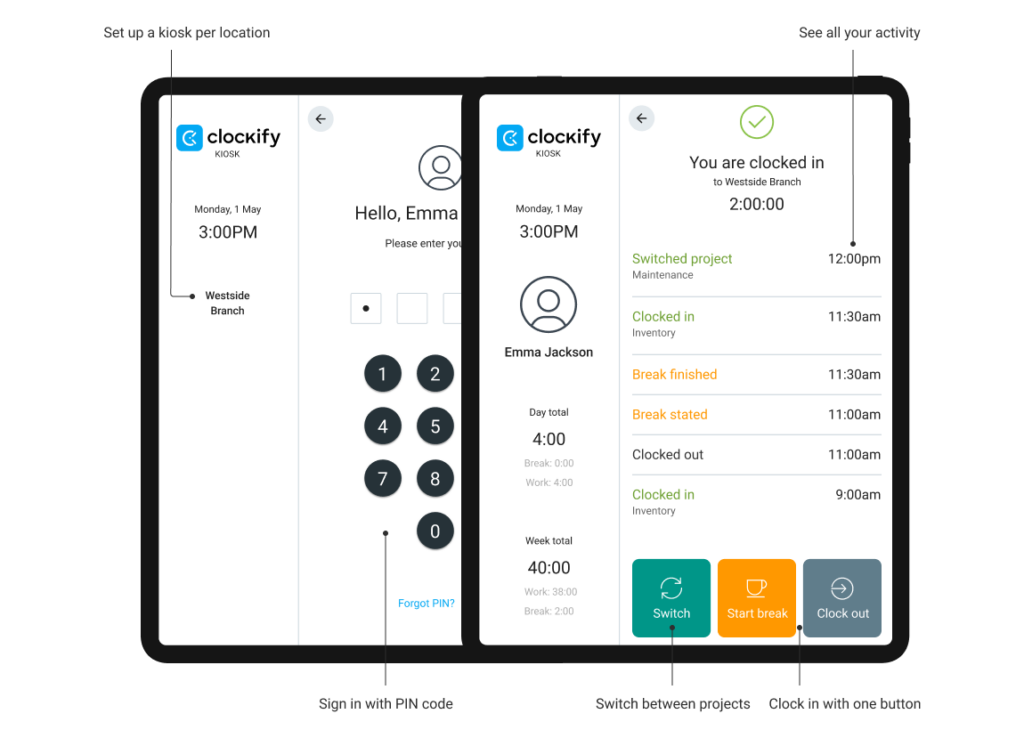
Set up a time clock kiosk so people can clock in with their PIN code (you first have to enable it in Settings).
Approvals #
Available on Pro and higher subscription plans.
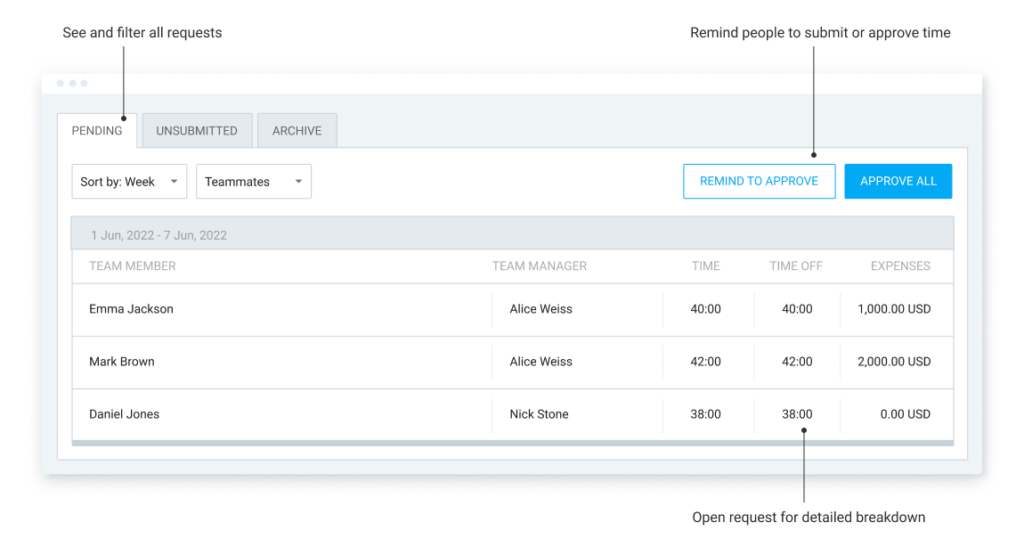
Allow people to submit their weekly timesheet for manager’s approval.
Projects #
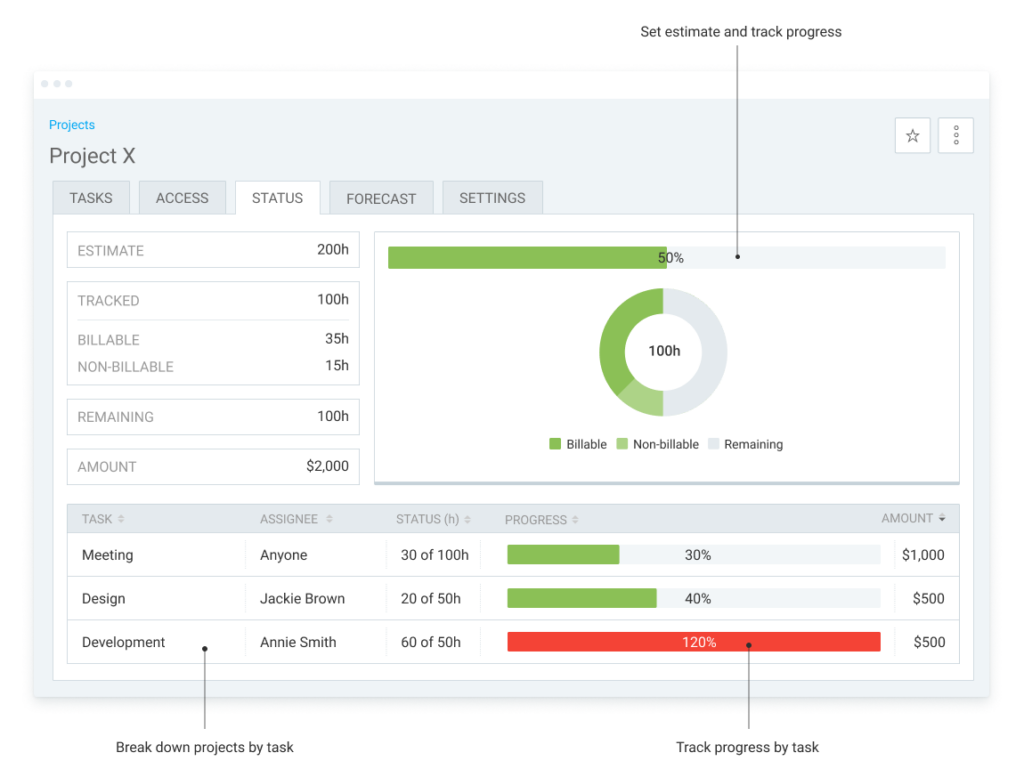
Set up projects, tasks, assignees, project rates, and add estimates or project budget to track progress.
Team #
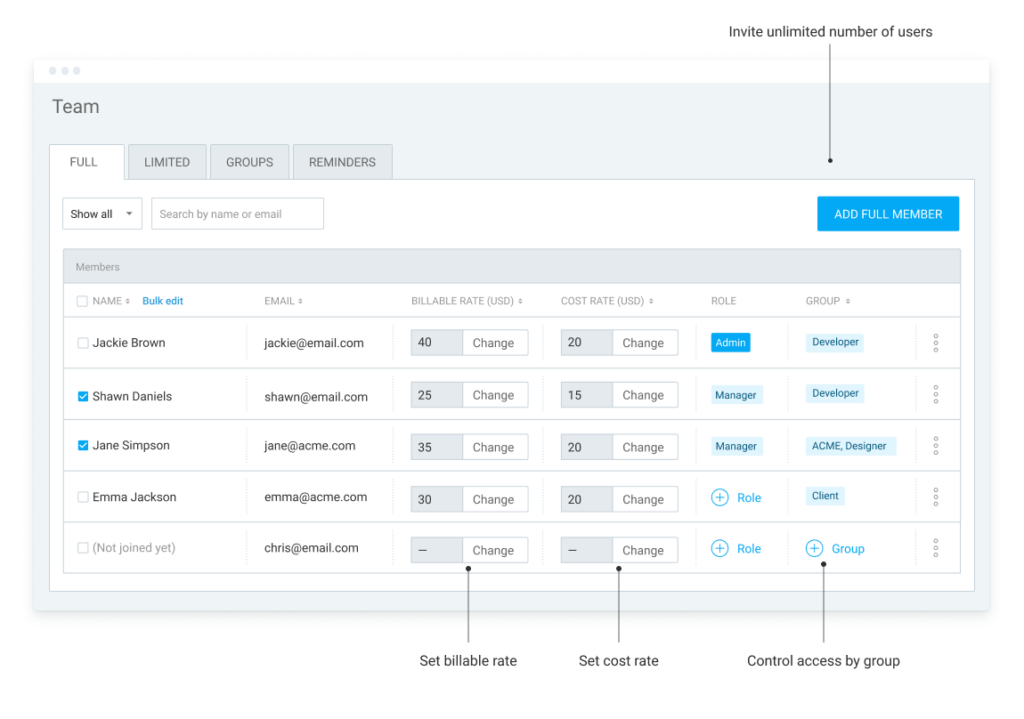
Invite new members, define hourly rates for each member, give roles, and manage groups.
Invoices #
Available on Standard and higher subscription plans.
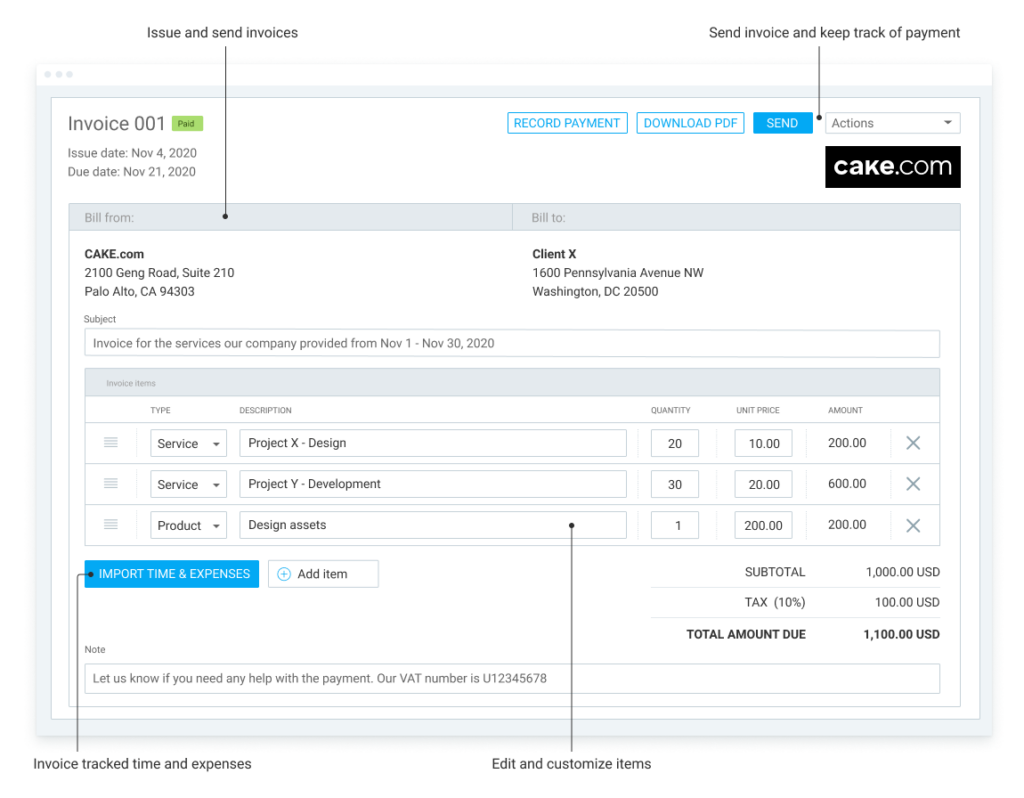
Create invoices based on tracked time and expenses, and send them to clients.
