Onboarding checklist
Get your Clockify workspace up and running in minutes.
Whether you are configuring a workspace for an entire organization or simply logging your first hour, this checklist walks you through the exact steps needed for your role.
Before you begin #
Make sure you have created a Clockify account or accepted your team’s email invitation.
Jump to your role #
Choose your role from the list below to review the suggested onboarding steps.
Admin/workspace owner #
Follow these steps to set up your workspace as an admin or owner.
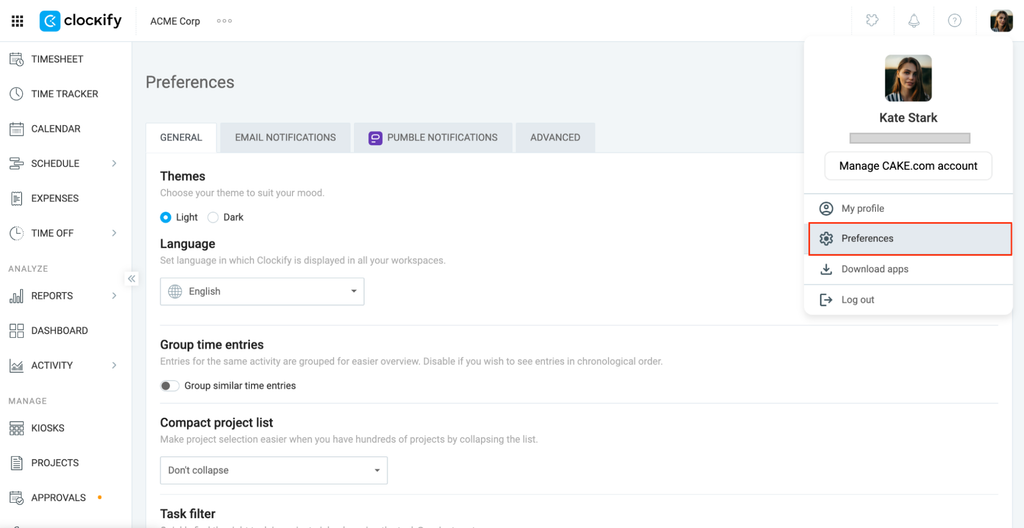
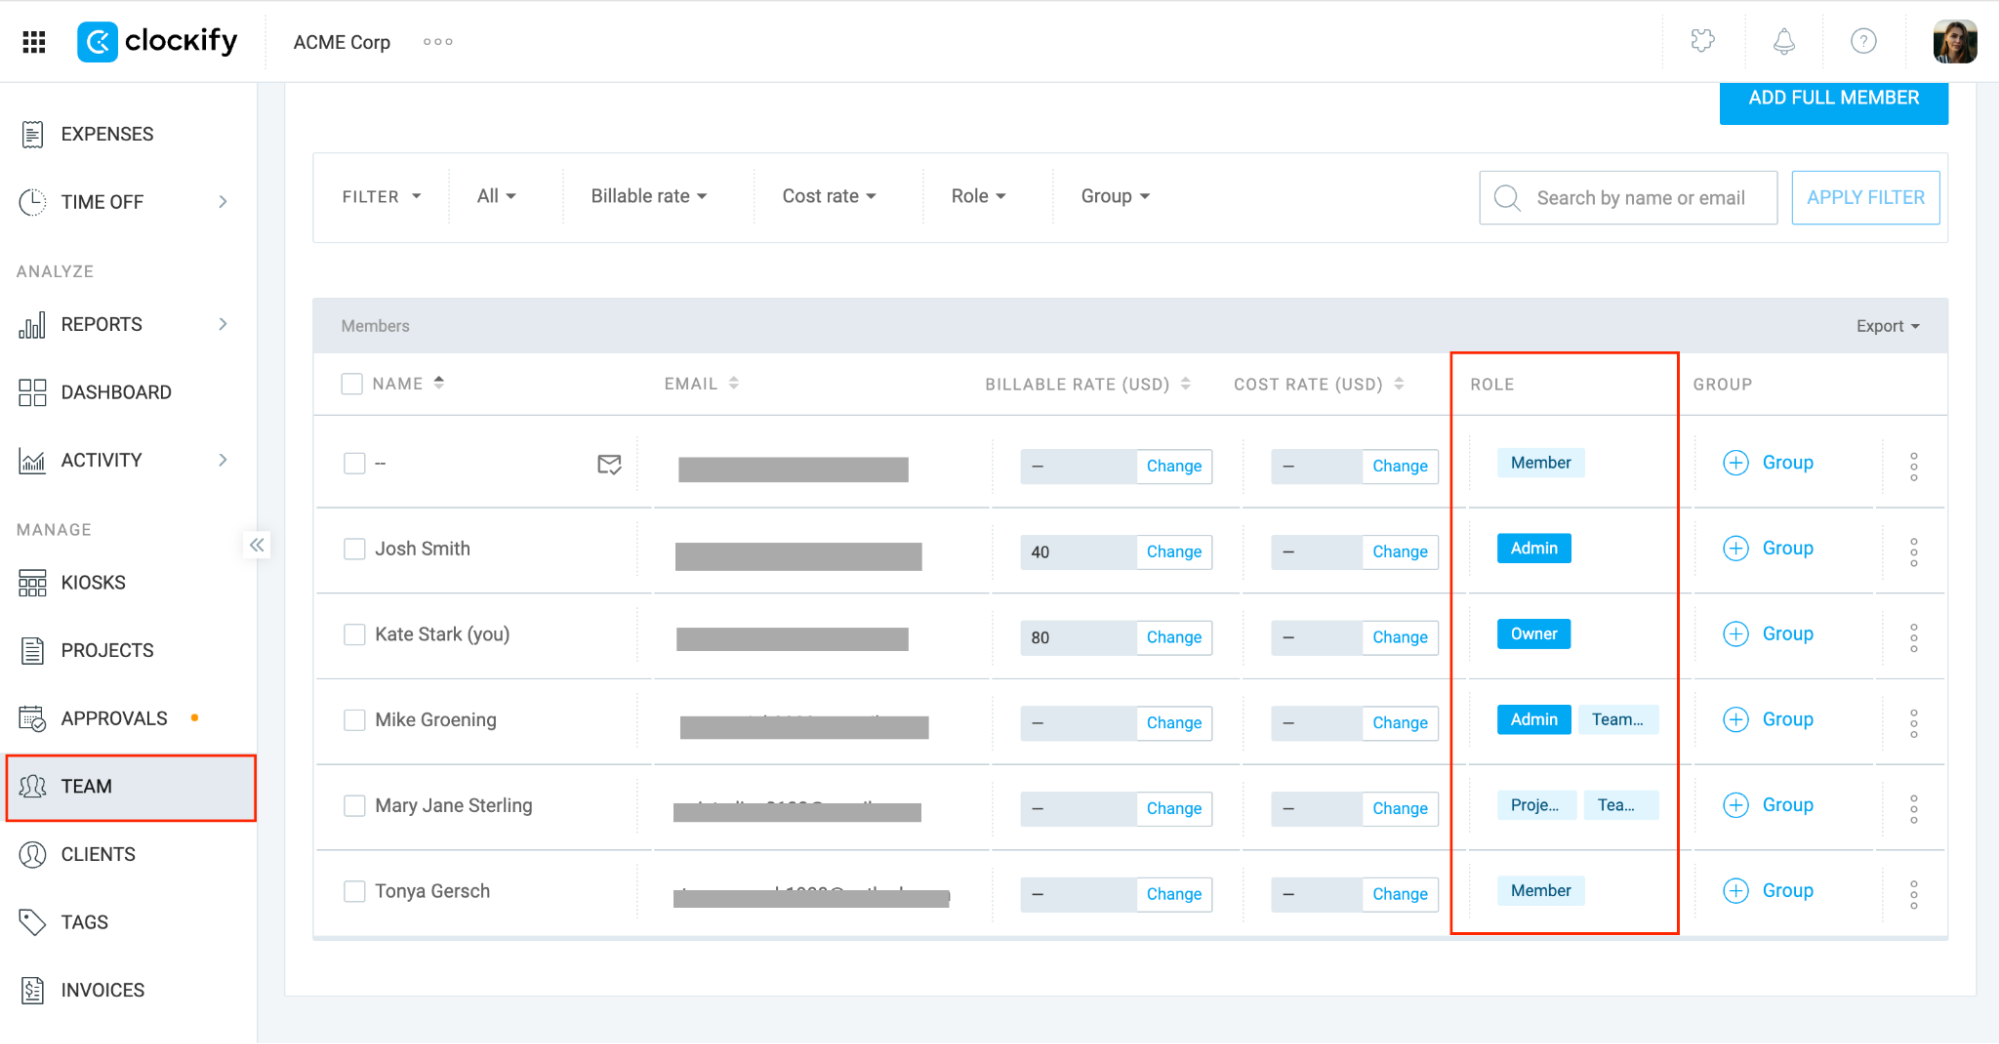
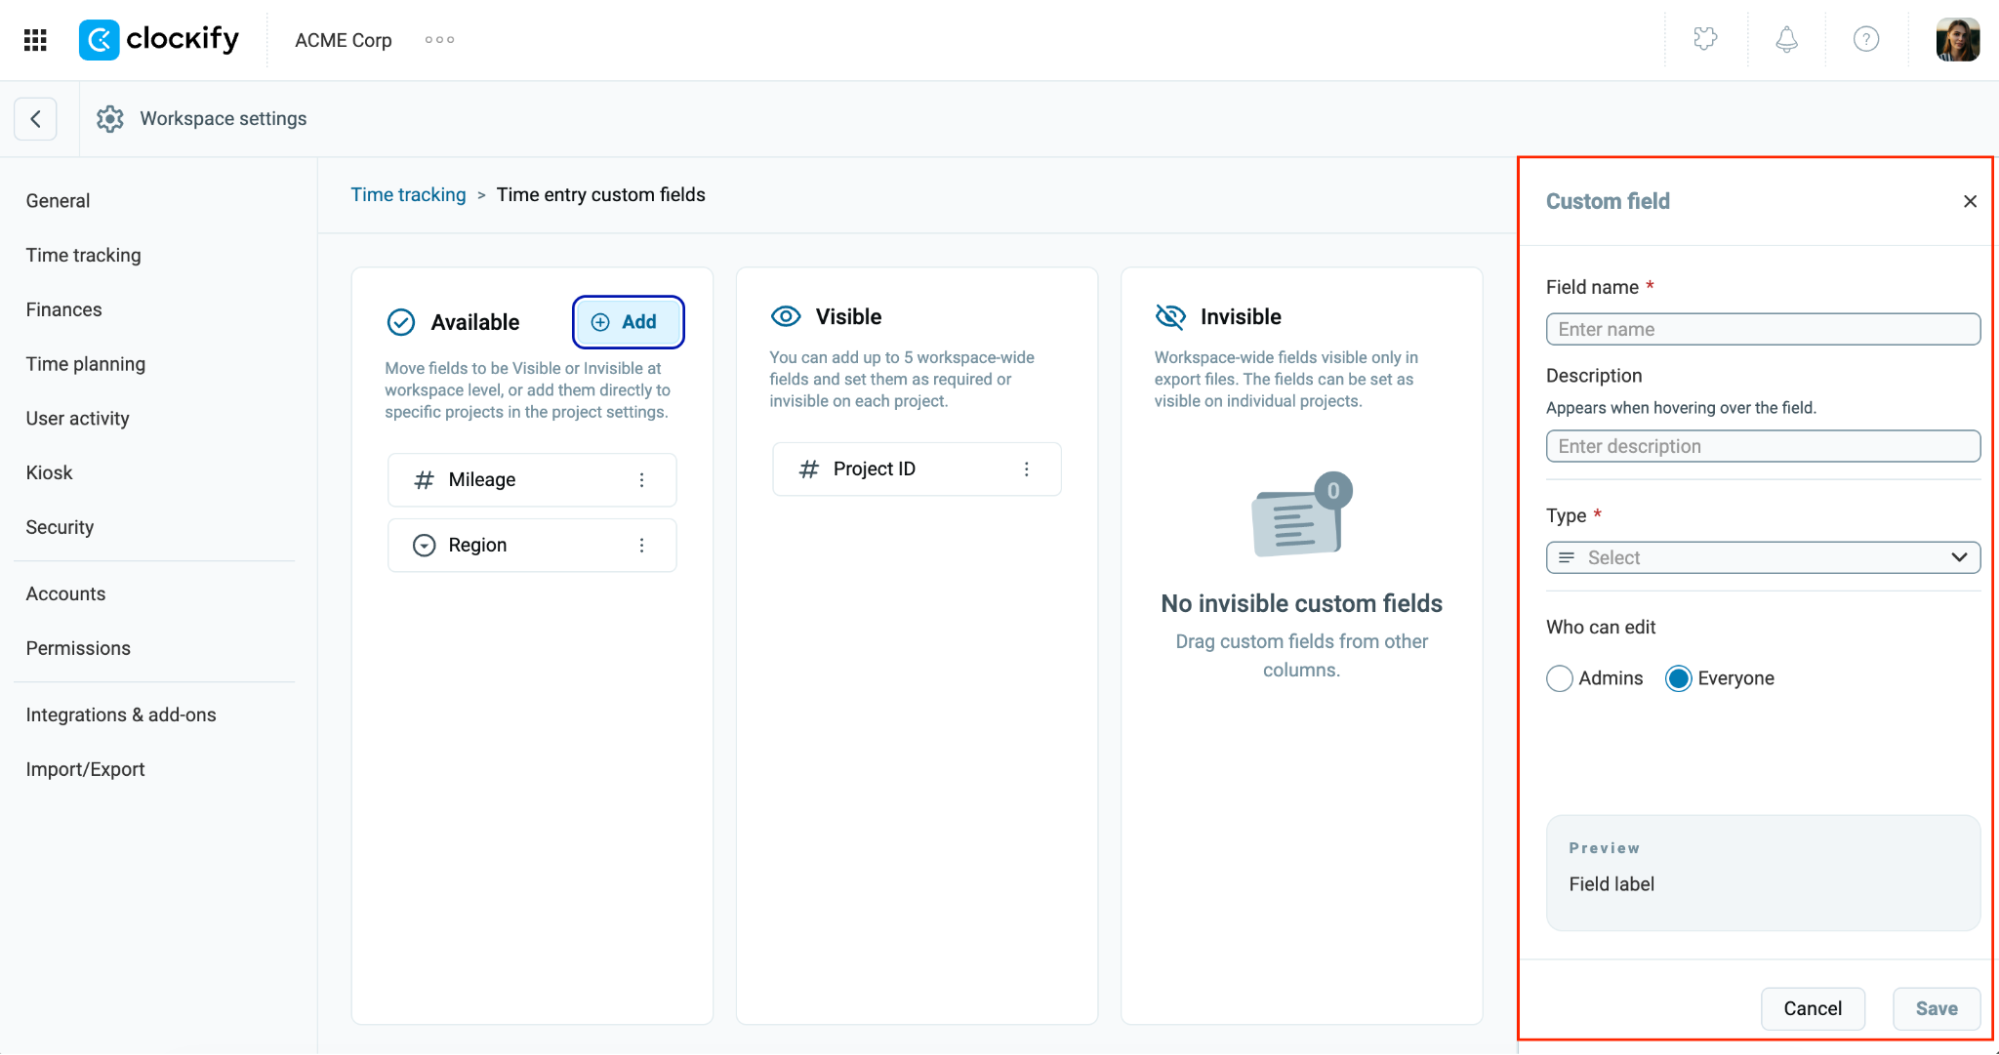
Project and team manager #
Get projects started after following these quick setup steps.
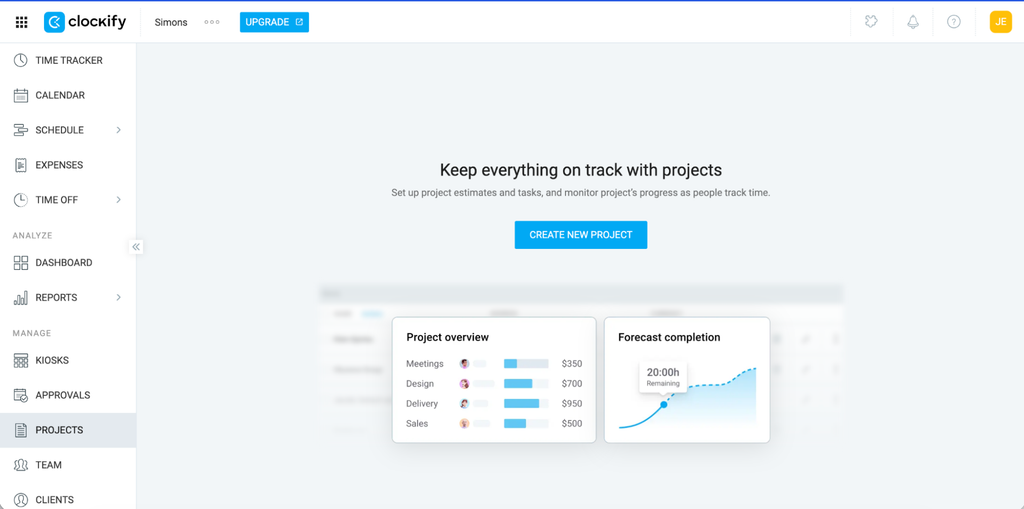
Team member #
Set up your profile and start tracking time.
What’s next? #
For a smooth onboarding experience, you can:
Frequently Asked Questions (FAQ) #
Who can use Clockify?
Clockify is suitable for freelancers, small businesses, and large enterprises looking for flexible time tracking, project and team management, expense and budgeting, reporting, and invoicing solutions.
Is Clockify free to use?
Yes, Clockify offers a free plan for small teams (up to 5 users) along with optional paid subscription tiers that unlock advanced operational and reporting features.
Where can I use Clockify?
For the best experience, we recommend web, desktop and mobile apps.